Two-headed Coin
21 Sep 2014Progress: Completed
A gift for a friend.
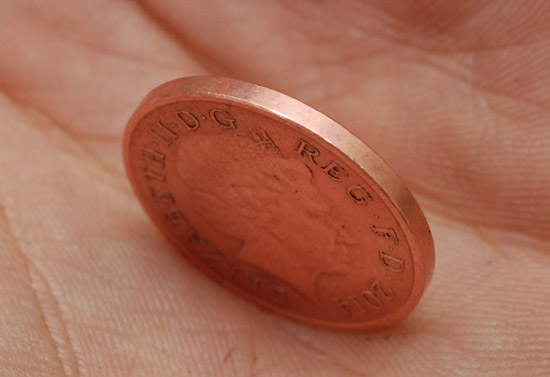
The difficulty here is holding the blasted thing while you work on it. If you throw a coin in the lathe chuck it'll be near-impossible to get it square, and you'll either damage the rim or find that it jumps out as soon as you start a cut. My solution was to make an improvised collet:
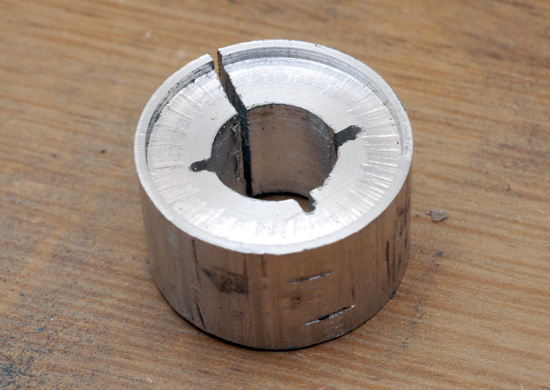
It's a scrap of aluminium from a broken photocopier into which I bored a recess that matches the OD of a 1p piece and cut some relief slots with a hacksaw. I then clamp this in the four-jaw chuck and set it true. (If I were putting it in the three-jaw then I'd have made three relief cuts.)
We're trying to make the join invisible, so the aim is to locate it inside the rim. This means one coin has to be bored out, keeping the rim intact. Here we're checking progress, I think it needs to go a little deeper.
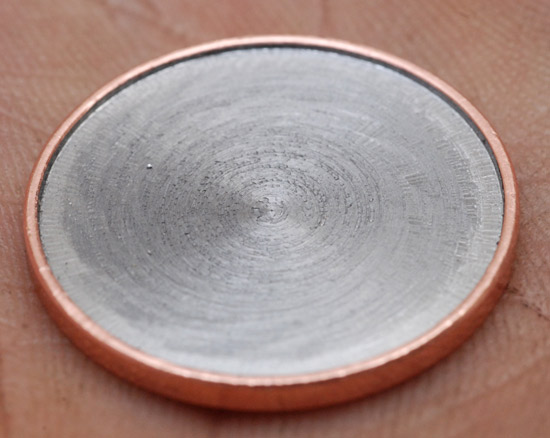
Yes - they're steel on the inside. The other coin gets a similar but less careful treatment as we'll be turning off the rim next. To do this, I tried the 'wax chuck' technique. Another bit of aluminium was turned and faced to a smaller diameter than the coin, a few groves added to increase surface area, and then the exposed steel of the coin is superglued to it. Indicate it true from the remaining rim, then turn it off with very light cuts.
Incidentally, the copper plating is much thicker on the rim, and if I had known this, I might just have tried joining two identical halves and polishing the join out. Oh well. I put a bevel on the inside and tried to approach the final diameter with a file. The material is so thin at this point though that I still managed to overshoot. The tolerances could have been better but hey, it only has to survive casual inspection.
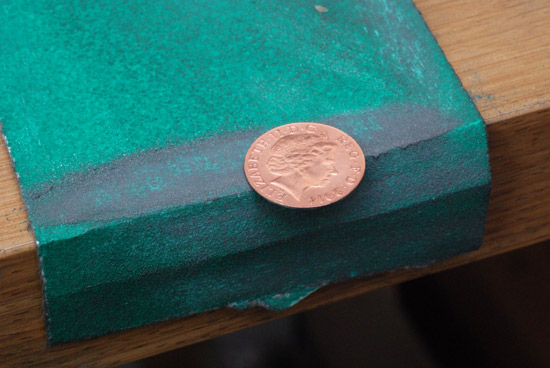
I left it a little too thick so that I could sand it down to the perfect depth. Big mistake - more than half of my time on this project was spent sanding. It was only 0.1mm I needed to shave off, but it's almost impossible to get a grip on it. We don't even have a rim left. The easiest thing to do was to place the paper over the edge of a table and sand one half at a time. Care is needed to keep it even but at least you can hold it properly.
I think if I make another I'll turn it thinner to begin with. If it ends up too thin we could always pack it with extra glue.

Almost there... a test fit is in order.
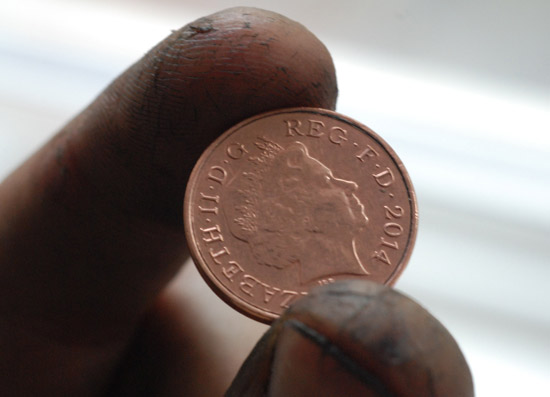
Marvellous. All that remains is to superglue it in place. We only get one shot at lining up the orientation of one face to the other, and sadly I got it close enough that it's evident that I tried, but not close enough to be perfect. Maybe random orientation would have been better. Maybe I worry too much.
The gap is still visible if you angle it into the light, but that's partly because the coin is so new and shiny. As it ages / gets dirty it should blend in better.
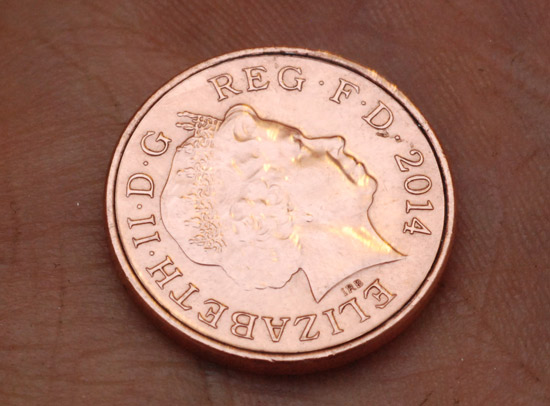
But again it only has to withstand a casual inspection, and the first place people look is to the rim, which is, of course, untouched. Marvellous.