Ship in a Bottle
21 Mar 2010Progress: Suspended
I wasn't going to do a build log for this. Had I finished it on time, I would have presented the completed product to all without a hint of the techniques involved in its construction.
Sadly it will be a while before this particular item ripens to fruition so I have decided to reveal my labours via the medium of pictures captured on my mobile telephone.
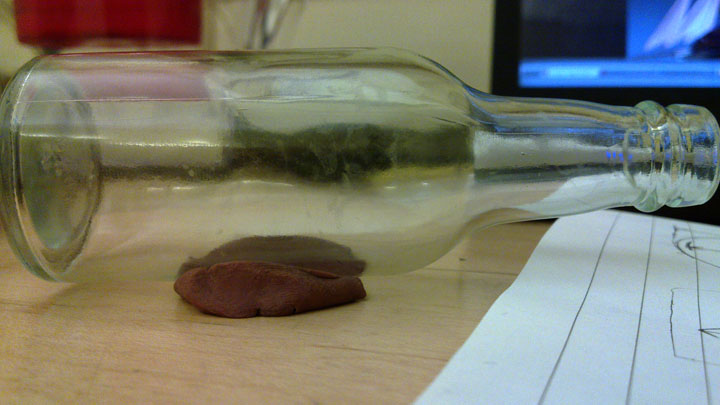
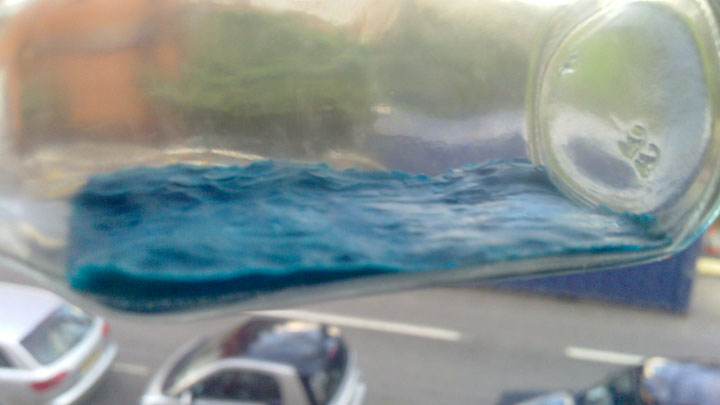
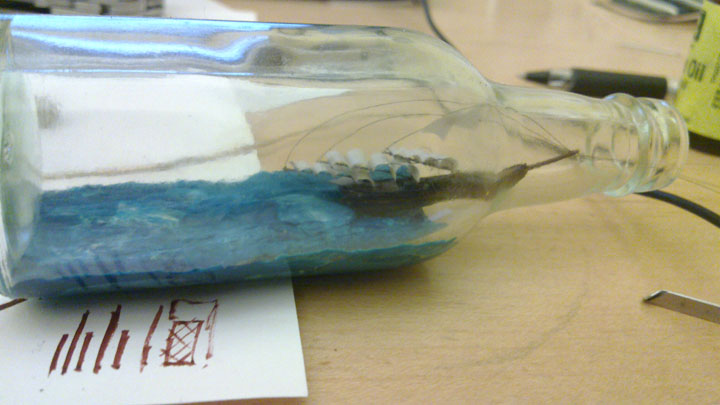
Initially the concept formed clearly in my head as a challenge of dexterity, endurance, patience, accuracy, ambition. To continue against the odds and complete something special, something almost impossible. It lingered in my mind until one day, in Chinatown, I saw the perfect starting point: a tiny glass bottle. It contained fish sauce and was priced at forty British pence.
Once emptied I sat it upon a pedestal of modelling clay and began to ponder.
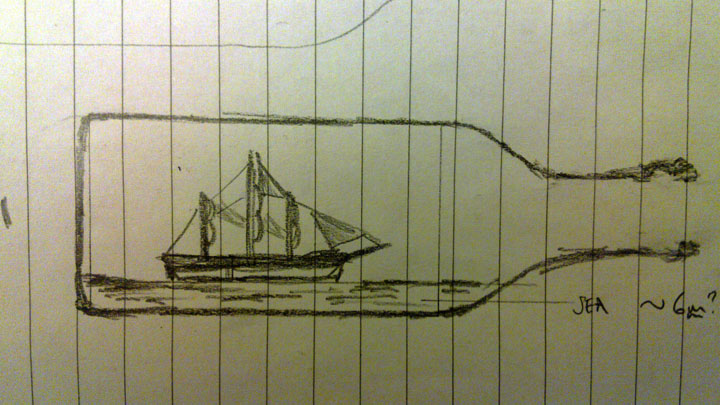
I drew out many plans. I opted for a 1:2000 scale model of the Cutty Sark (yielding a hull length of about 31mm). Naturally it would be simplified to a fair extent, but the basic guidelines were in place.
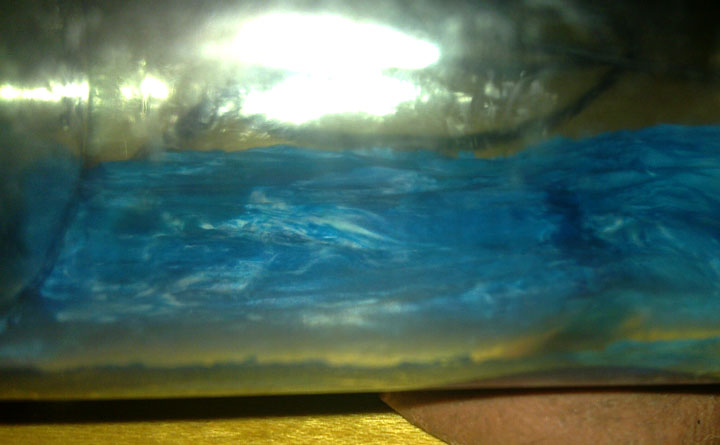
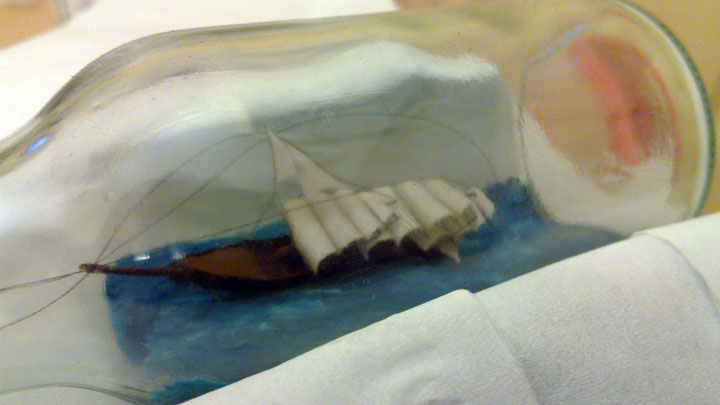
The sea would be constructed of plasticine. By mixing white and blue components I attempted to recreate the look of stormy waters.
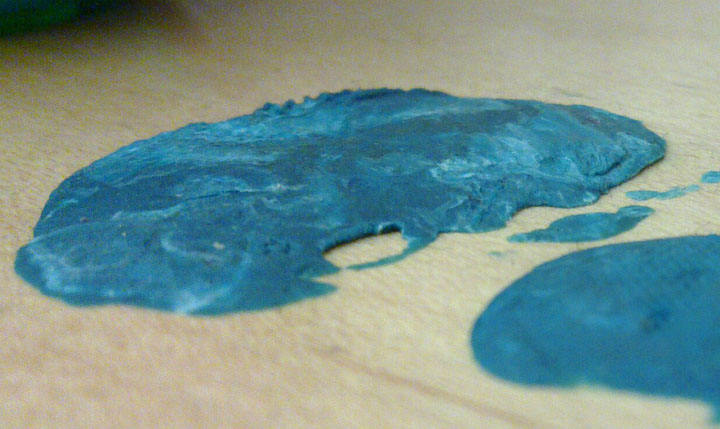
This was applied to the inside of the bottle via several tools I devised out of paperclips, tinfoil, pins and superglue. I had no specialised tools for this project at all – every tool I needed would have to be made.
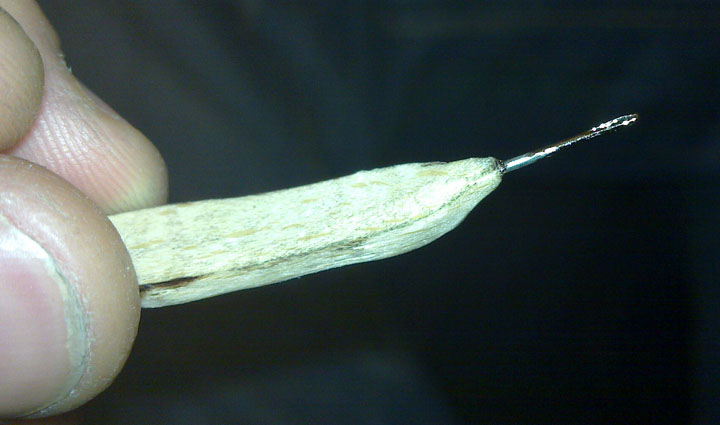
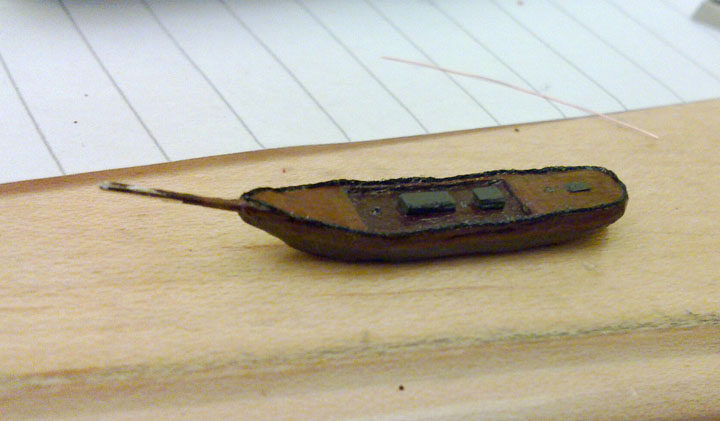
With only a metal vice in the vicinity, work began on the hull. A wooden spoon, with a nominal value of less than ten pence, was split lengthwise and trimmed to the decided length.

Using a Stanley blade a rough hull shape was formed. Into this I affixed the upper third of a needle to form the bowsprit, where the eye would conveniently provide a passage for the ropes when it came to reassembling the masts inside the bottle.
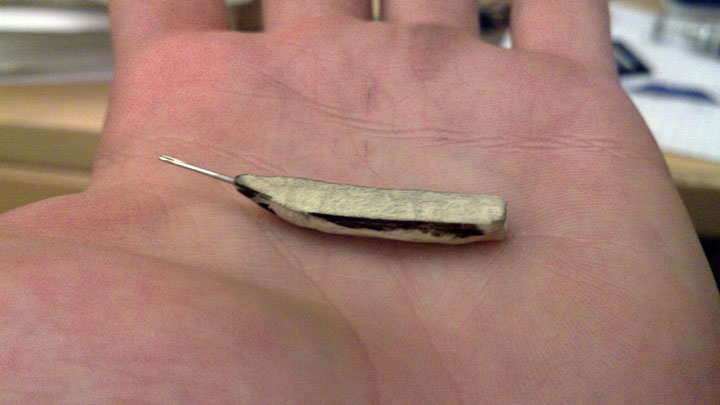
A suggestion of the top of a rudder was formed at the back, although most of the submerged part of the hull was just trimmed away.
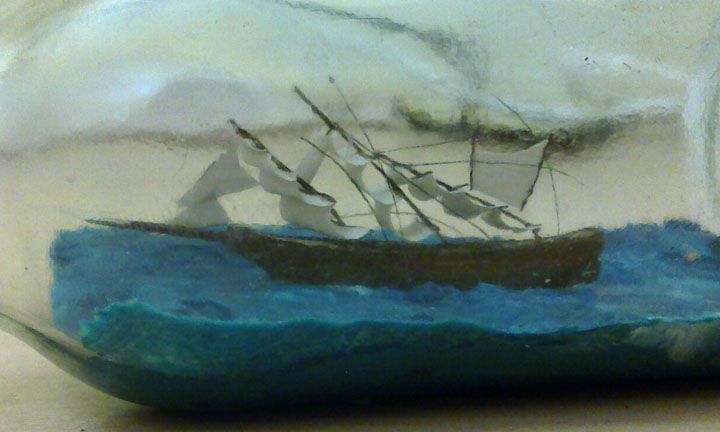
Decks were formed and the ship was painted in a fairly simplistic manner. Without much to form a reference, the decoration was mostly arbitrary. Cotton thread lined the balcony. Holes were created to support the masts using the smallest pins available. Clear nail varnish was used as a glue throughout.

The bowsprit didn't take to the paint all that well, and I planned to recoat it upon completion of the rest of the model.
Work began on the masts. A length of standard multicore speakerwire was unravelled and individual strands were isolated, each around 0.25mm in diameter. Doubled over it formed a relatively sturdy construction to which spars and sails could be attached. The single strand on which it was supported would be the only part attached to the hull, this would encourage the assembly to flex only at the base, a crucial part to raising the sails once inside the bottle.
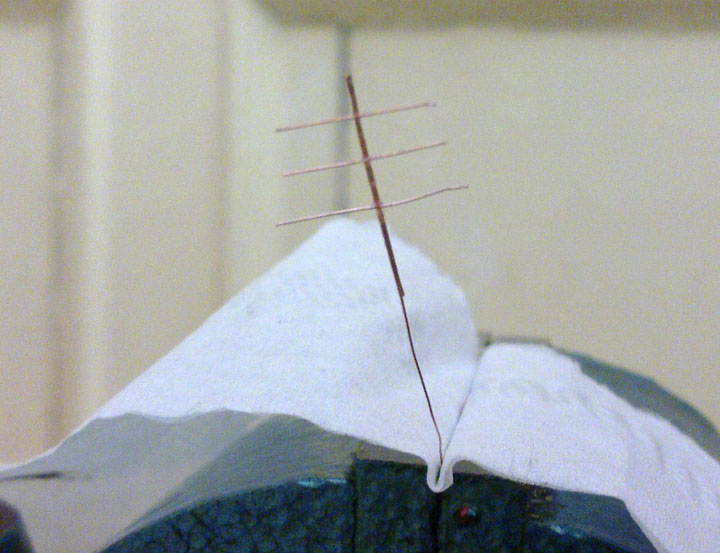
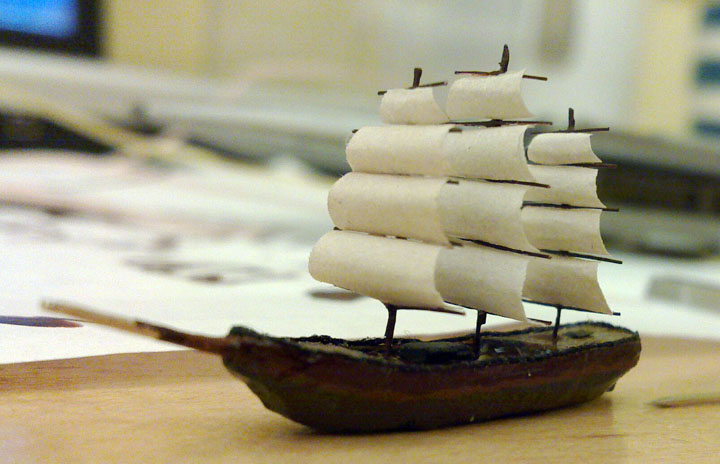
The sails themselves were created from paper soaked in tea. Various different exposures to tea provided a range of tones, and after much experimentation the sails were cut and rounded to imply a moderate breeze.

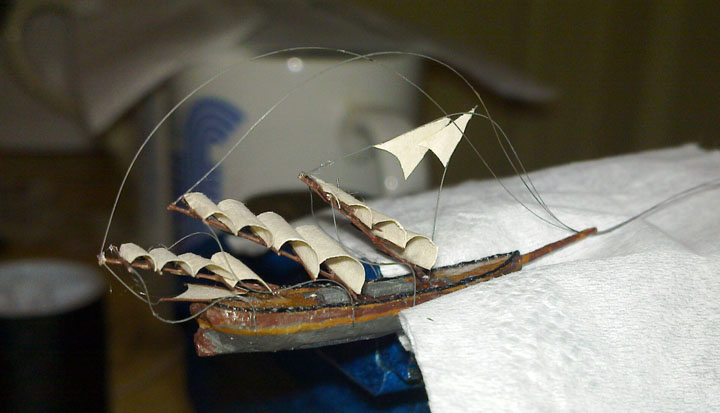
A lot of planning and consideration was applied to the task of raising the masts within the bottle. Ideally, the masts would be as tall as possible within the bottle, and as wide as the mouth of the bottle. A combination of educated guesses and scale diagrams provided appropriate dimensions.
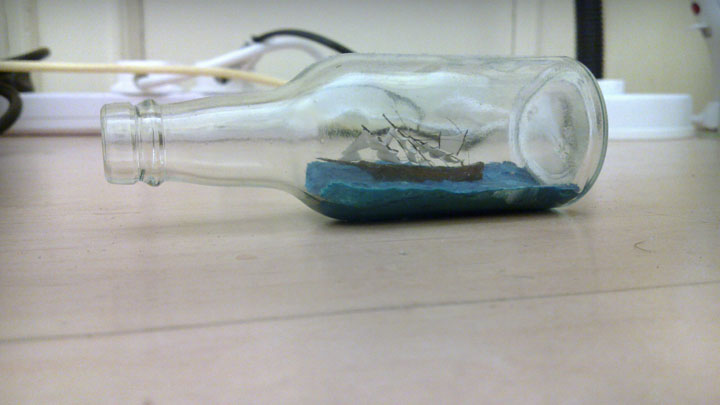
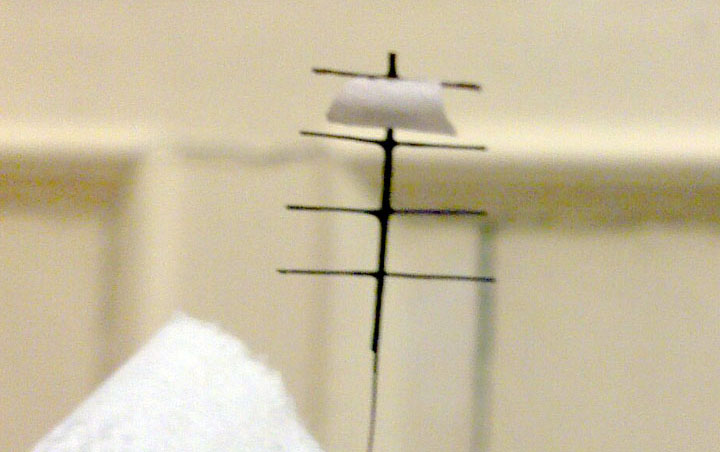
With the masts in place, little Cutty Sark was beginning to look like a ship.
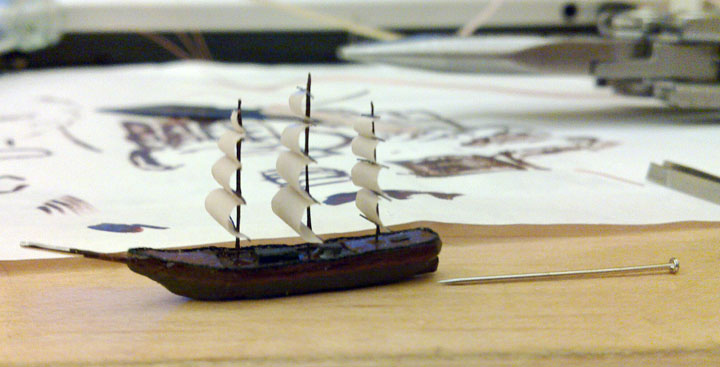
For a sense of scale, the pin next to it is about 25mm long. You can also see my multitool in the background of this shot.
My original plan of using cotton thread to rig the ship had to be abandoned. It was simply too thick. Unravelling it into individual fibres was useless, as they were all too short, wavy and fragile. Human hair was the chosen alternative.
The biggest hurdle was in constructing the spanker. If the mizzenmast were to fold flat, the spanker would have to rotate to be perpendicular and unfold to the correct position, without help, when the main sails were raised. The stern being furthest away from the bottle opening, it was vital to get this part right.
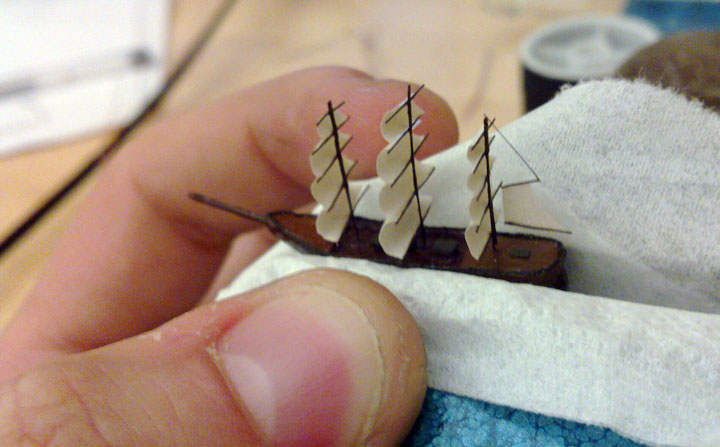
With some blonde, almost invisible, hair kindly donated to me, I attached the mizzen only at its base, and stabilized it via a single painted hair at the top. This arrangement allowed the sail to flex to a large degree without damage, and would spring back into place even when crushed under the other masts.

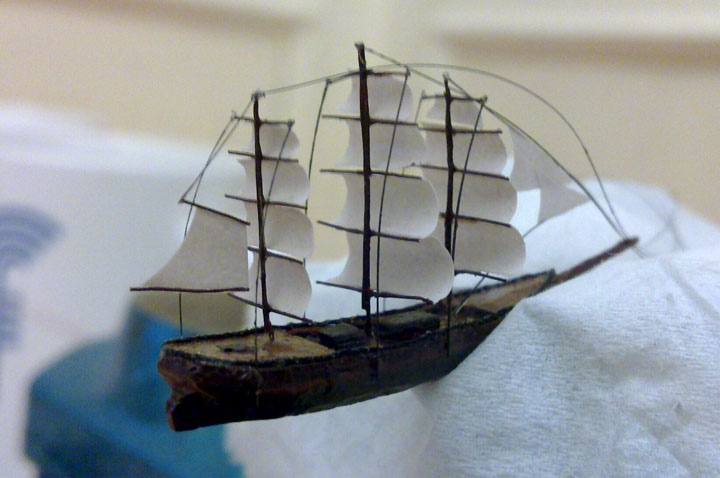
Rigging continued without much hassle, and the jib sails were attached so that they would pull into place as the masts were raised.


With most of the rigging complete, a few trial runs were conducted to test the mechanism.
With a deep breath, the process began.
Fastening the ship in place onto the plasticine was harder than anticipated.
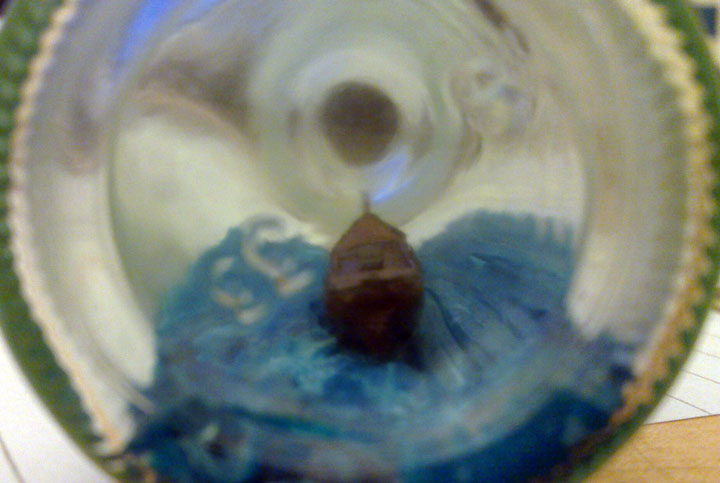
Gently tugging the wires slowly lifted the pieces, bringing the model to life. Pondering over every move and executing them with the greatest of care, moving nothing more than a millimetre per minute, the end was finally in sight.

And then, the inevitable.

With a sneeze, multiple sails on the main and fore masts came loose. Reconstruction at a distance proved futile – there was no option but to remove the ship and start over.

Assessing the damage, repairs were not exhaustive of our resources. With determination and skill, the ship was soon seaworthy again.
The reader shall be spared the next several weeks of work. The above process of inserting the ship, destroying it, removing it and repairing it repeated at least five times. Each time the final, perfect model grew closer and closer into view.
However.
I was sabotaged. Sparing the details, I ultimately arrived home one day to find the model in an irreparable state. Someone – and I do have a strong suspicion of whom – had performed the worst possible attack on the model. The control ropes used to hoist the masts had been yanked out. Not only did this further damage the model, but without these imperative details, there appears to be no way of removing the ship from the bottle in order to restore it to its original health.
And tragically, at this point, I declared the project suspended. The unknown lies ahead but rest assured, one day or another, by whatever means possible, I will complete this project.
Until then, the Cutty Sark lies battered and broken in its tiny glass world.