Rollei 35 Meter Repair
9 Feb 2016Progress: Complete
The previous camera repair I posted was most lacking in the picture department. So here's one where I took plenty of juicy shots.
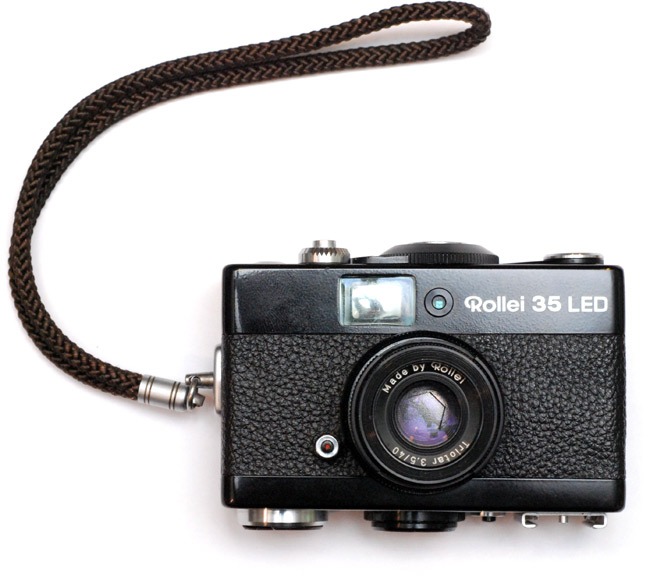
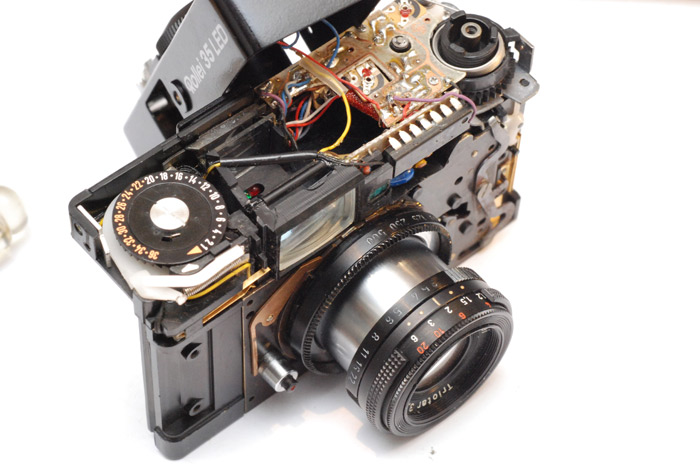
The camera was a Rollei 35 LED and it appeared to have an electrical fault. The meter would always indicate overexposed, no matter what the light levels were.
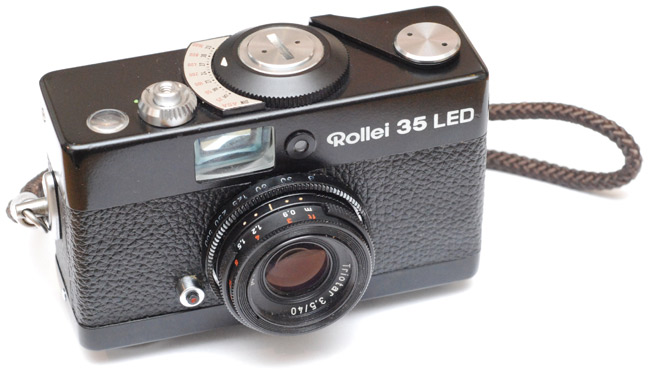
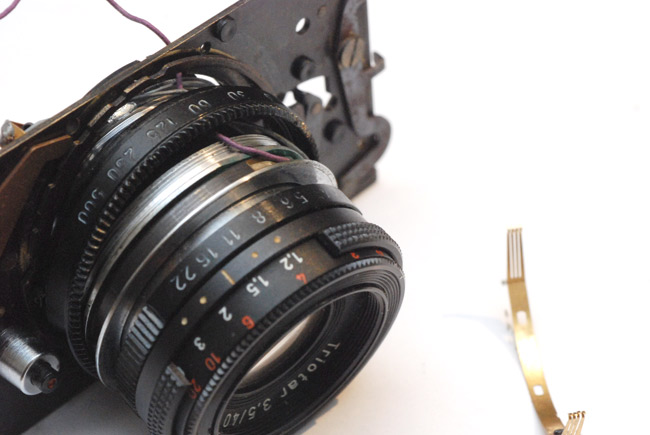
This camera has an unusual feature, the lens barrel telescopically extends. Very cute. Not so cute is the construction technique, even though this is incredibly prevalent: in addition to screws, part of the camera is held together with glue. I always take a moment before pulling the glue apart, to convince myself that I am not just snooping inside, I am committed to the repair.
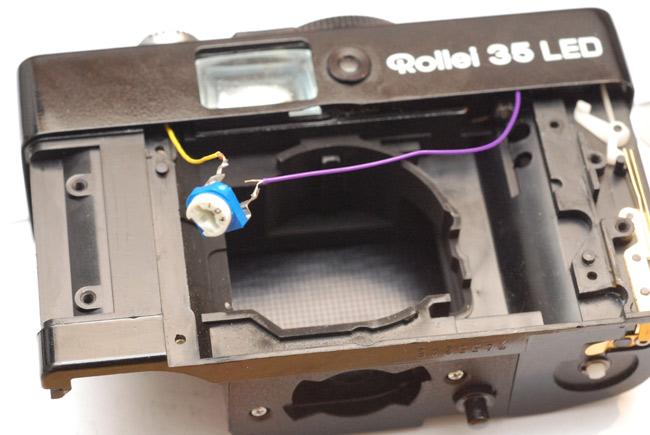
So, by peeling back the fake leather you can get to the screws that hold the faceplate on, and slowly work it past the lens barrel. The top of the camera is held on only by screws. I actually laughed out loud when I saw the circuitry - a through-mount integrated circuit! ho ho.
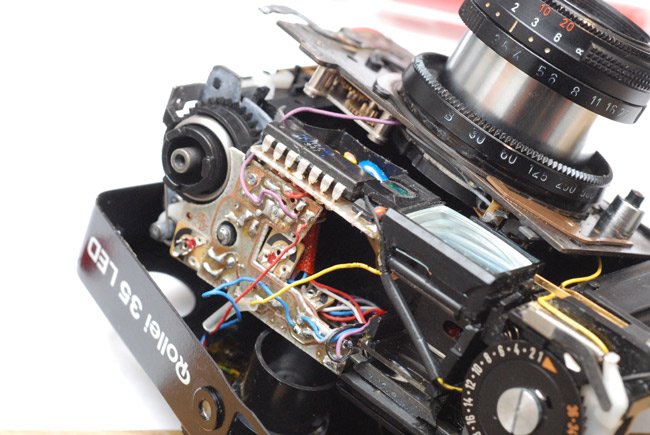
The chip is a quad op-amp and the meter works in a totally analogue way. Three LEDs in the viewfinder indicate under-, over-, or correctly exposed and are controlled by the op-amps acting as comparators. Essentially the resistance of the light meter LDR is compared to the resistance that represents all of the camera variables. The film speed, shutter and aperture dials have variable resistors attached to them, and they are wired in series, thus summing their resistances. I measured this combined resistance to be approximately infinity ohms. No wonder it was saying overexposed.
The film speed dial was easily accessible, and its resistance was correctly varying as I twisted it, so the break must have been somewhere else. The join where the lens barrel extends seemed an obvious place to look - no, the continuity checker said nothing wrong there.
I started to desolder the front part to get a closer look. The yellow wire is coming from the film speed dial, the purple wire is to go back to the op-amps. The black wires carry the resistance of the aperture control at the front of the barrel, and join the circuit at the brass contacts which disconnect when the barrel is folded in.
I was fairly sure of my diagnosis but just to check I stuck a trimpot in place of the parts I'd removed and yes, the meter was now able to show under, correct or over as I moved it in and out of the light.
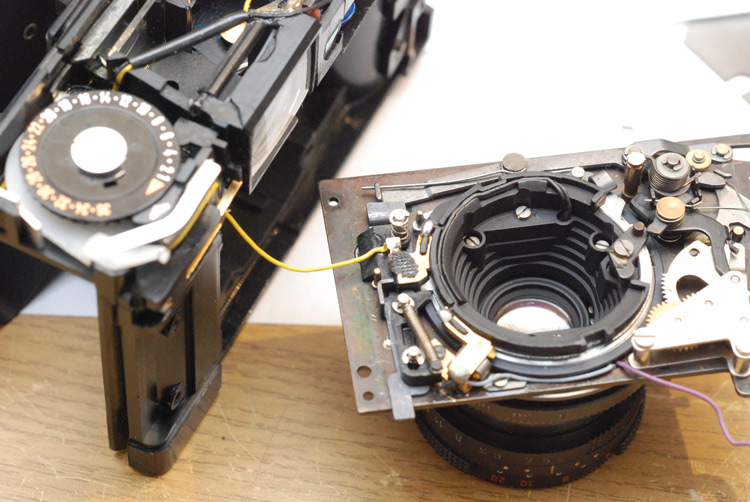
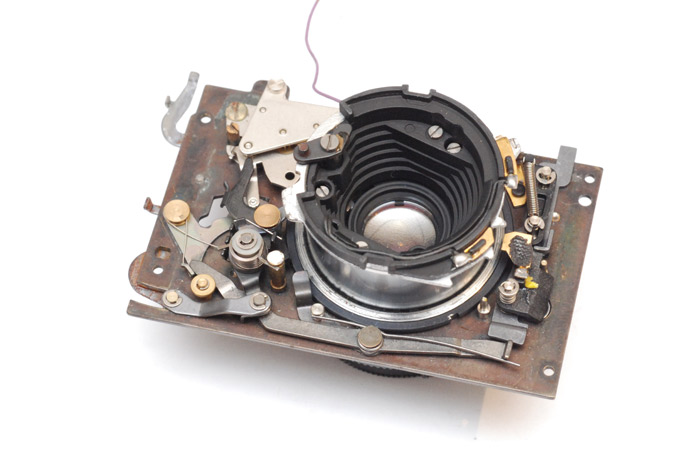
So, the mechanical guts of the camera, and I must say, they are absolutely gorgeous. I spent probably an entire half hour playing with this, cocking the shutter and firing it. The lever sticking up on the left cocks it, the lever sticking up on the right fires it. The shutter itself opens when the bar on the inner left of the barrel is rotated. This is pushed open by the black lever that rubs against the timing mechanism, which is the silver part with gears sticking out. That functions as a rudimentary governor, the highest geared part spins quickly against the air to provide a constant amount of damping.

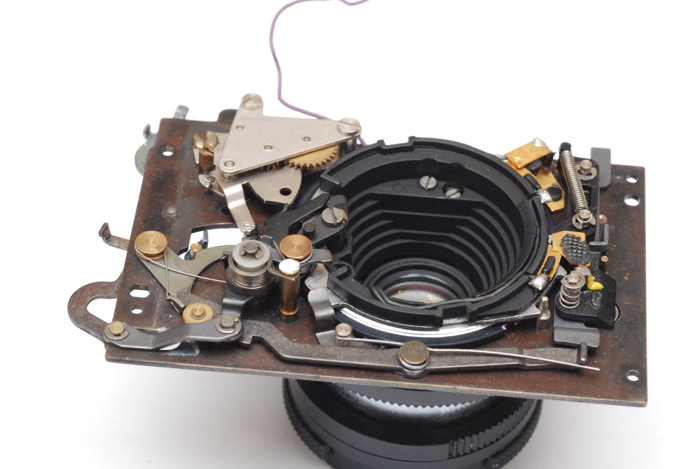
Here we are again with the barrel in the closed position. You can see how the designers have managed keep the majority of the shutter mechanism outside of the moving barrel. Cameras really are marvels of engineering. Even this relatively cheap camera is easily on a par with most mechanical watches - perhaps not in accuracy, but at least in terms of complexity! Chemistry, optics, mechanics and electronics all in a single lump of wonder.
And here it is in the fired position...
Right, enough jizzing over the thing, time to actually repair it. I had determined by this point that the problem was with the shutter dial. To get at that, I needed to unscrew the ring around the main barrel, the nut that clamps the shutter speed selector in place. This turned out to be insanely difficult to unscrew. It reminds me of trying to remove bicycle pedals when I was a wee tot. And that was usually because I was turning them in the wrong direction (with bicycle pedals, you always are - not matter what). Here we had the additional troubles of not being able to grip it and not wanting to damage anything. Eventually I mounted the mechanism in my vice like this:
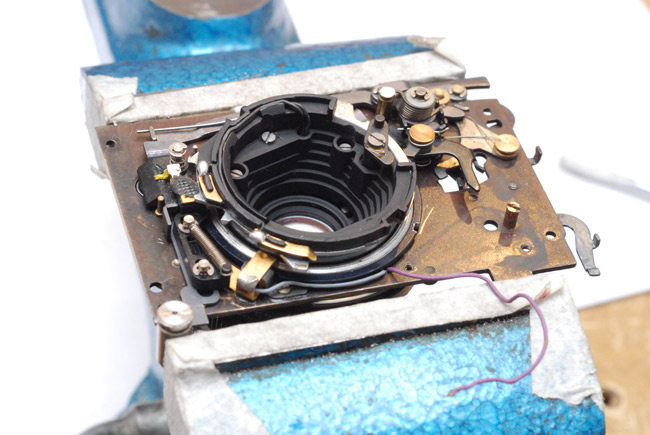
The ring we are trying to undo is the largest diameter one. You can see an embarrassing scratch in the metal from my attempts to unscrew it next to the notch on the right side of it. I'm using a steel bar on the left hand side as a spacer so as not to crush the mechanism. With the whole thing clamped down, we can finally apply some serious torque to this thing. I did this by sticking a screwdriver in the notch, and hitting its handle with a hammer. Gently! Alternating between notches, it finally started to shift.
When it came apart, my suspicions about the problem were correct. The variable resistor is made up of three parts: a strip of resistive material, a brass/copper electrode and a brush part that connects them. The brush had come loose from the shutter ring and jammed up against one end. When I opened it, the brush fell out completely.
Plastic pins are supposed to hold it in place, which go through the holes in the brush and are melted on top. Why these failed I can't say. My solution was to superglue the brush in place. But... I have been warned about using superglue, that it out-gasses as it dries which can fog lenses. Personally I have never noticed this but it was enough to worry me. On the other hand, its exemplary properties in all other departments make it extremely attractive. I decided to just use a minute amount. The way to do this is by pouring it onto some paper, then using a pin to dab the smallest possible droplet in place.
With it reattached, next up is the ludicrously difficult reassembly. During manufacture, the shutter ring would be assembled without the barrel in place. I did not want to disassemble the barrel at this point, and stubbornly persevered at reassembly with the barrel in the way. I spent... oh, best part of an hour putting it back together. But I did it, and the barrel never came out!
Then we re-tighten that awfully tight ring, maybe not to its original degree but as tight as I could bear. Resolder the connections, and we can at last check if the meter is functioning.
Success! The meter functions, and its readings match that of my digital camera. While I was at it, I checked the shutter speeds. The easiest way to do this is to record the sound of them firing in Audacity, and you can zoom in on it to measure the exact time of opening and closing clicks. With that checked, time to replace all the screws and glue the cover back on.
This camera really grew on me, and I was delighted to see the first roll of film from it with a functioning meter, as was its owner. She bought me a pineapple.