
Digit Replacement
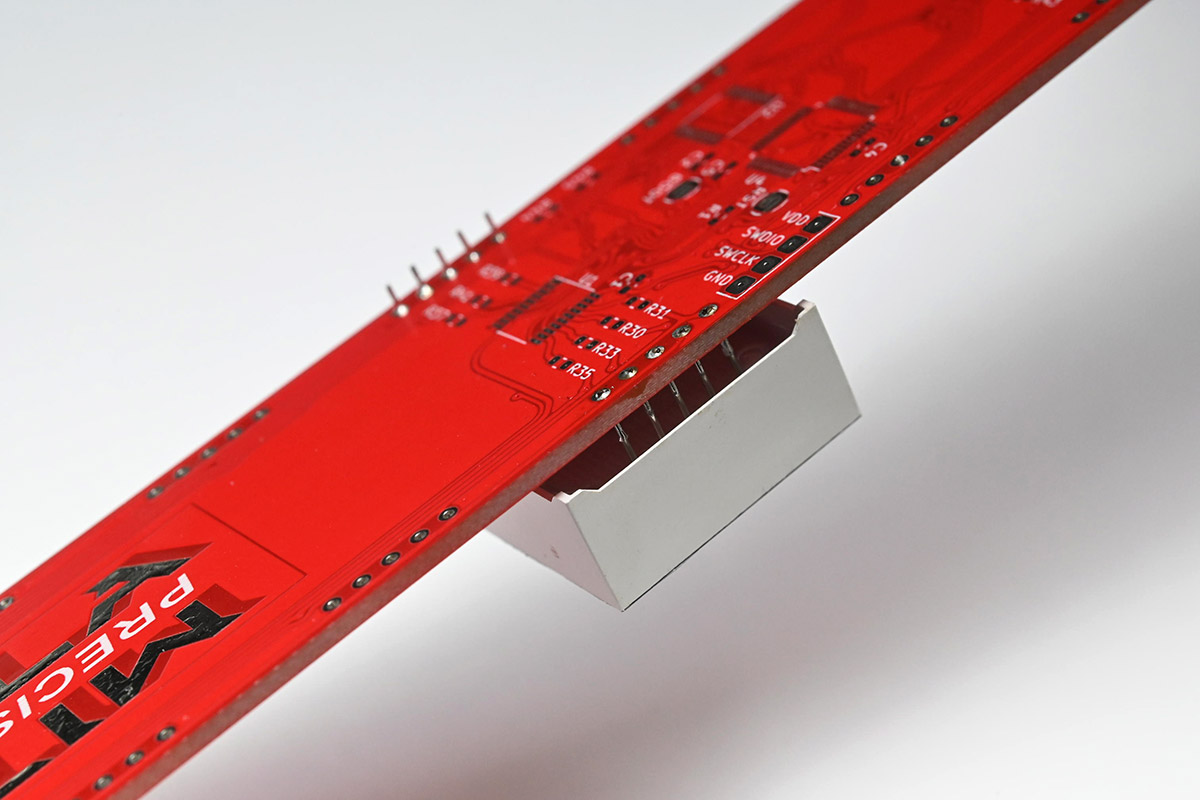
17 Jan 2026The Mk IV clock was designed with all of the components accessible, with the rear components all surface-mount, so that hopefully, a digit never needs to be unsoldered. But in case the need arises, here is a guide on how to desolder one of the digits without expensive equipment.
If the digit is destroyed, and you have a matching replacement, then you can simply cut the legs and desolder them individually. You might need to cut away some of the plastic to do this. But if the digit is working and you want to re-solder it afterwards then read on.
Using spade-tip soldering iron
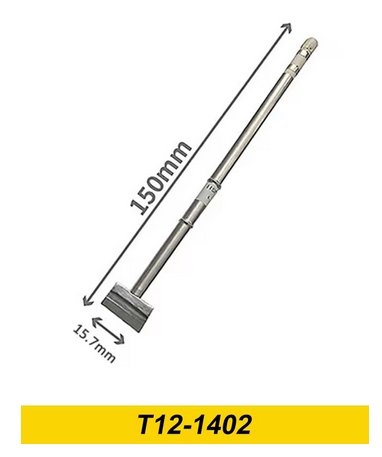
The best tool I have found to do this is a spade-tip soldering iron. If you're using a TS100 or similar soldering iron that accepts a T12 bit, there are spade bits available on aliexpress for around £10, which look like this:
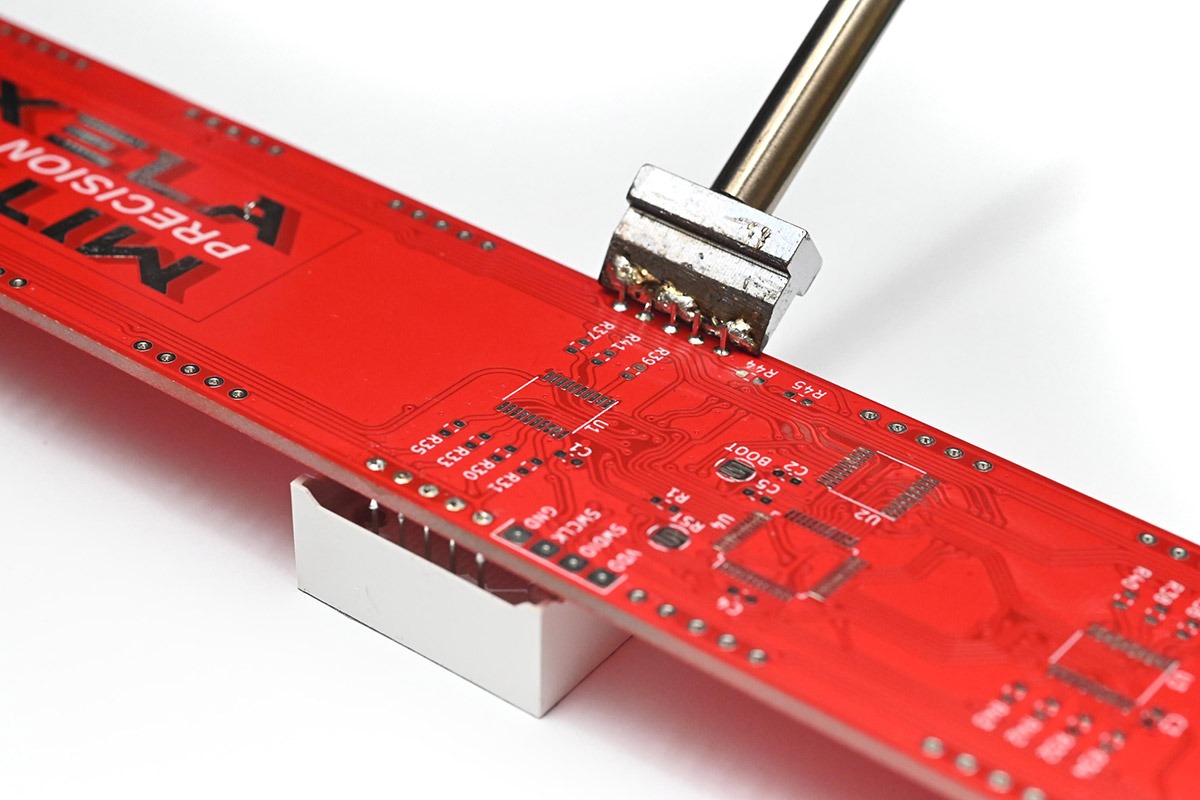
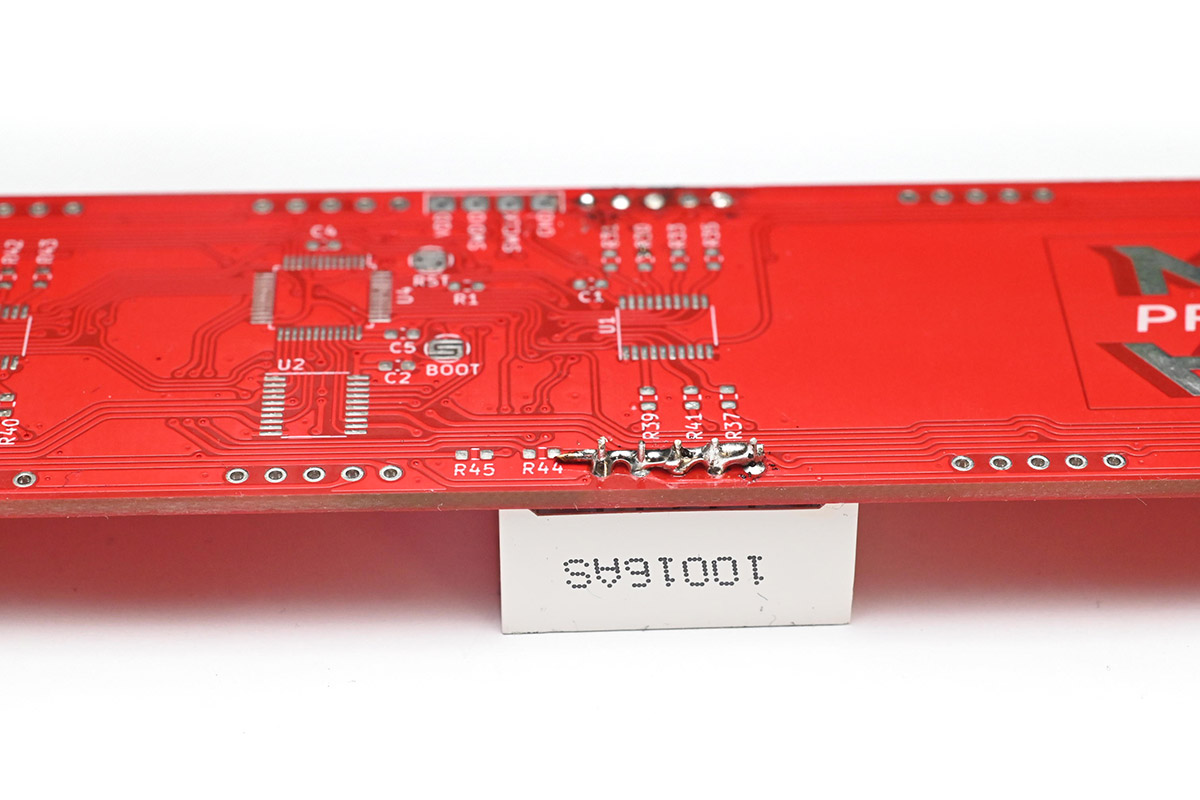
As I had to replace a lot of digits on the Mk III clocks, this was a solid investment and makes removing digits intact a breeze. The technique is to place the spade bit against the five pins at the top of the digit, flood it with fresh solder so that it makes contact with all of them, and gently pull the digit partly out.

Although I'm doing this flat on the desk for this demo, it's easier if you hold the clock in your hands, grasping the digit you want to remove, so you can pull on it as soon as the solder is molten.
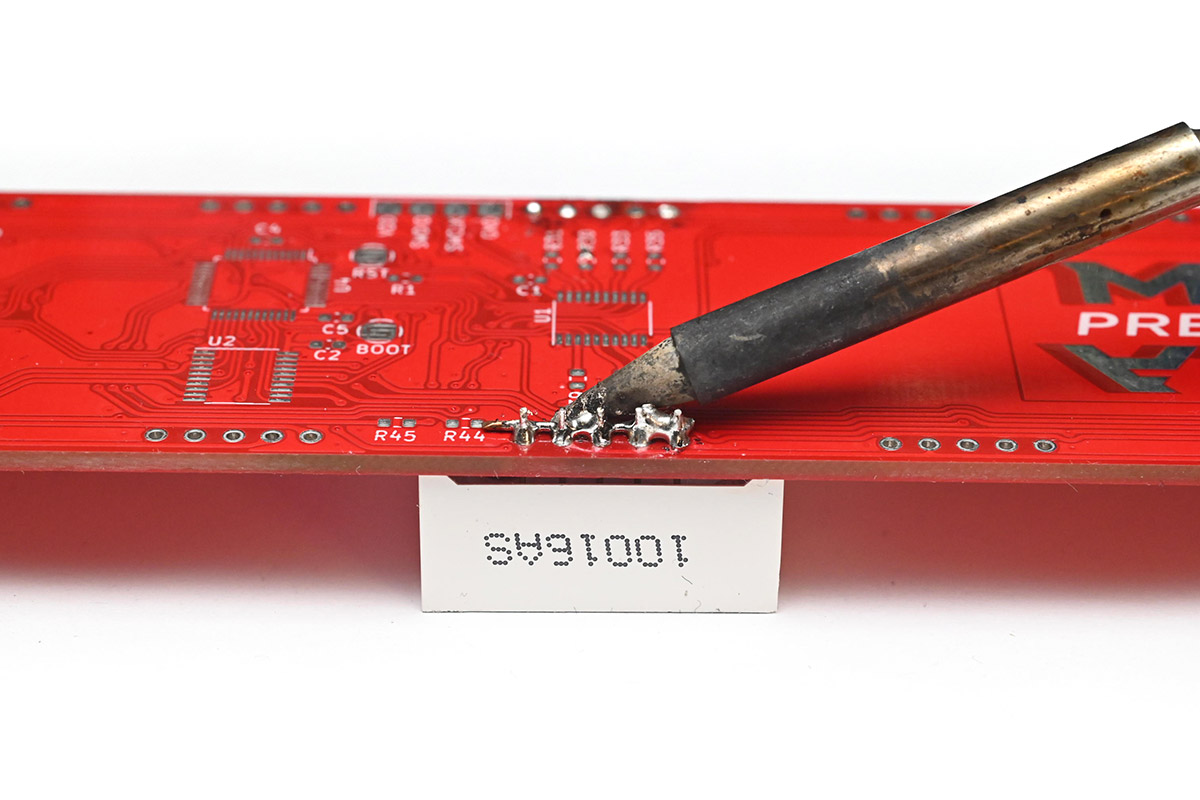
Then swap to the other five pins, and repeat the process.
You can place the spade bit face down on the pins towards the end if needed.
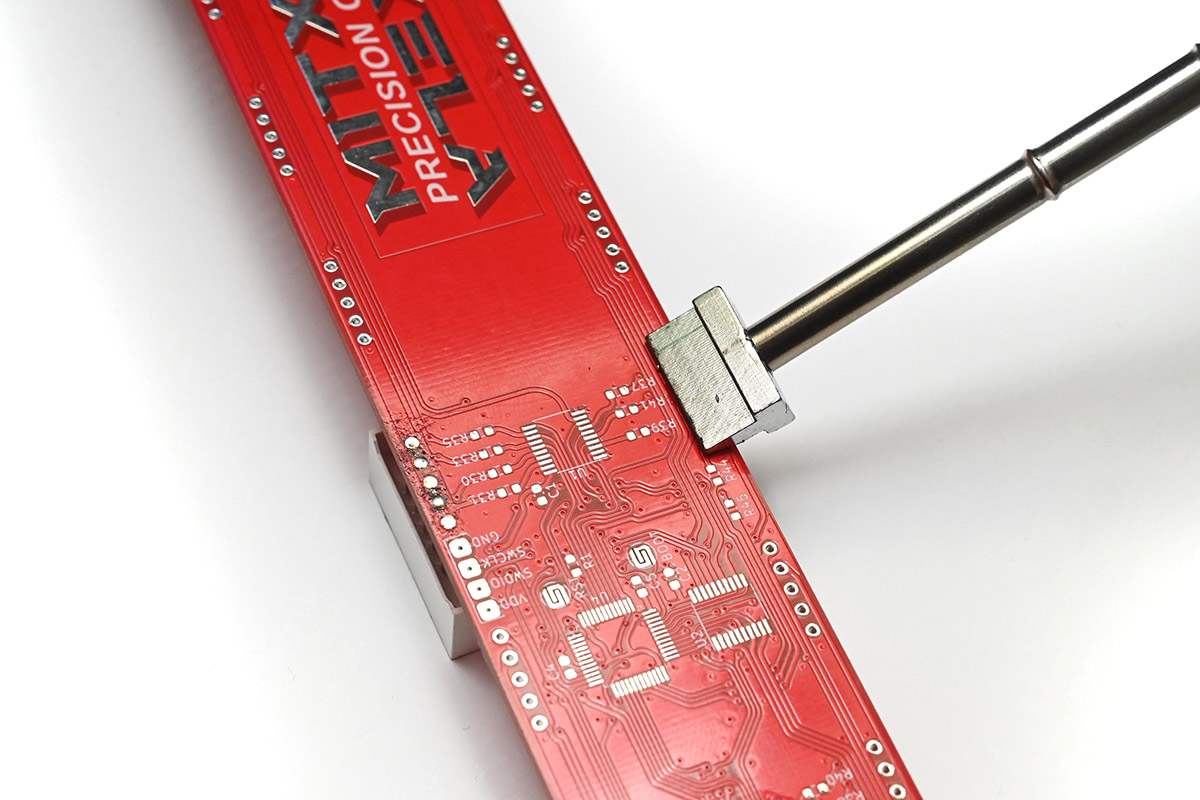
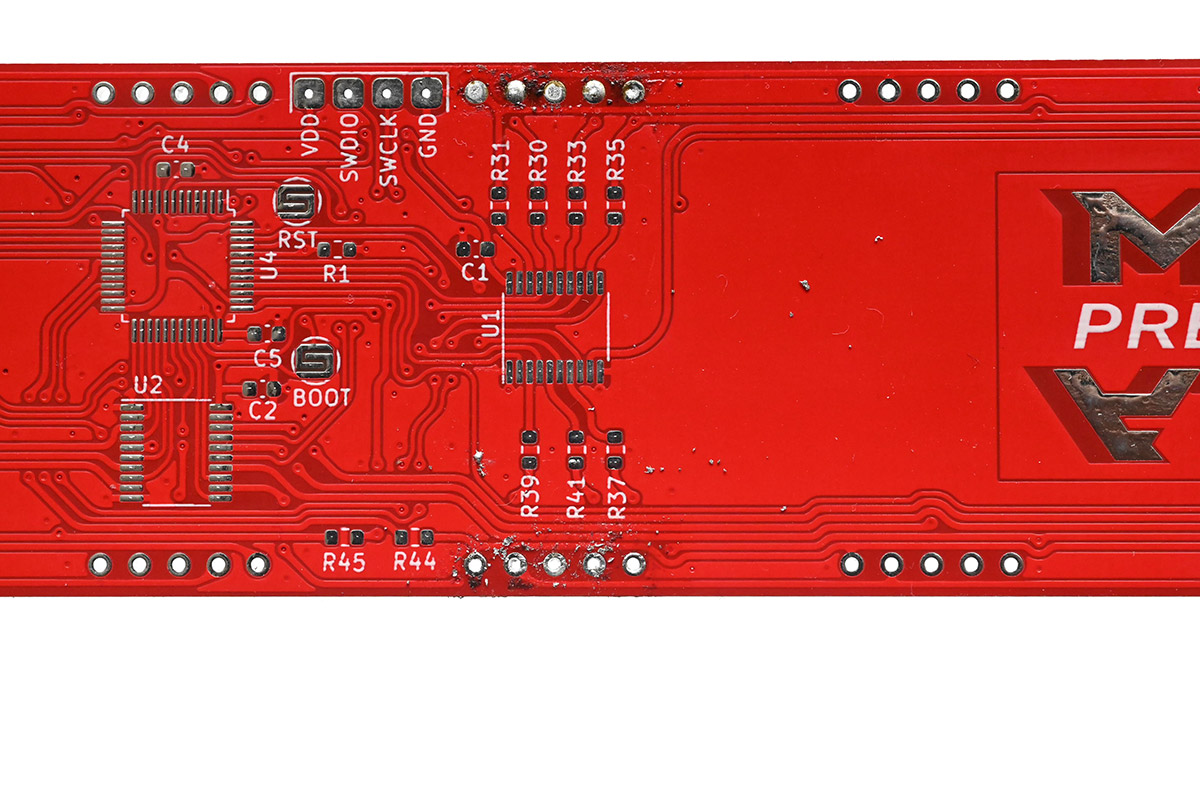
Overall this is a very easy and consistent way to remove a digit intact.
You can use the spade bit again to fit the new digit, so long as you're certain the pins are not bent. I would recommend going over each pin with fresh solder afterwards regardless. More tedious, but more reliable, would be to clean all of the old solder out of the holes, described below.
Using copper wire
Before I invested in the spade bit, this was my usual technique. We essentially do the same thing, but using a bit of wire to spread the heat. A scrap bit of mains cable is perfect, or a smaller bit of wire folded over a few times would work, or even a piece of solder wick.
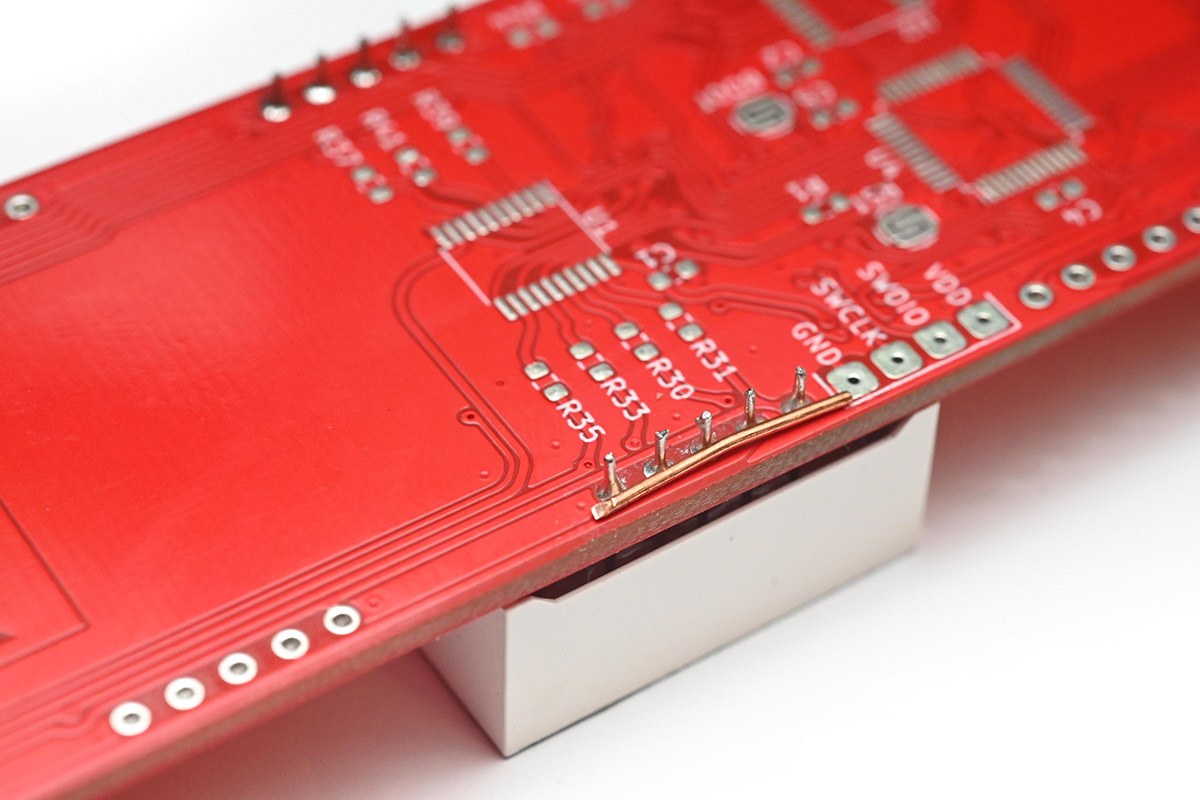
I put the piece of wire across the pins, then flood it with solder.
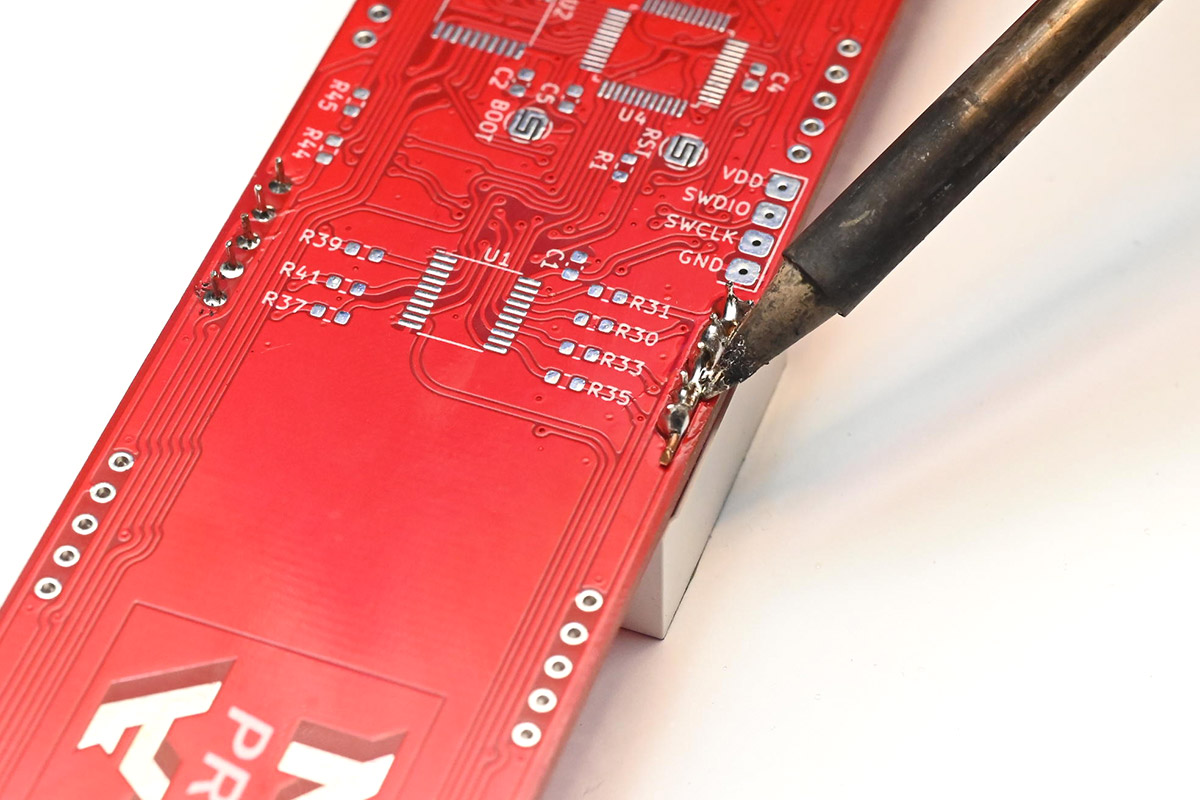
Once the solder is making contact with all of the pins, I then lay the soldering iron across the wire, to put as much heat as possible into it, and gently pull on the digit.
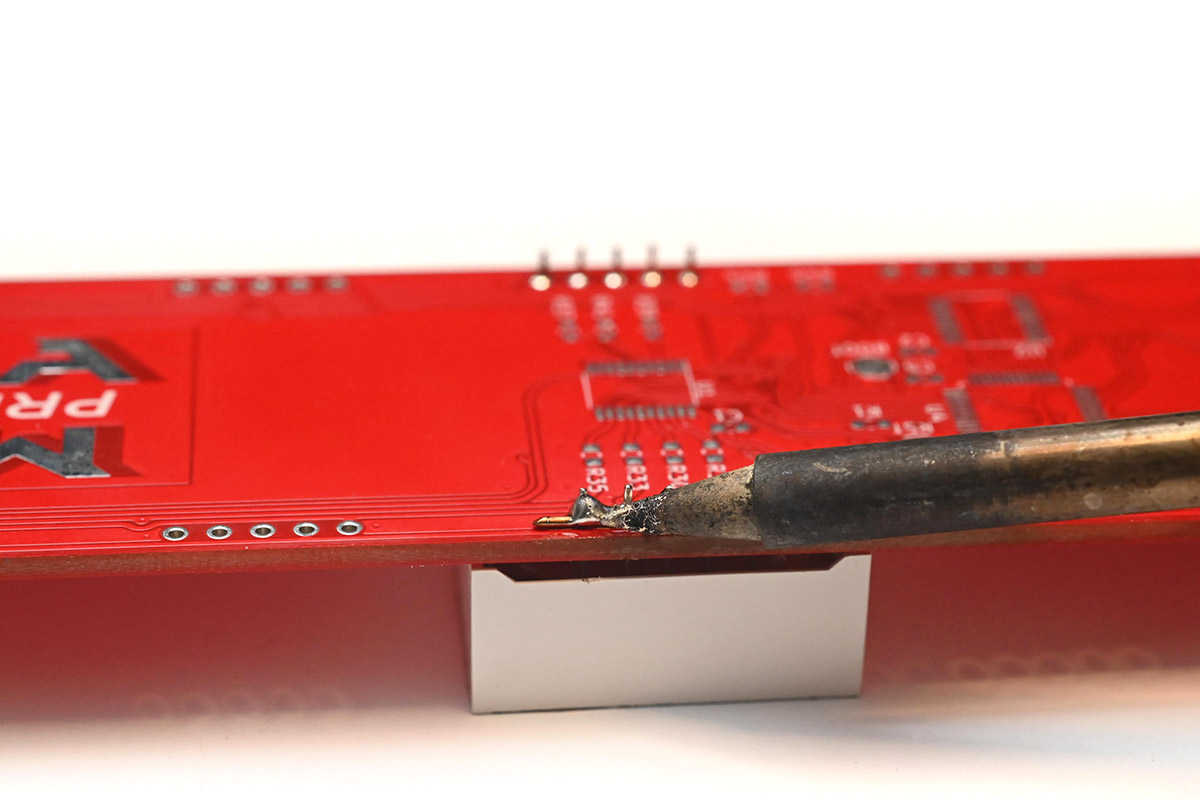
I pulled it all of the way out, here solder has bridged to some of the pins but don't worry about that for now.
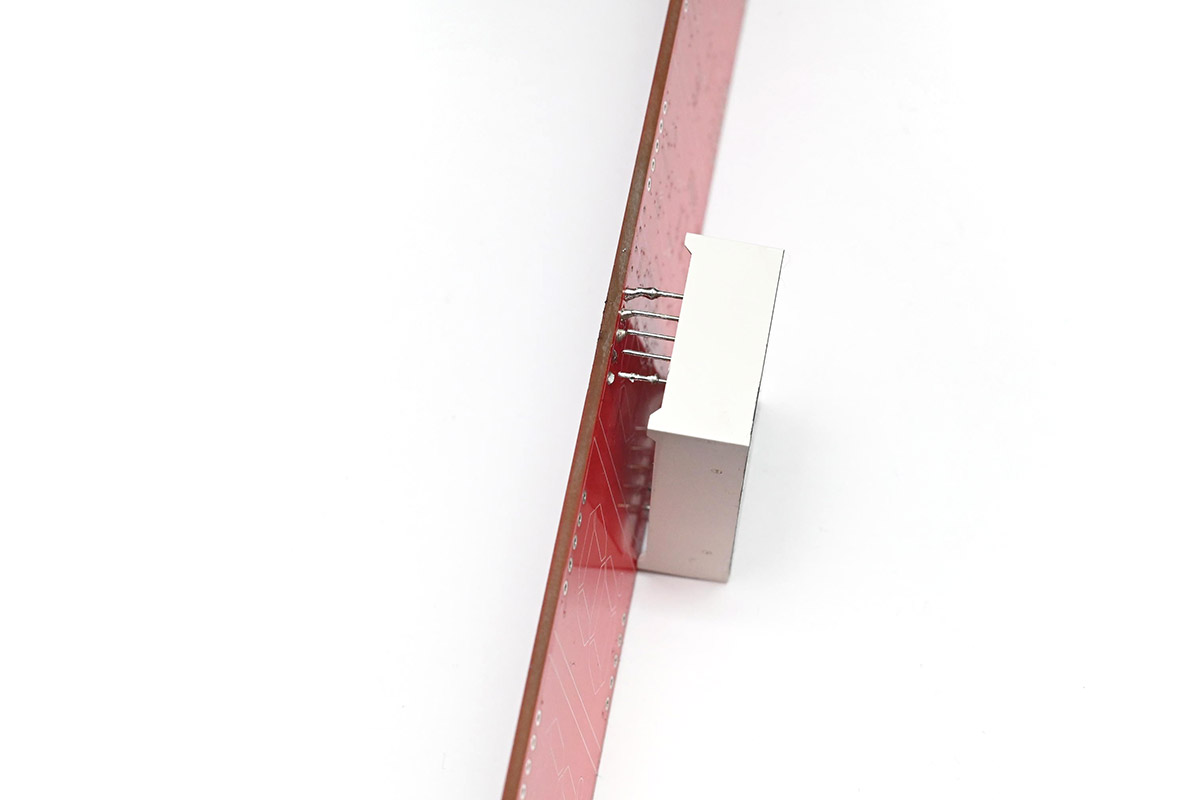
Then repeat for the other side...
After pulling out this end, I then just lightly touched those solder bridges that were holding it in place and the digit came free.
Other techniques
There are professional desoldering tools which can clean each pin, so if you have access to something like that it's probably the best way to do it.There are cheaper heated solder-suckers, but I've found these to be somewhat unreliable.
It's possible to use hot air to desolder everything, but I recommend against it for the clock. It's very difficult to only melt the pins we're interested in, often other parts will end up melting too. Remember that the plastic of the digits melts at a lower temperature than most solder. If the plastic deforms, the digit is probably ruined.
Cleaning the through-holes
To fit the replacement digit, the holes can be cleaned with solder wick, or a solder sucker. This can be tedious but makes fitting the new digit easier.With a cheap (unheated) solder-sucker, the technique is to heat the hole from one side with a soldering iron, place the nozzle over the hole on the other side, and depress the button just as you withdraw the soldering iron.
If the solder gets gummy, add some flux. For this demo I didn't have any other digits fitted, but on a real clock be very careful not to touch the adjacent digits with the soldering iron. It's best to keep the soldering iron on the opposite side to the digits, to be safe.
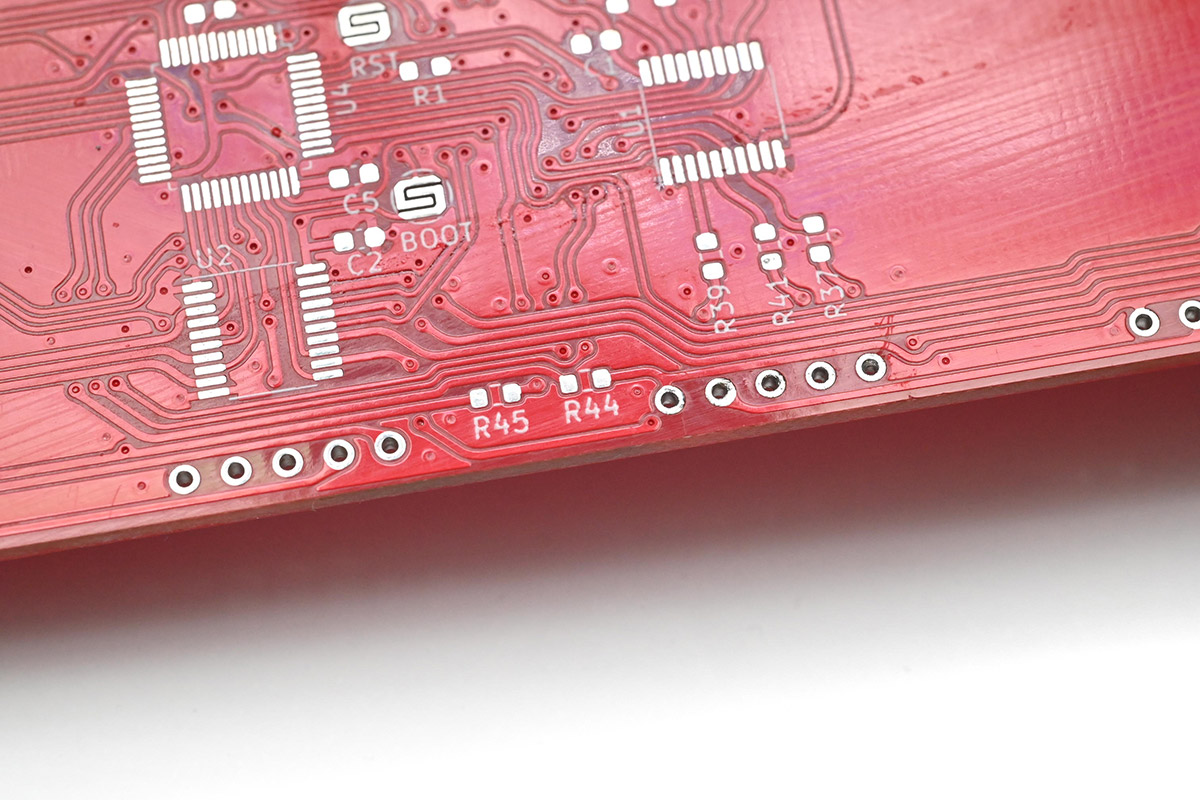
Once all of the holes are cleared (you can check by holding it up to the light) you'll probably want to clean the residue with flux cleaner. But, be very careful with flux cleaner or any other solvent. The black paint on the front of the digits will be ruined if it gets in contact with it. Also, the 3D prints will soften and deform in contact with some solvents.
The safest method is to pour out a small amount of flux cleaner, and use a small brush to apply it to the area. Wipe it away before it has a chance to dribble over other parts of the clock. I often hold the clock in a way that gravity helps keep the flux cleaner where we want it. That usually means pointing the face of the digits upwards, which is slightly awkward, but much safer.
Here, after soldering and desoldering a digit twice, I've cleaned up the holes and removed the residue with flux cleaner, and the board is almost as good as new.
If you damage the circuit...
The biggest danger is ripping one of the tracks off of the PCB. Don't despair if this happens, it's always possible to recover using a bodge wire. Since the digits are matrixed, for all of the segment pins (all except for pins 3 and 8) you can just do a bodge to the same pin of an adjacent digit. The MkIV clock has four matrices in groups of 5,5,5,4.
If you need any help locating where to bodge just send me an email.