
NES Controller MP3 Player
6 Jul 2008Progress: Completed
Since MP3 players are so cheap these days, I've been building them into everything. This has been done before, but none of the ones I've seen are as clean as this one.
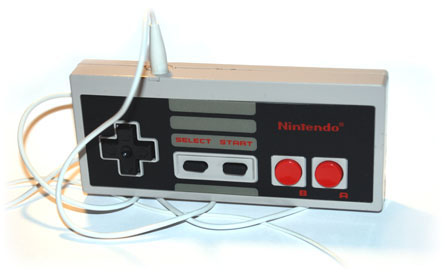
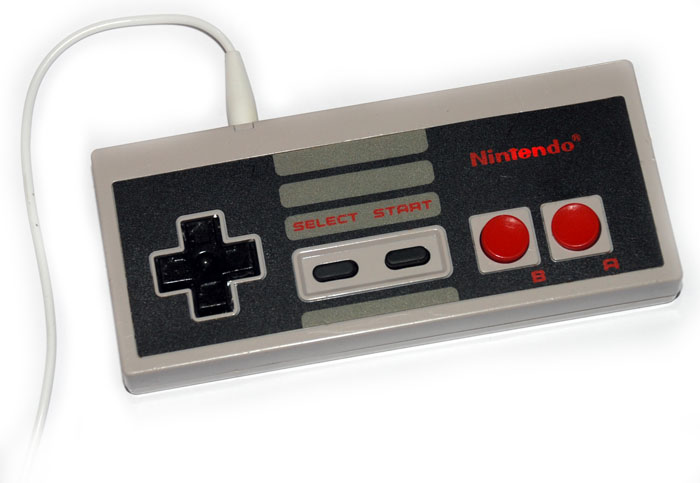
The A, B and Start buttons control next, previous and on/off, or hold them down to change volume. The original mp3 player was £9 and had no screen. I picked up the old controller for 99p.
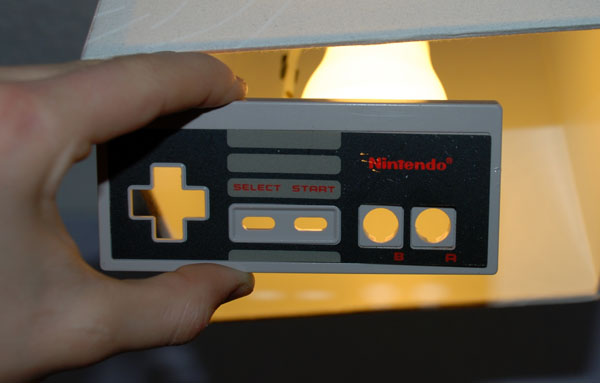
I hollowed out the plastic behind the Nintendo logo, and placed the LEDs of the original MP3 player there. Fairly simple to do, but it means that while it's on, the Nintendo logo flashes, which looks awesome.
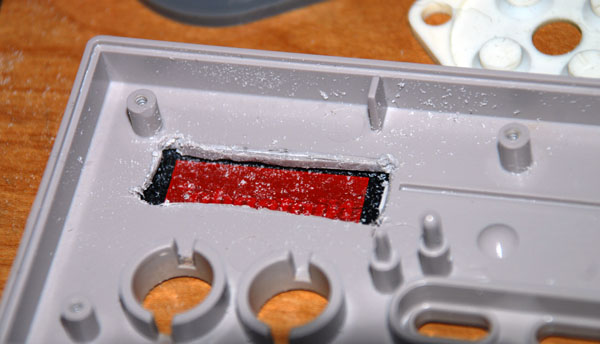
If you hold it up to the light, you can see I've cut too deep in places and will have to patch it up.
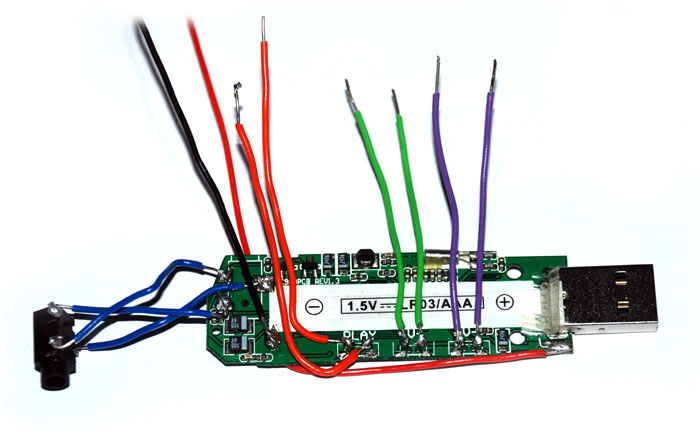
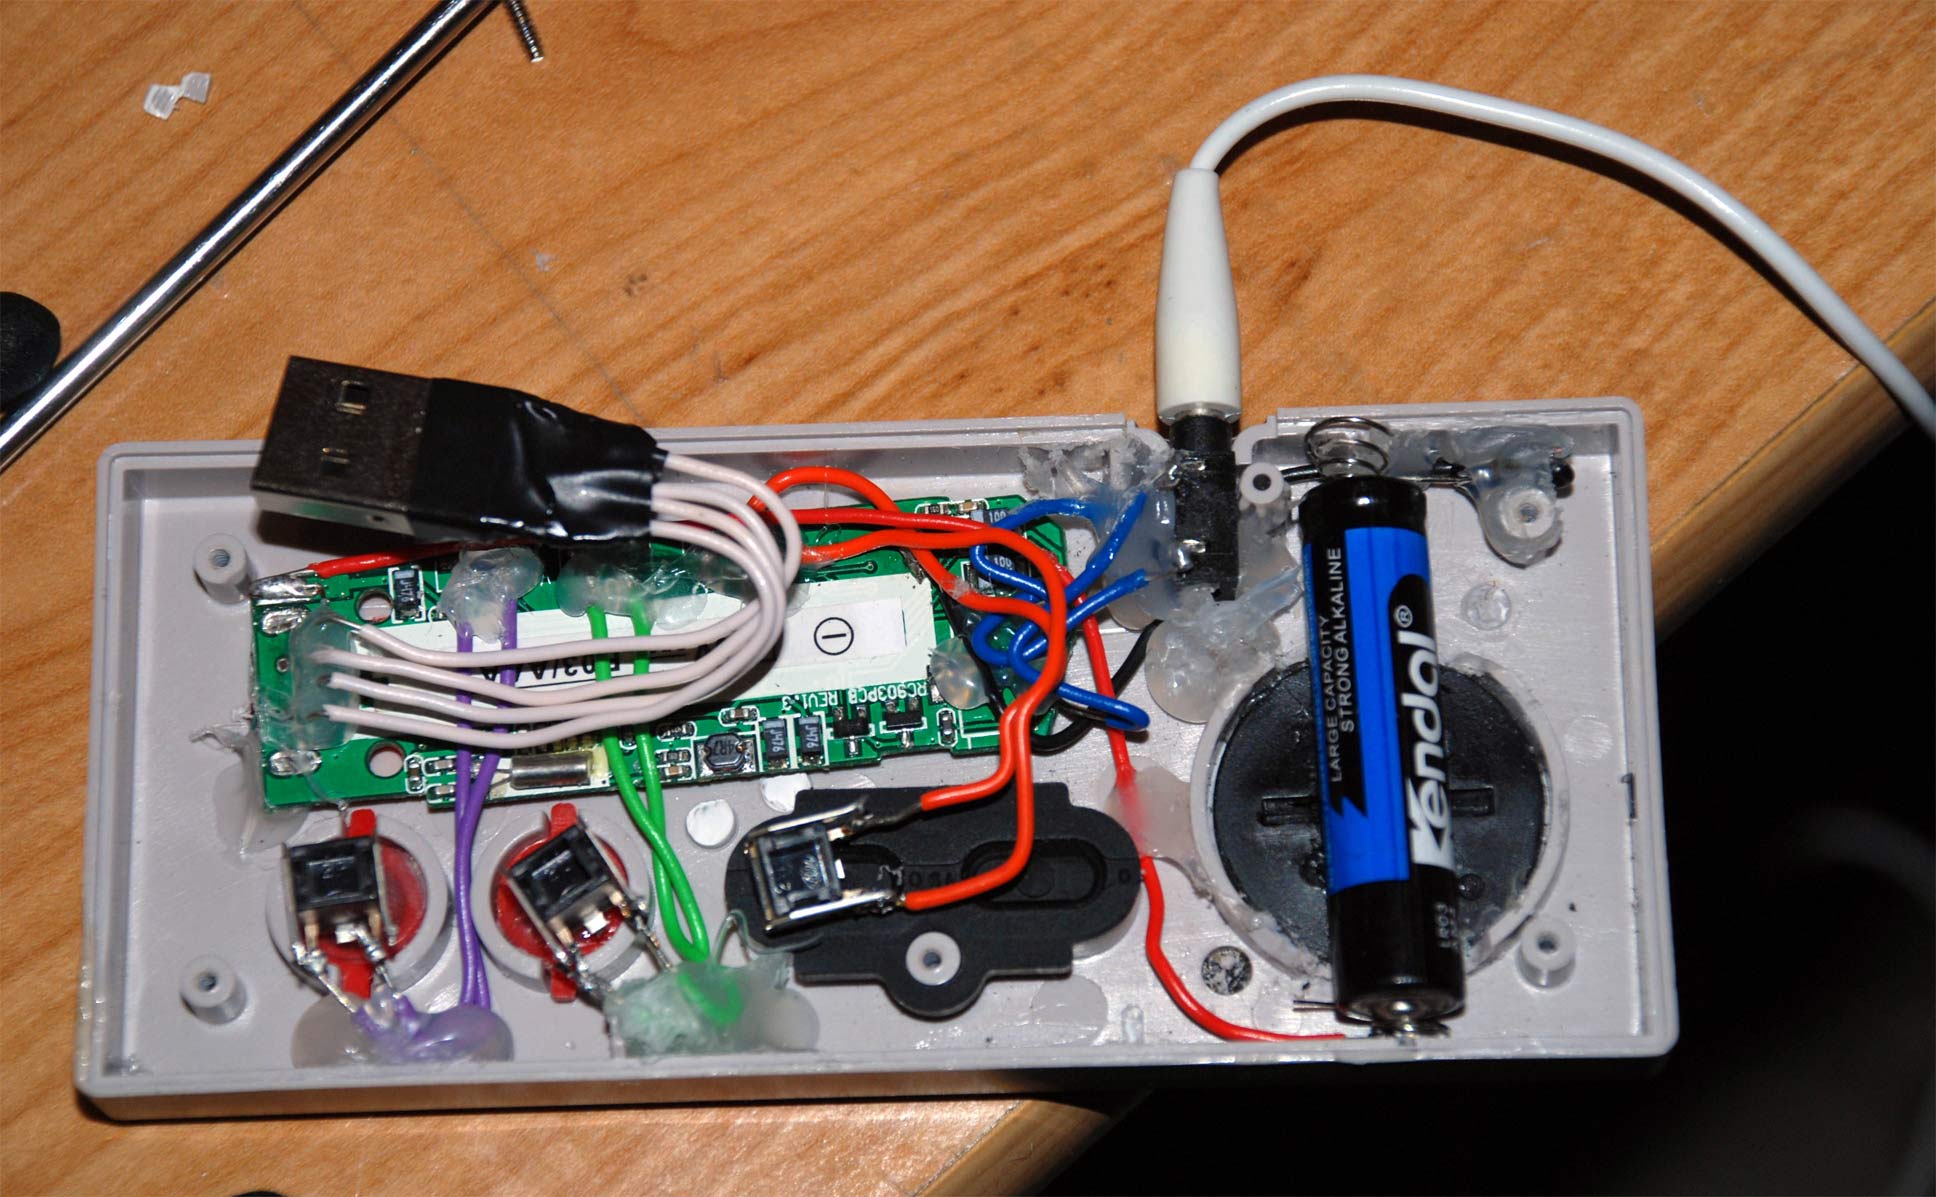
Here's the circuit board from the player, stripped and ready to work with.
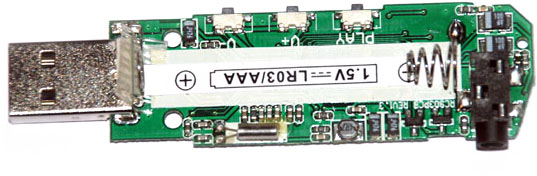
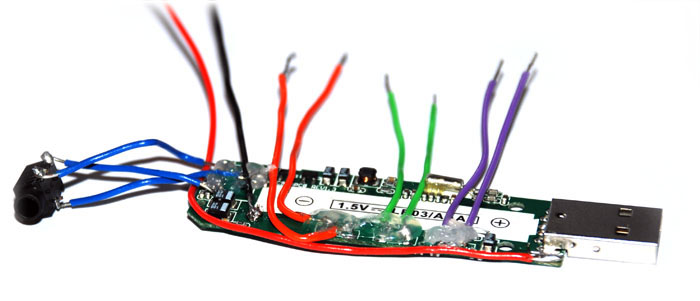
The next step is to desolder and resolder wires to the buttons, battery and headphone port.
Hot glue solves most problems. They need to be secure while you're playing with it, I've had linking wires snap off just as you put the case on so many times...
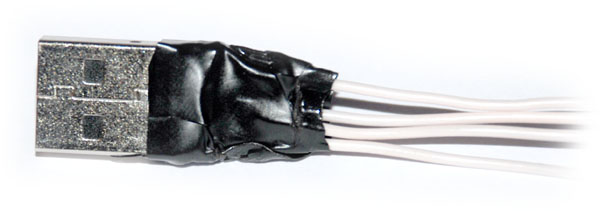
I whacked together a temporary cable for the USB as I wasn't sure at this stage where to put it.
A last look at the board before we start glueing everything in place. It's handy to try and position everything in the case now, before you end up with not enough space.
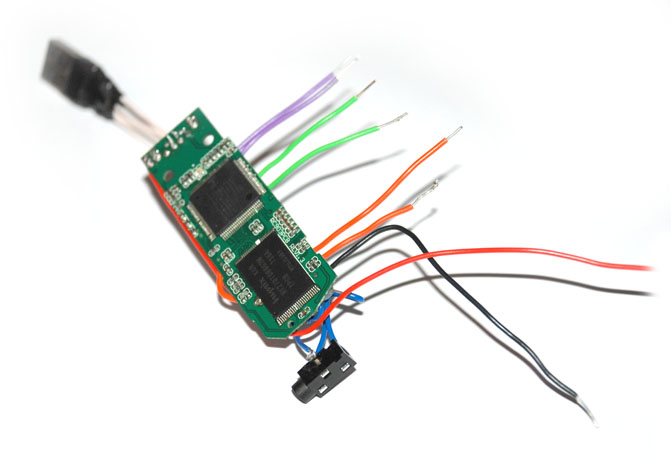
Luckily, there's plenty of room. Click for a high res version.
And there you have it. I never got round to having the USB port protruding, as I thought it would ruin the look.
It's a pretty tidy hack, but I'd really like to redo it. While it's nice and perfect to look at, all conveniences are sacrificed. You have to unscrew the back of the compartment to get to the USB port and the battery. I was going to have a USB port on the outside, but decided against it for aesthetic reasons. However, in version two, I hope to buy a USB mini port and mount it next to the headphone port, where it wouldn't normally be noticed. A lithium battery would be awesome, especially if it charged via USB. I can't think of any design of battery compartment that would fit and that doesn't require you to unscrew it. Also, since it's fairly spacious inside, mounting little speakers wouldn't be too much hassle. Having speakers built in would actually make it useful, rather than a novelty oversized MP3 player.
I think adding a screen would ruin it though. The only logical place would be to have it on the back, or maybe on one of the sides, but it draws all attention away from the front. And putting a screen on the front would look awful.