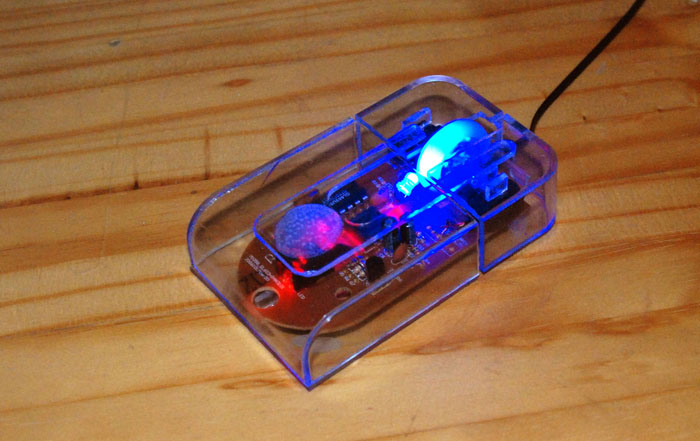
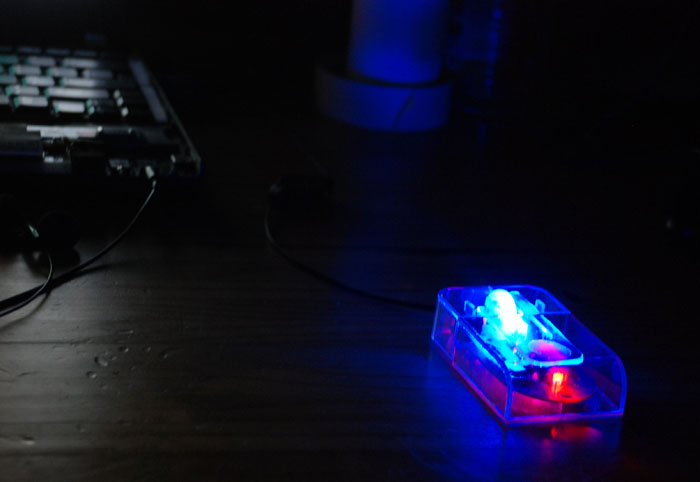
Transparent USB Mouse
1 Jan 2011Progress: Completed
This was what you'd call a field project – the only tool I had was my penknife.
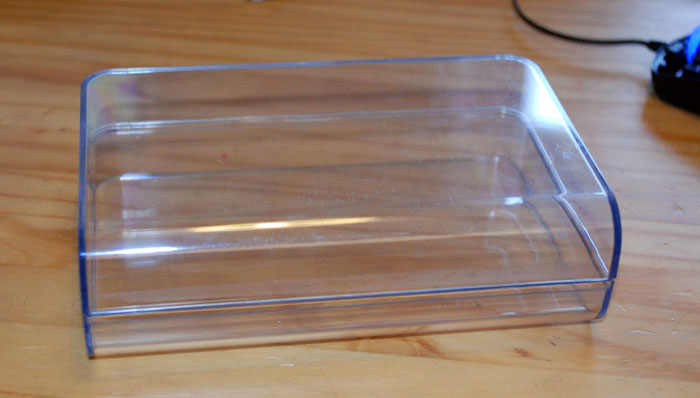
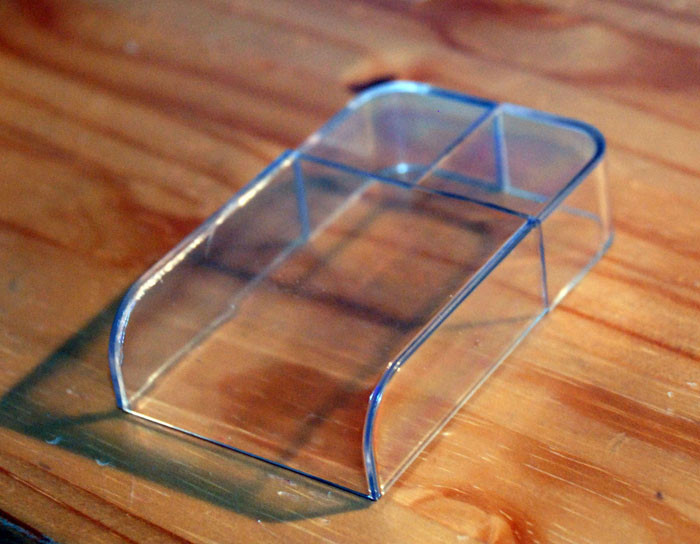
I began with this acrylic box...
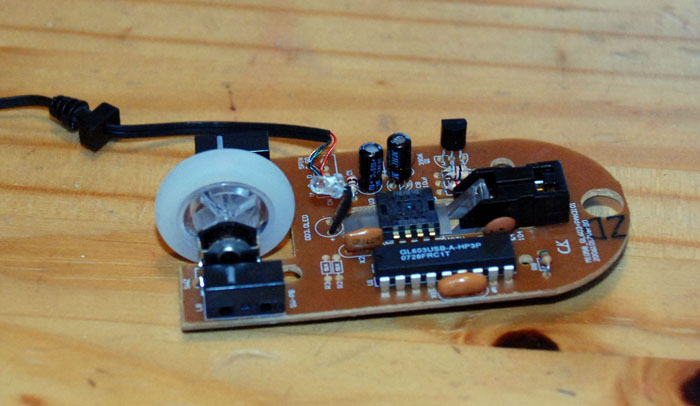
...and this circuit which I ripped out of a Tesco USB mouse which was less than a fiver.
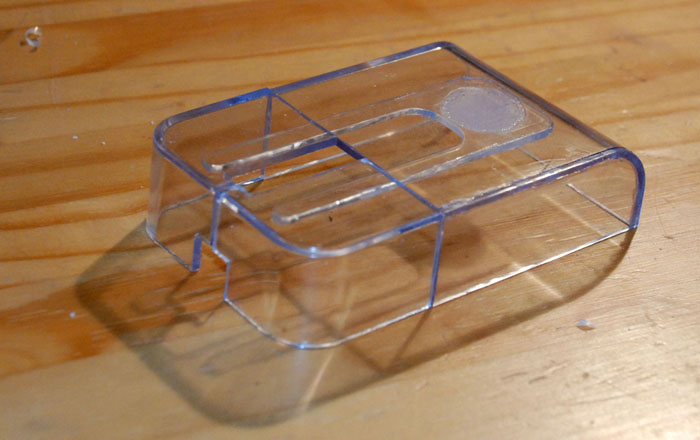
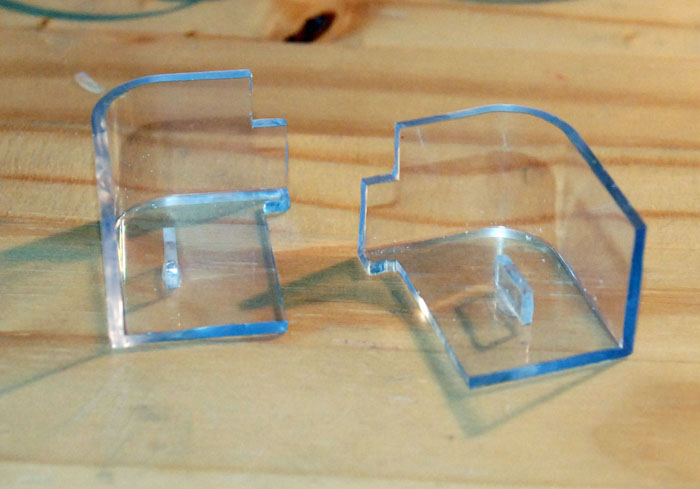
To start the corners were cut off the box to make the mouse buttons.
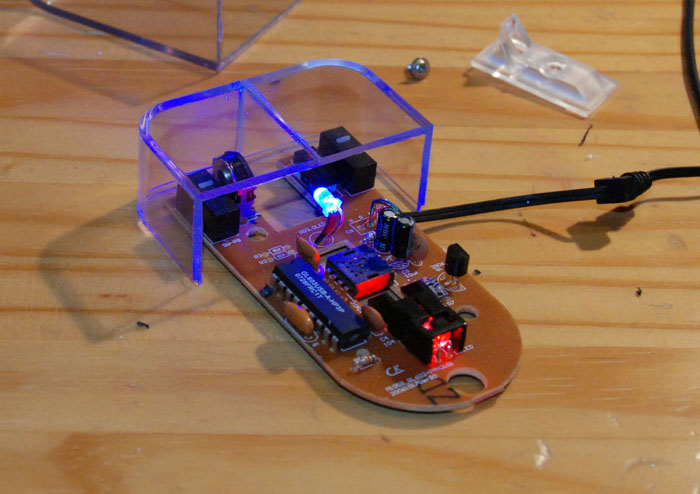
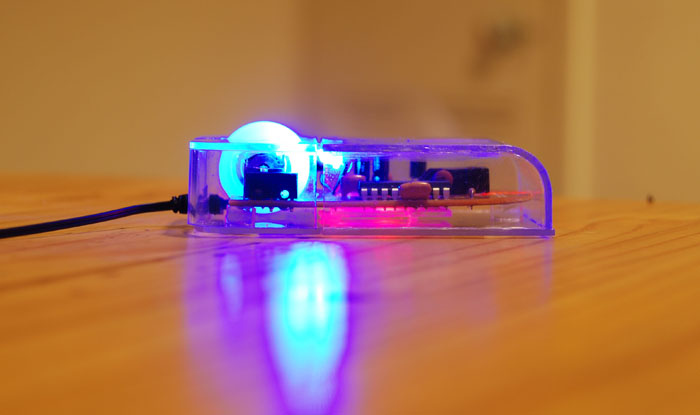
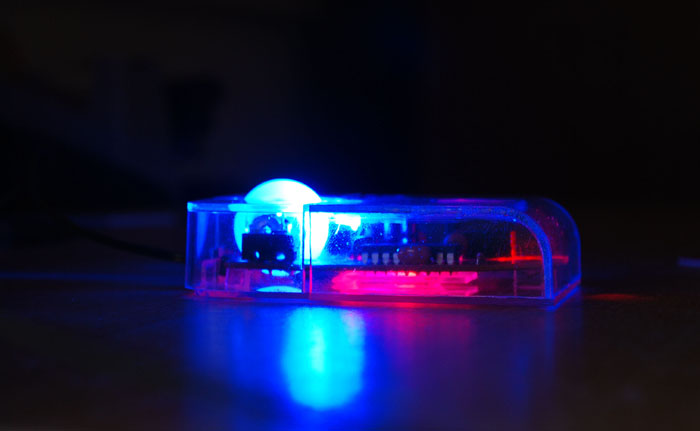
For the body, one side could be reused, the other would have to be glued into place.
To connect the pieces, springy U-shaped prongs were crafted.

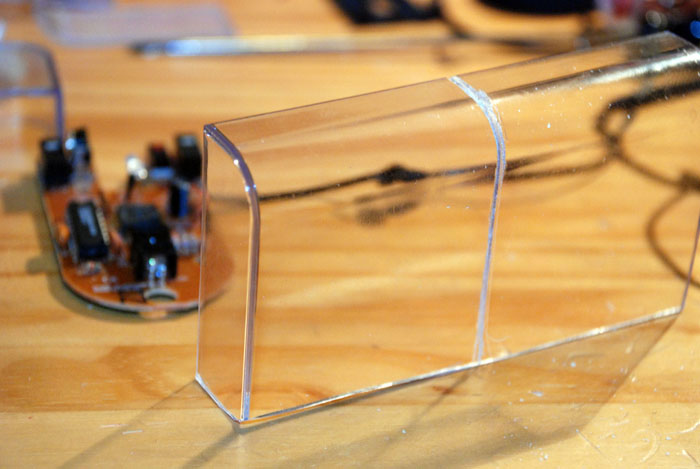
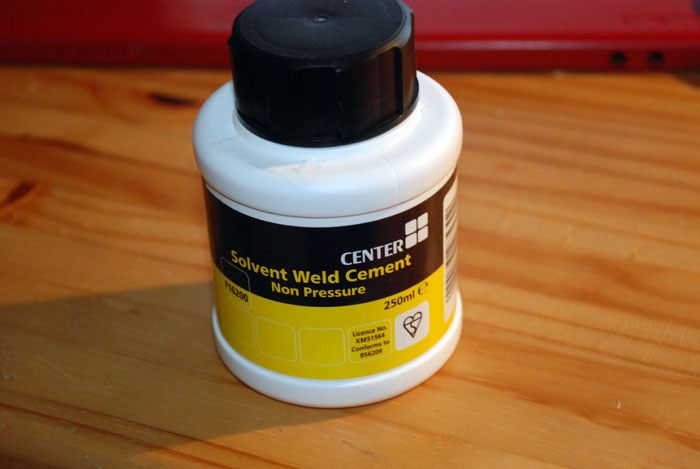
Again, field project – the only glue I could find was this solvent weld meant for sealing drain pipes. Takes ages to dry and burns one's nose, but it would have to do.
The glue formed a slightly opaque smudge which was disappointing. Here, holes for the cable and scroll wheel have been cut.
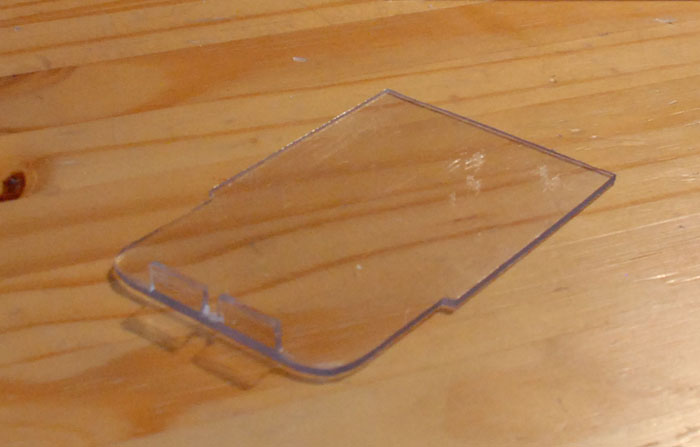
The base was cut out of the remaining acrylic. No incision was made for the optical sensor, it could see fine straight through it. The tabs at the front support the cable.
In order for the buttons to work, small tabs must be accurately placed to press the microswitches on the circuit board. Small adjustments were made by layering glue to adjust their height.
Teflon pads taken from the original mouse completed the build.