Luxury Timewaster
28 Jun 2019Progress: Complete
Some of my friends are lucky enough to have their birthdays in temporal proximity to my newly acquired access to a knurling tool.
In-keeping with the trend of gifts which are bespoke, high quality and utterly useless, this deluxe executive toy is made from knurled brass and steel, and serves no purpose at all.
Unlike most of my ridiculous gifts, this one turned out so pleasing that I may have to make another one for myself.
Construction
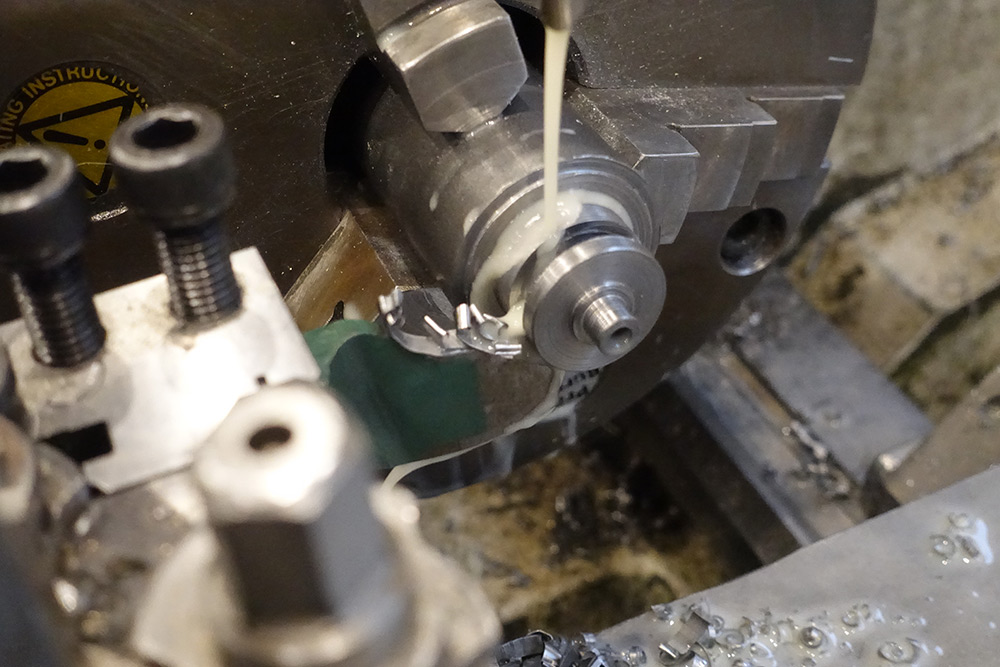
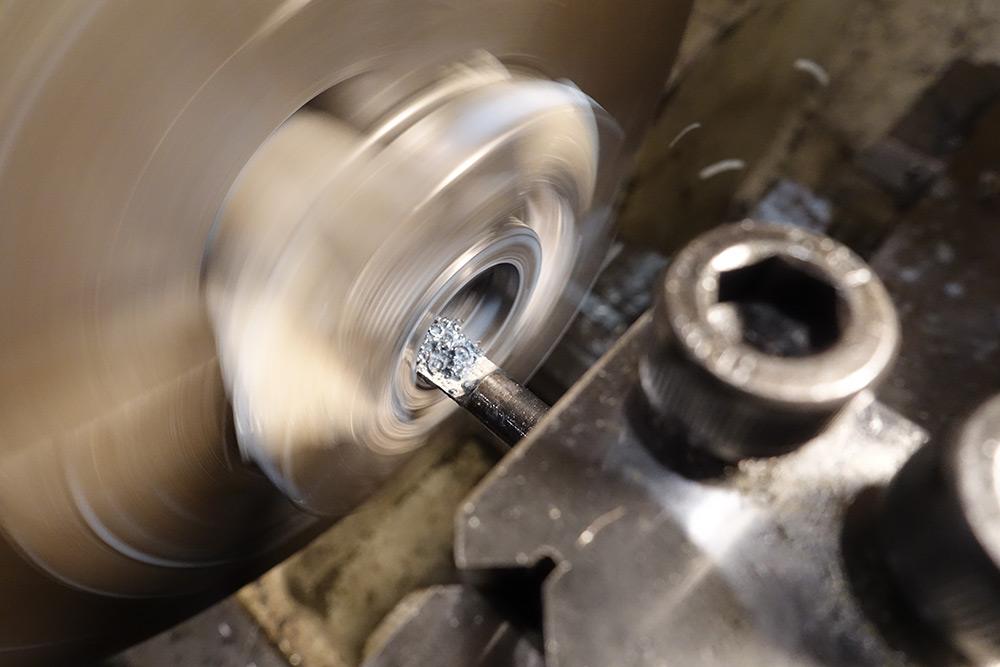
With carbide tooling and flood coolant you can turn steel very quickly. Nice heavy cuts.

The two handles, to be held between finger and thumb, hold tight on the bearing in the middle with a threaded join. There's a shoulder to locate and clamp the bearing, but it's important that the threaded hole is not too deep.
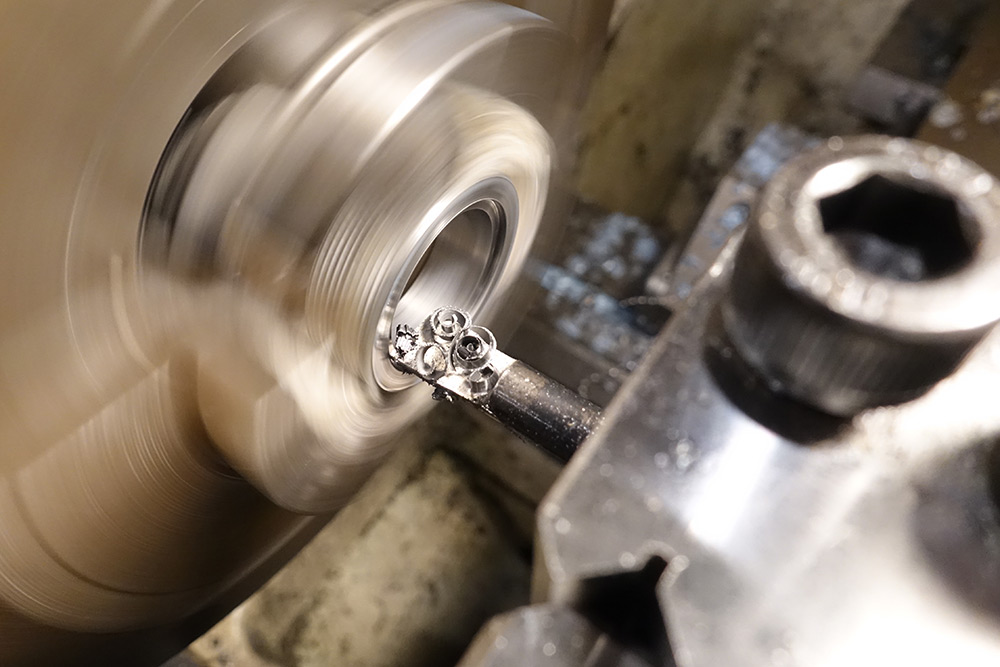
I only have tapered taps, so to get enough thread into this blind hole I took an old broken tap and touched it flat with the grinding wheel to make an improvised bottoming tap.
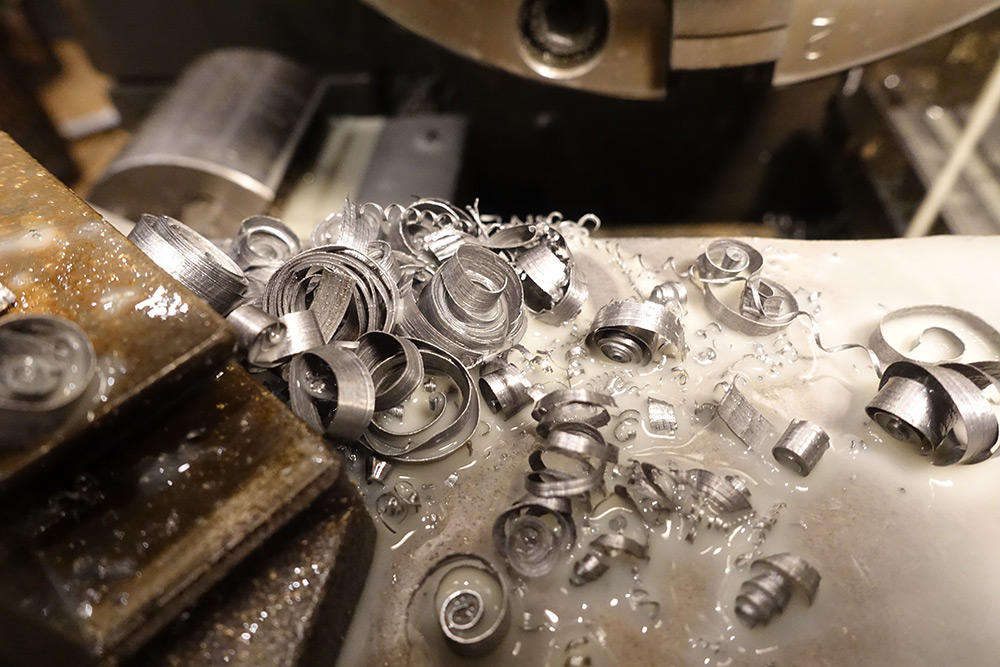
Content with the result we part it off...
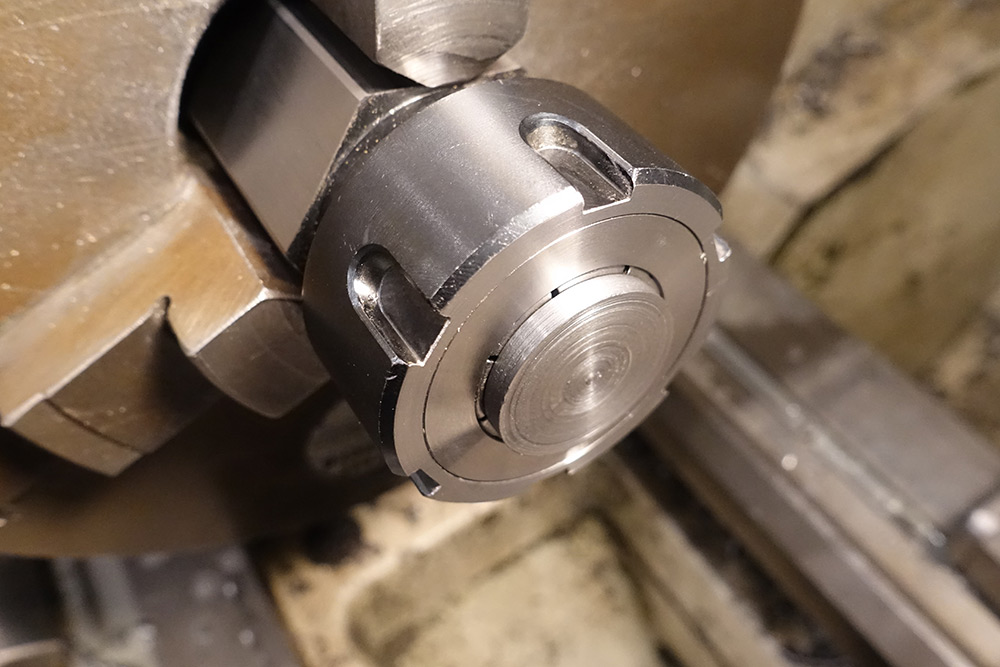
...then hold it in the collet chuck to face off the parted side. We want it to be real smooth.
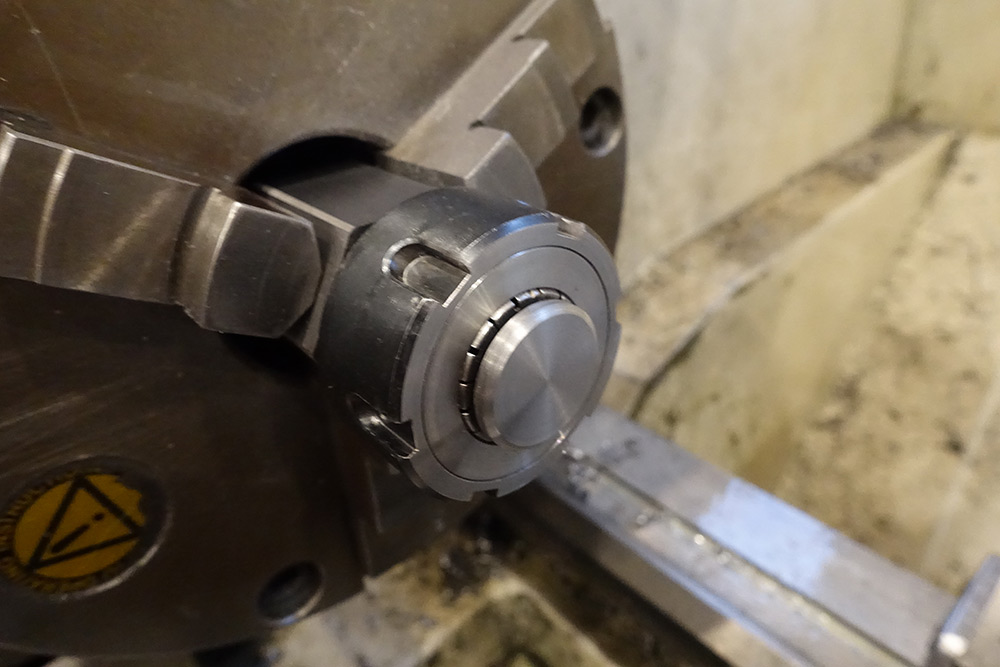
Lightly polished while we're at it. Ironically, the surfaces you're supposed to hold are the only ones on the entire thing which aren't going to be knurled.
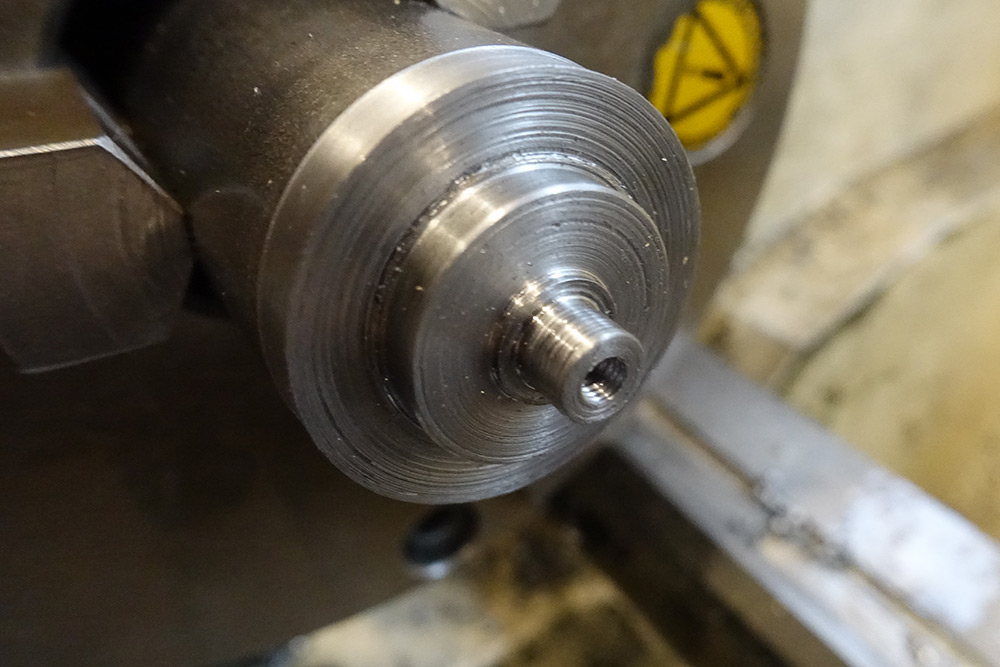
For the other half, we repeat the shoulders for locating and clamping but turn the bulk of it down ready for the male thread.
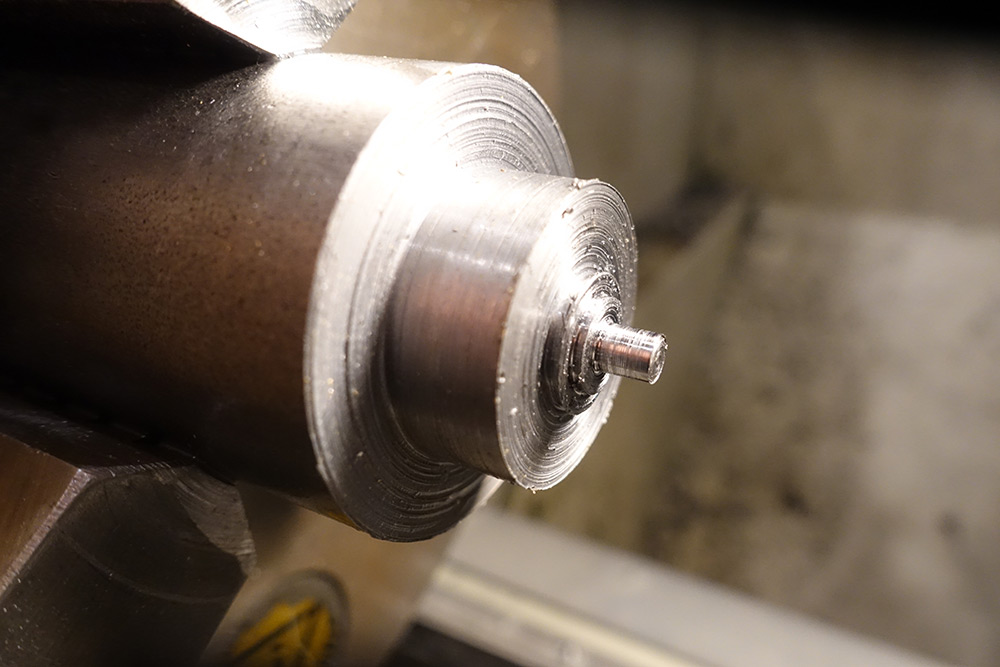
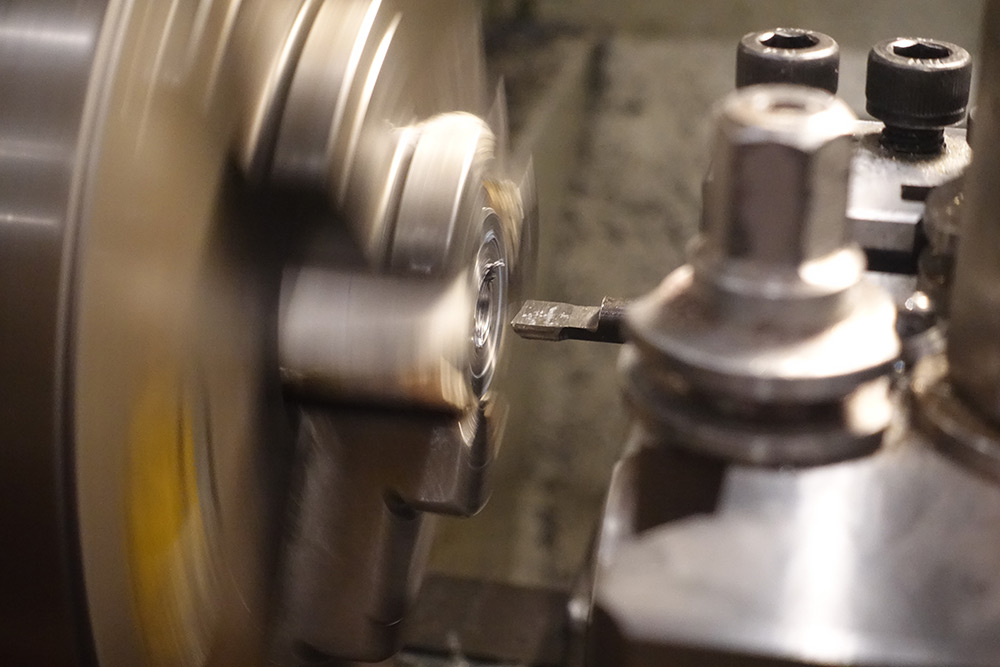
To thread up to the shoulder we reverse the die so it cuts without the taper. Having done that we can attempt a test fit with the bearing.
It's a snug fit, with the inner race clamped solidly but a full 1mm clearance for the outer race.
Content again, we part it off, spewing curls of confidence.
To face off the newly parted part, I first tried threading a hole in some scrap, and using the thread to hold the piece. Unfortunately the die-cut thread was not quite perpendicular to the face, as we probably should have expected for such a short thread, so instead I risked holding the part again in the collet, clamping onto the 1mm shoulder.
This seemed to work fine, so I chamfered and polished as before.
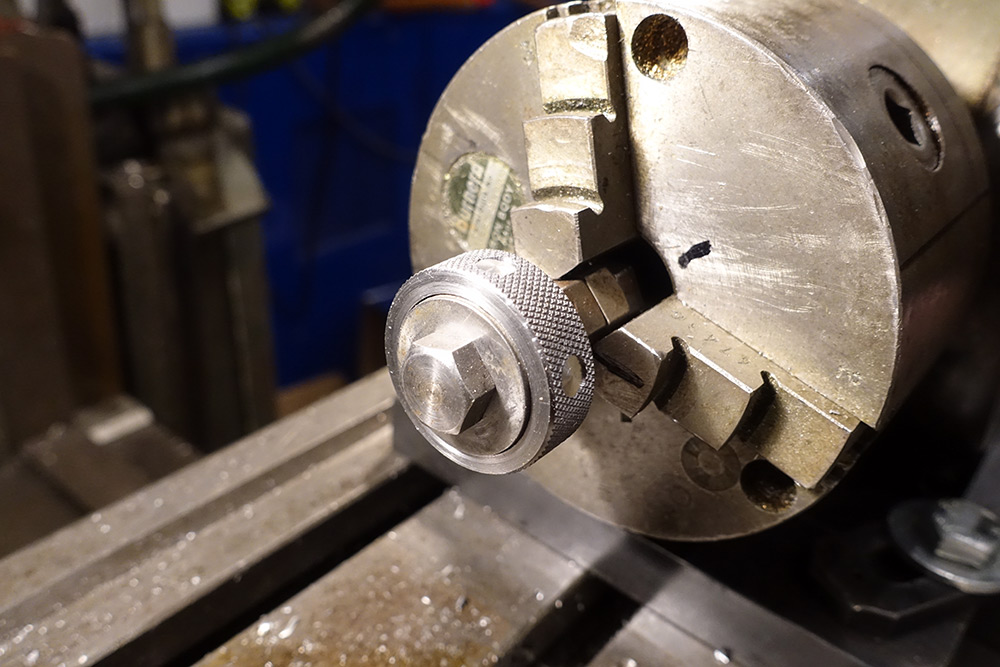
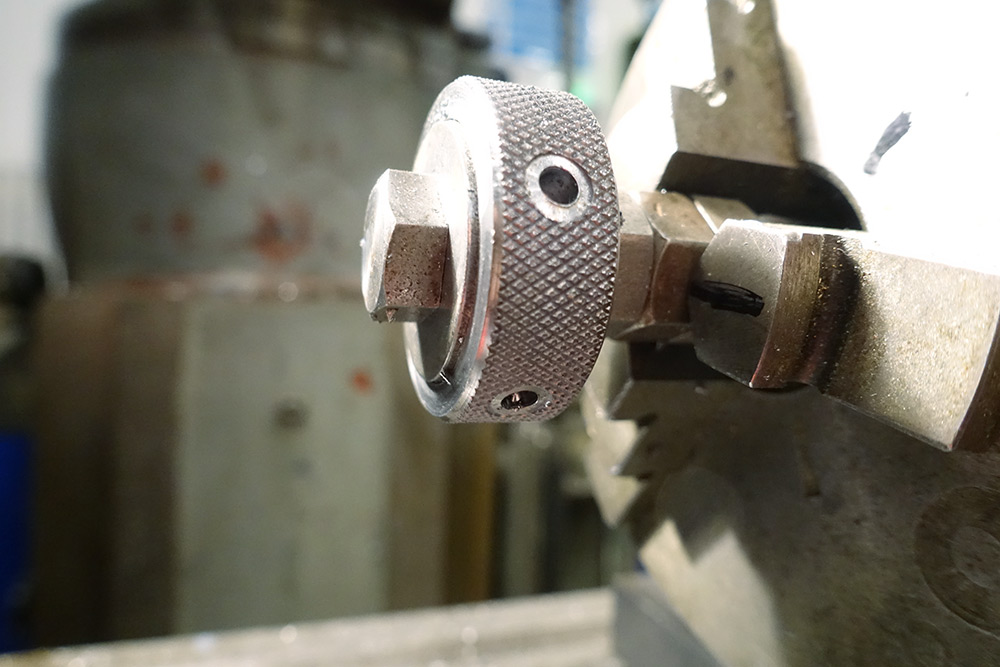
The outer steel ring started life as one of the many "knurled paperweights" I'd produced the week prior. To protect the surface I stuck bits of cardboard between the part and the jaws.

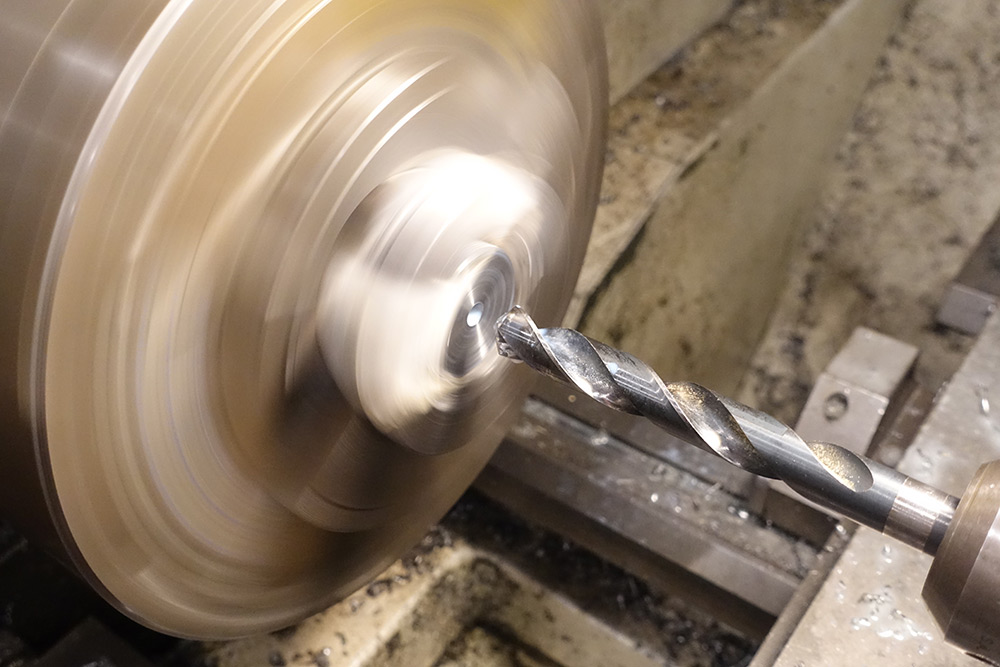
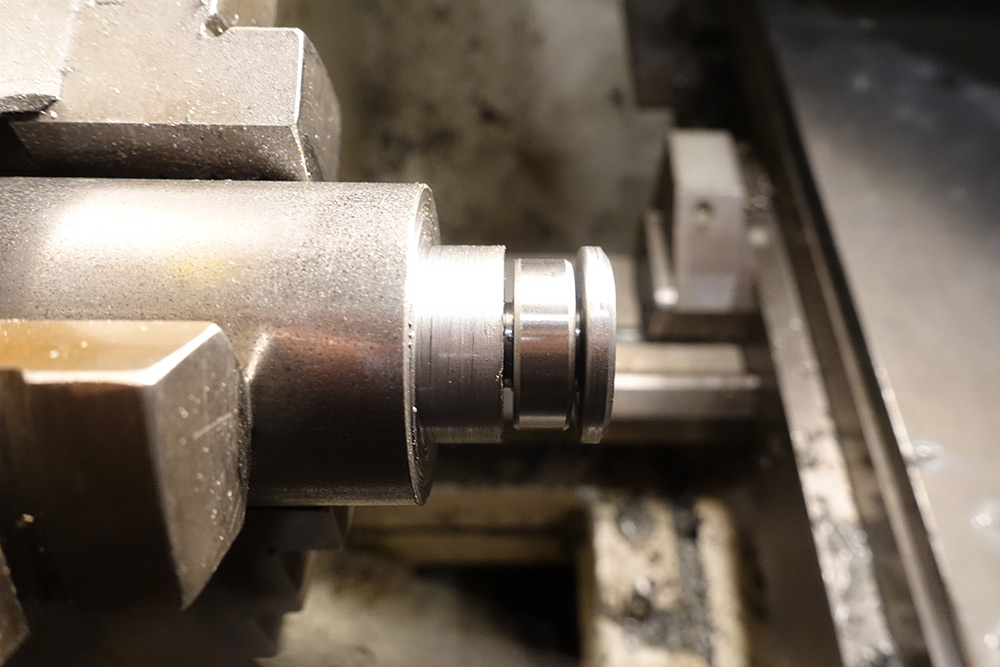
Boring under power. I was aiming for a press-fit with the bearing, but made a classic amateur mistake trying to measure an inside diameter with callipers and overshot the mark. I need to invest in a telescoping gauge. All is not lost, however. Worst-case scenario we can wrap the bearing in tape before pressing it in (the "shim of shame").
The shoulder lets the two polished handles sit subset, leaving about 0.5mm clearance all round.
Before going further with this part, I next wanted to make some of the bits that'll attach to it.
Brasswork
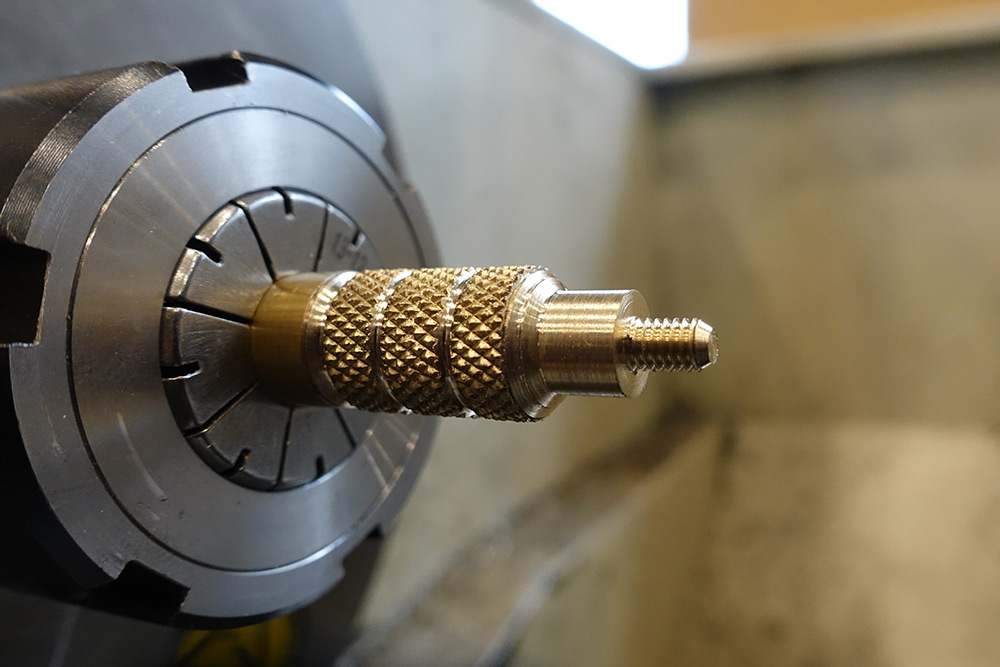
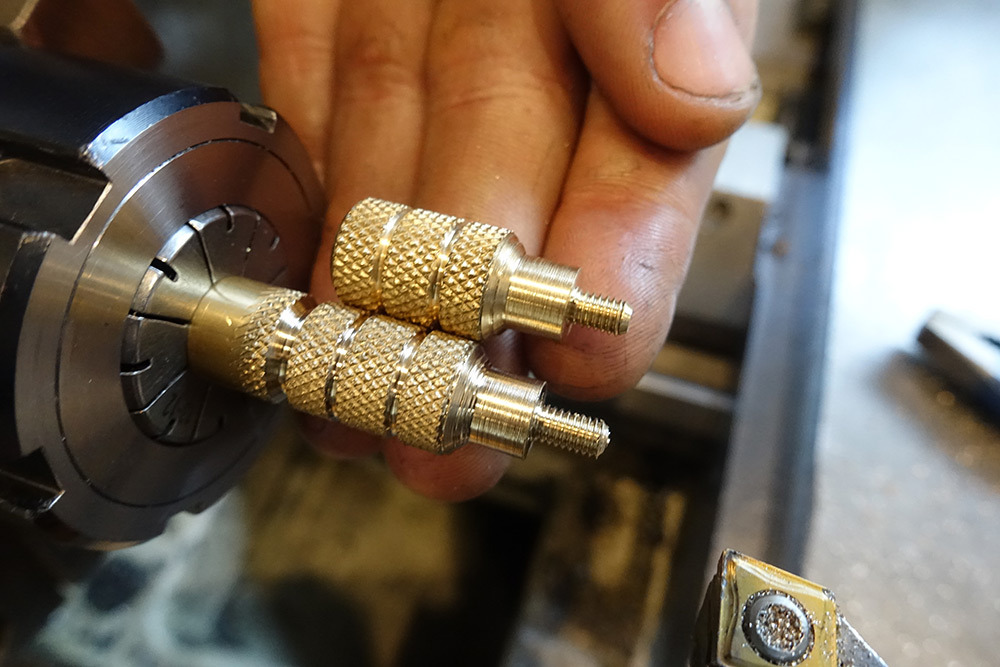
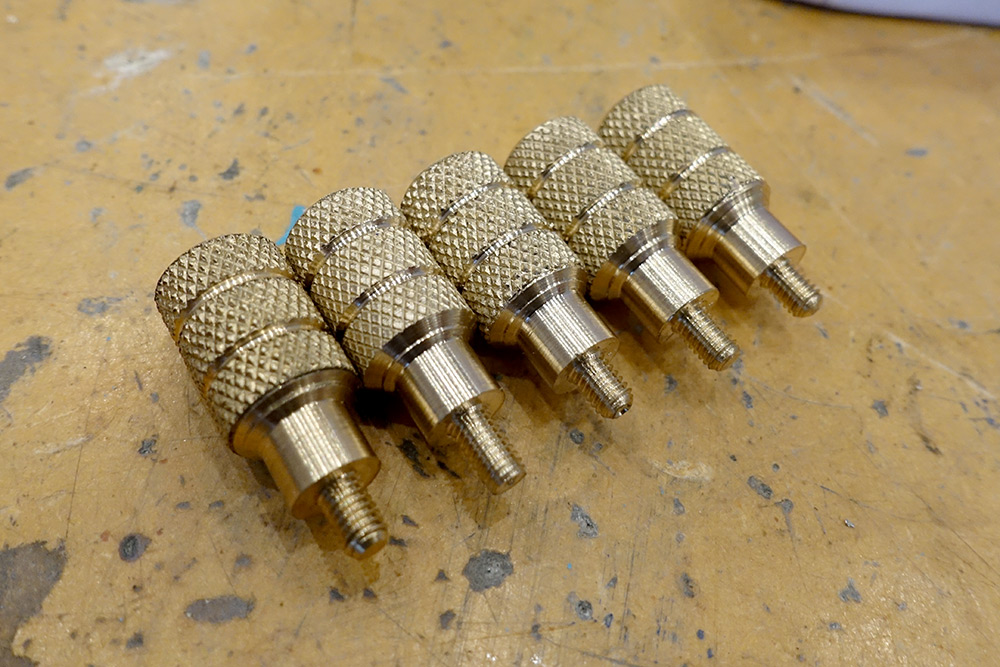
The first knurled knob started life as a 12mm brass bar. It was knurled, turned, tapped and deburred, before being parted off to serve as my template for the next ones.
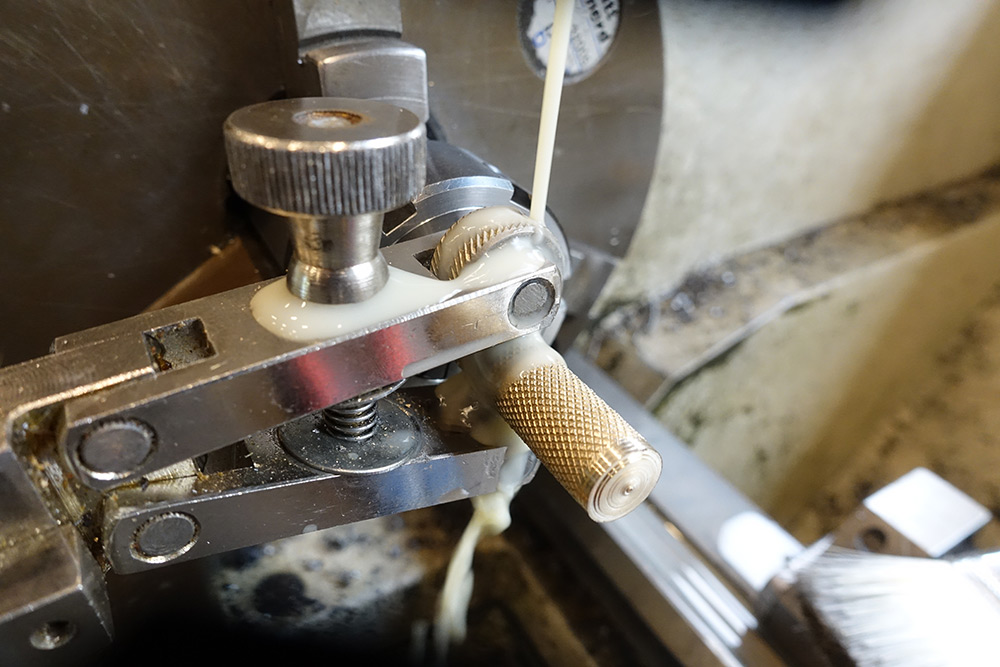
Brass behaves differently to steel, inside the jaws of the knurling tool. It work-hardens and then brittle-fractures quite easily, and then flakes of brass tend to jam up the tool and gall the surface. Using coolant seemed to help, not because of heat but because it went some way towards washing the chips out.
Knurling...
Knurling...
Knurling
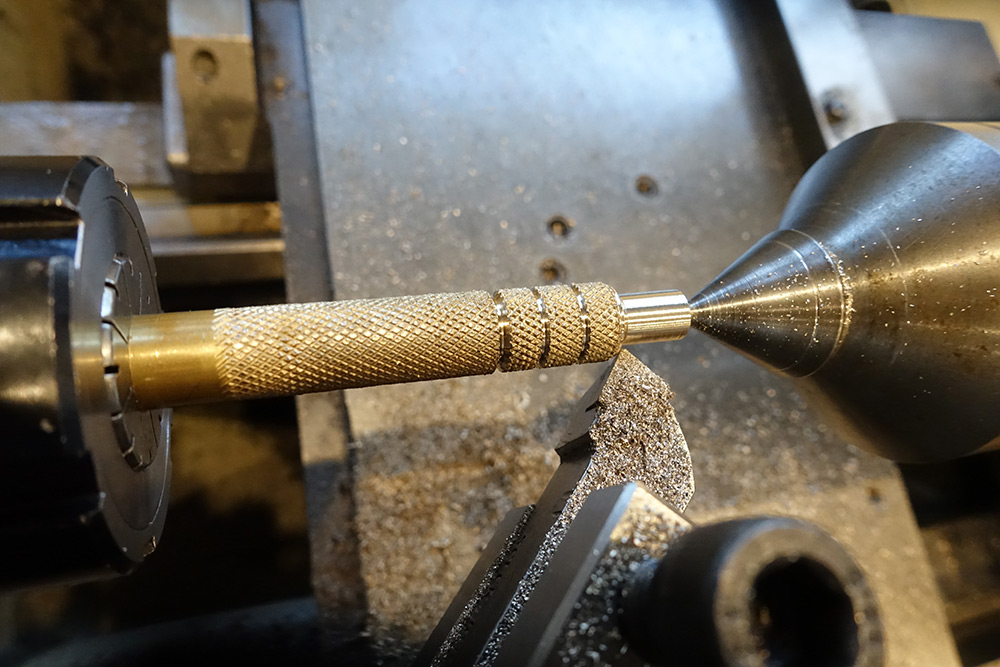
Knurling
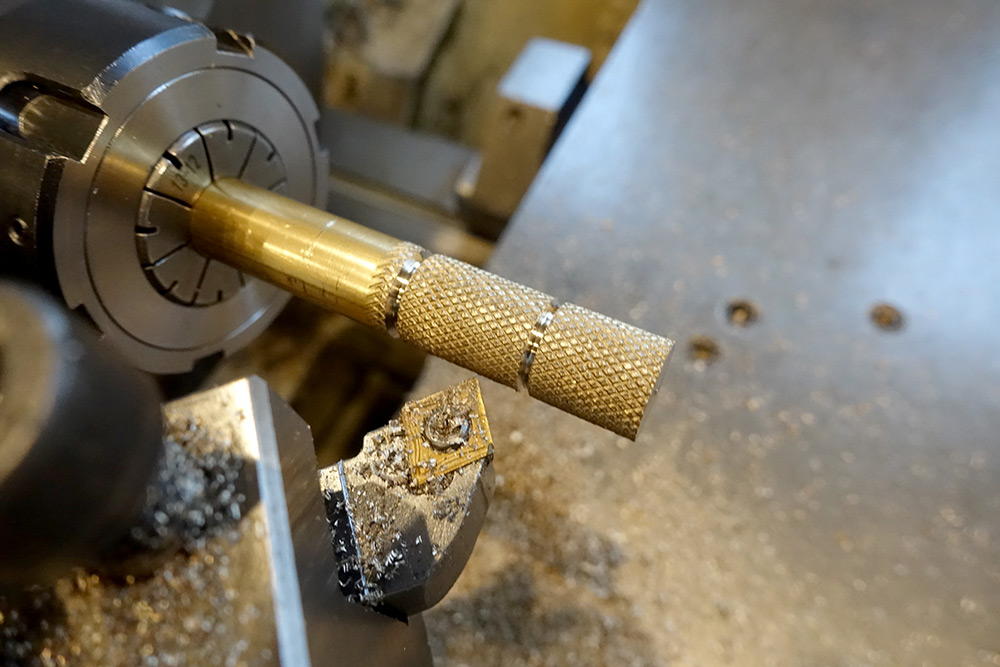
KNURRRRLLLIIINNG
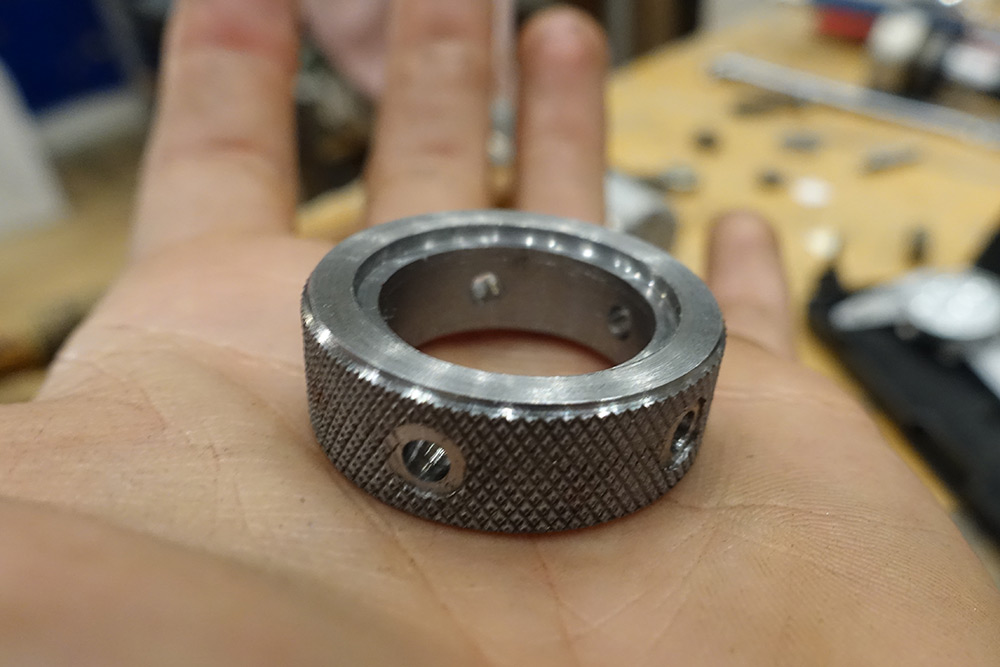
Pentagonal Indexing
A symmetry of three, four or six would be easy to index by holding the part in the four- or six-sided collet holders, but five is tricky. But five just felt like the right number to roll with.I considered drilling and tapping one hole, then screwing into that a metal rod that I could hang the digital angle gauge from. With that we could get pretty good results just clamping it in the vice, although we'd need to set up something so that we didn't have to re-find the centre each time we move it.
There is an indexing head at the hackspace so I thought I'd try that out. However, I couldn't figure out how it's supposed to be mounted to the milling table. The mounting points only seem to allow it to rotate in the Z axis, and for mounting it at 90 degrees to that we're out of luck. I think the correct thing to do would be to find a big angle plate, bolt it to that, and bolt that to the table.
I'm probably breaking the rules, but we're not milling here, all we want to do here is drill some precise holes, so I figured we could get away with trying to creatively clamp it in place. It's just possible to get a toe clamp to reach to the top of it.
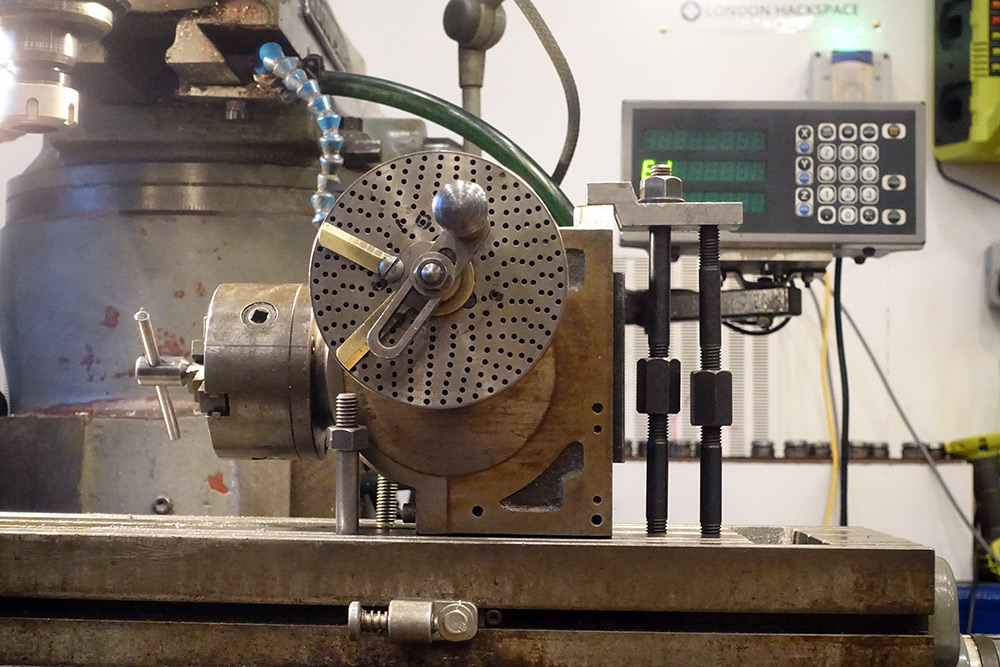
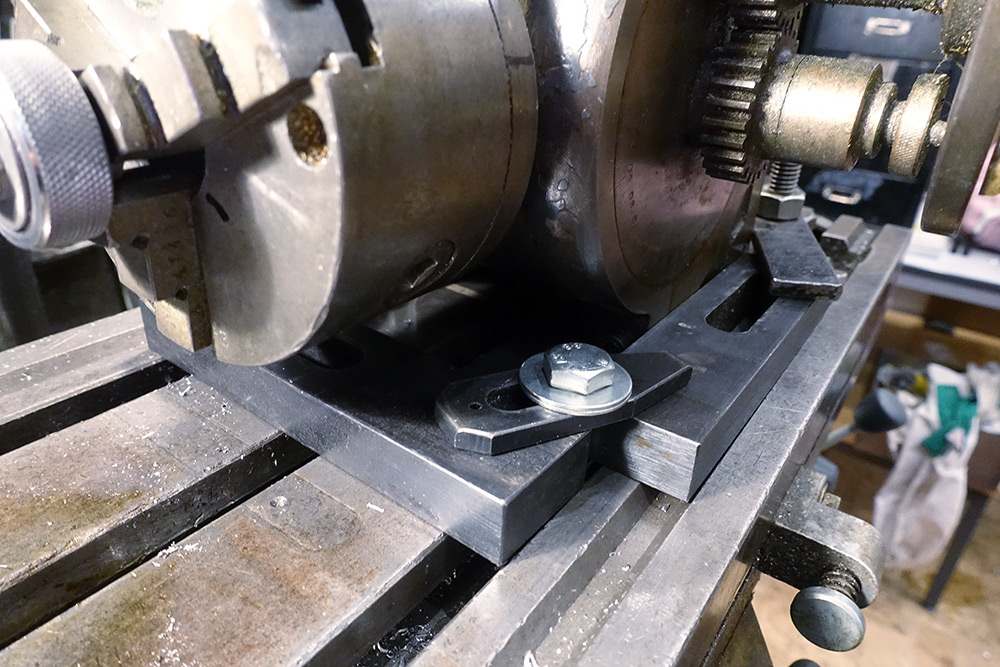
That's obviously quite precarious so I made a wall of clamps all around the base to try and stop it going anywhere.
Again, all we're doing here is drilling a few holes.
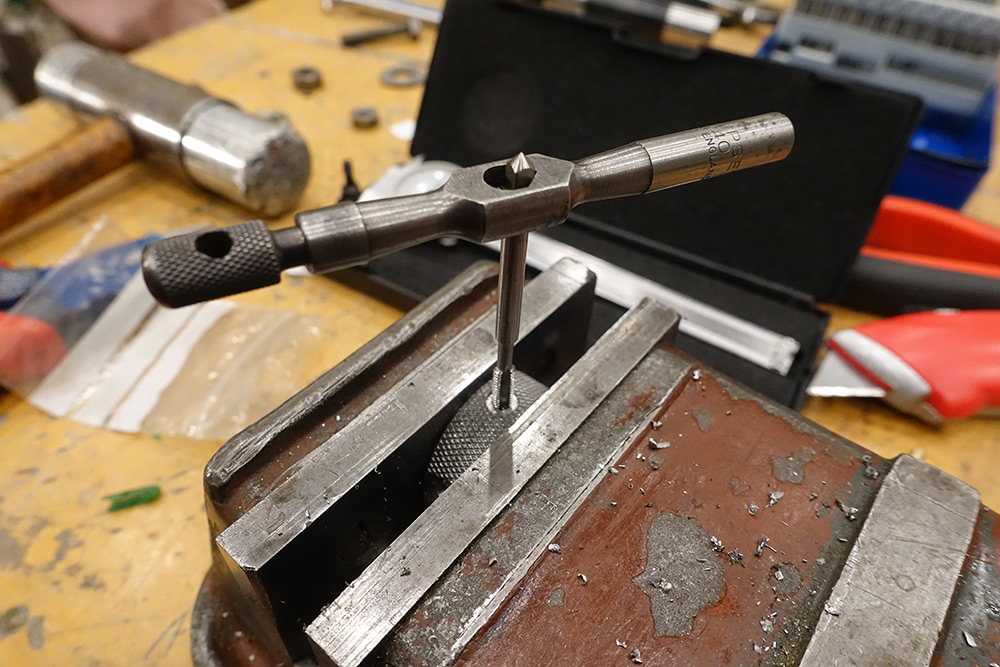
To hold the part I found a bolt and some washers that fit snugly into the shoulder. It needs quite a bit of stick-out so the milling spindle doesn't hit the little chuck.
I counted forty turns of the handle to make one rotation on the output, so for a five-fold symmetry we need to turn the handle eight times.
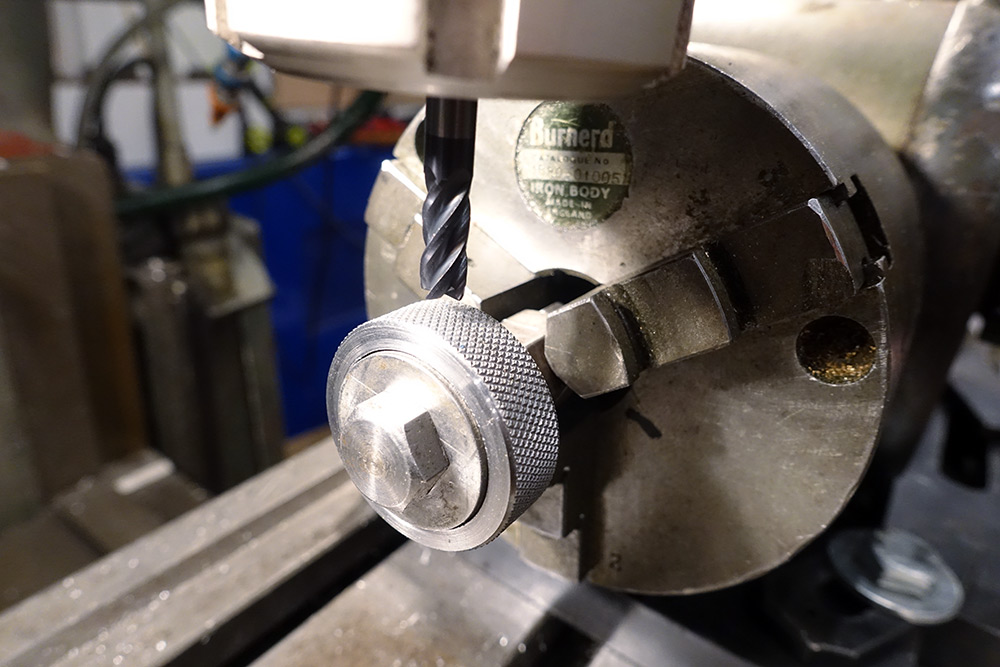
I went all the way round making flat spots before drilling the holes. In retrospect I probably should have finished each hole before moving to the next one, as I made a mistake and lost alignment as I was switching tools, meaning the holes are not quite centred in the flat spots.
Eh, not too bad really.
For tapping the holes I figured it was easier at this point to just do it in the vice.
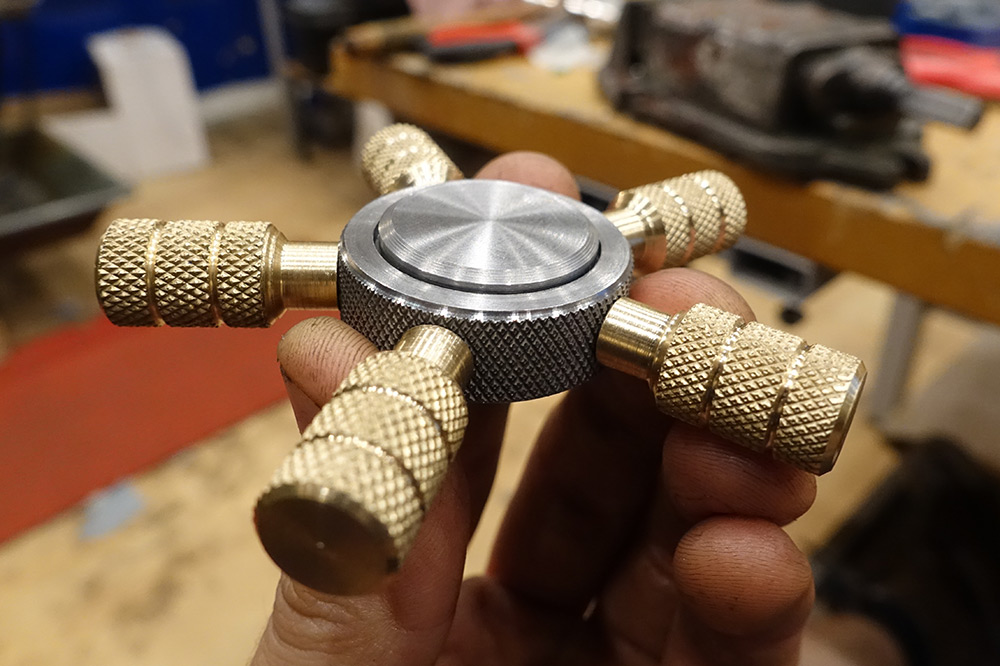
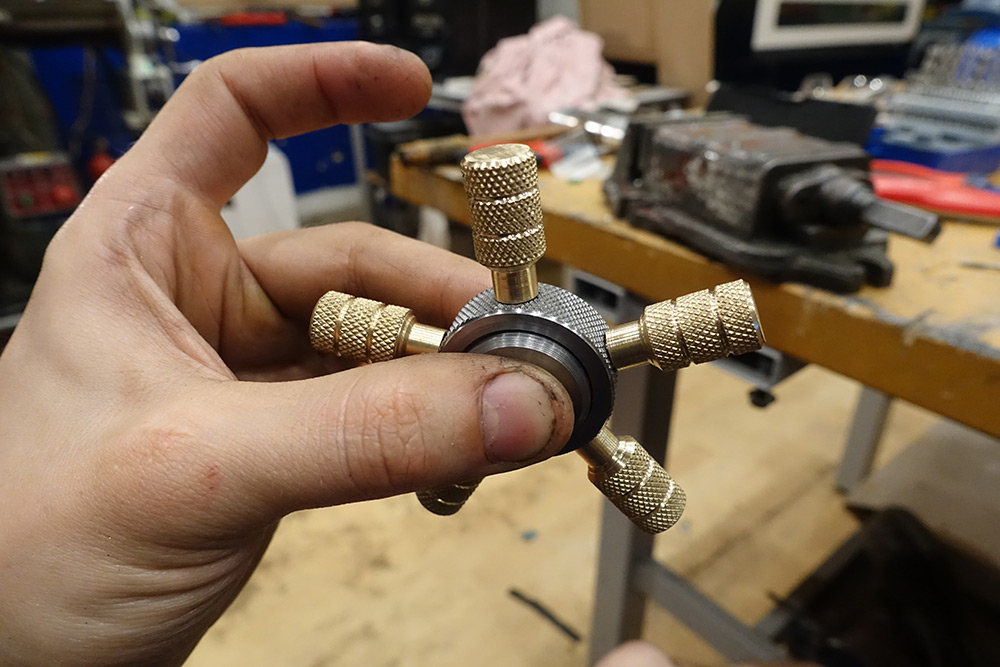
Marvellous, time for a test fit.

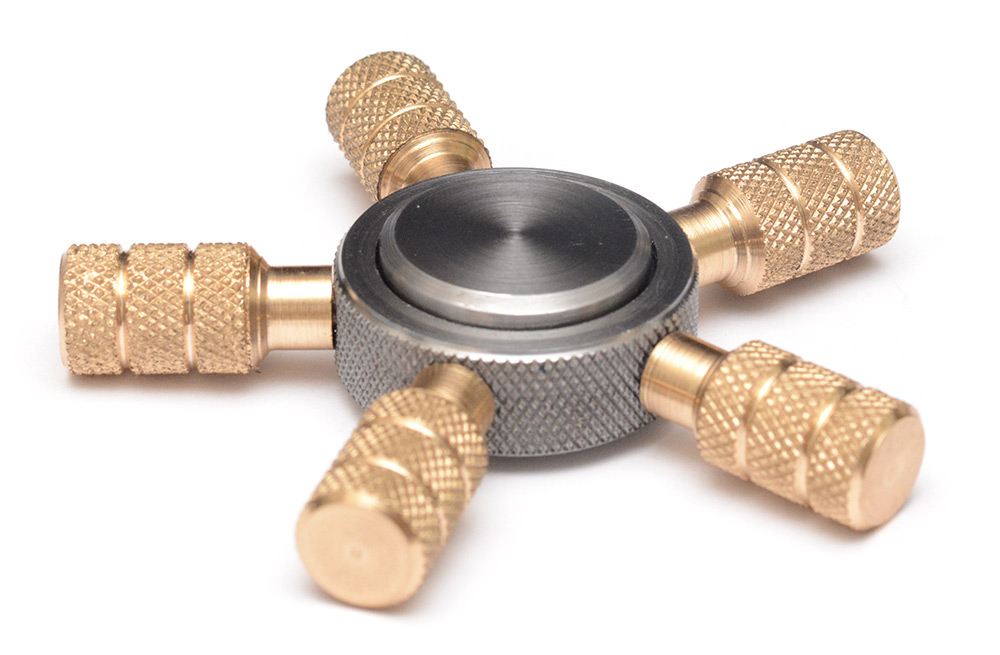
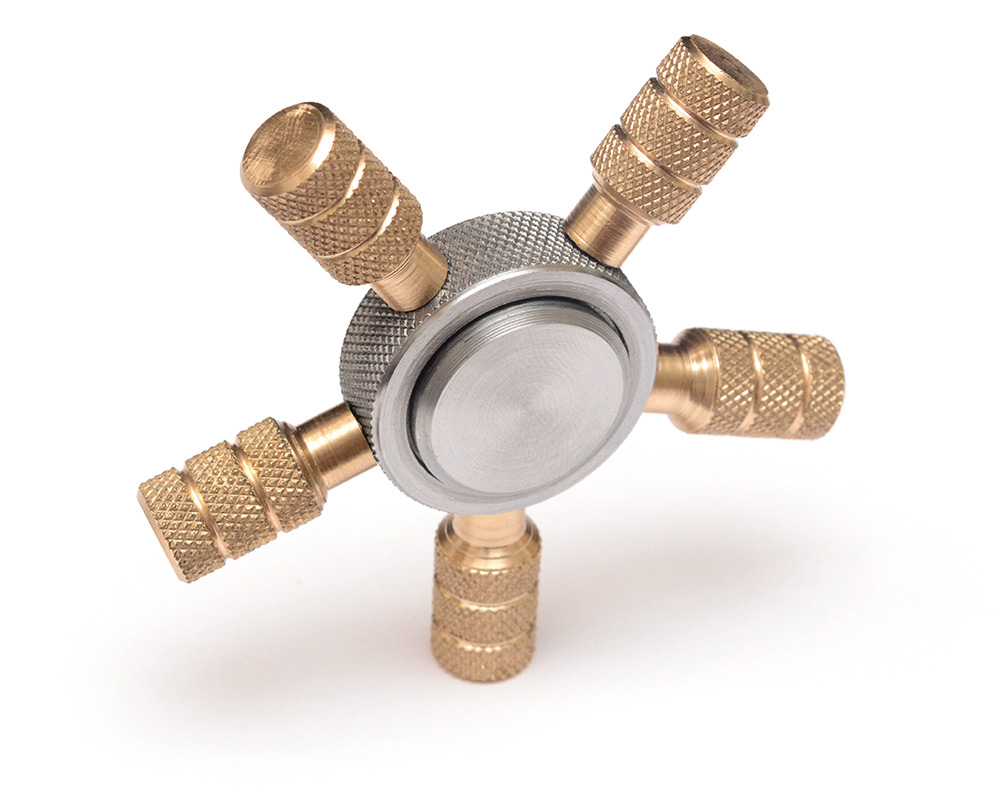
I mentioned earlier that I overshot the bore diameter for a press fit with the bearing. An unexpected blessing is that I left the threads on most of the brass parts just a fraction too long, so they protrude into the bore and clamp the bearing solid. Not only that, but by varying the order in which you clamp them down, you can adjust the balance of the thing.

Each of the brass knobs, being handmade items, are slightly different in weight, so it's also possible to adjust the weight distribution by swapping their positions.
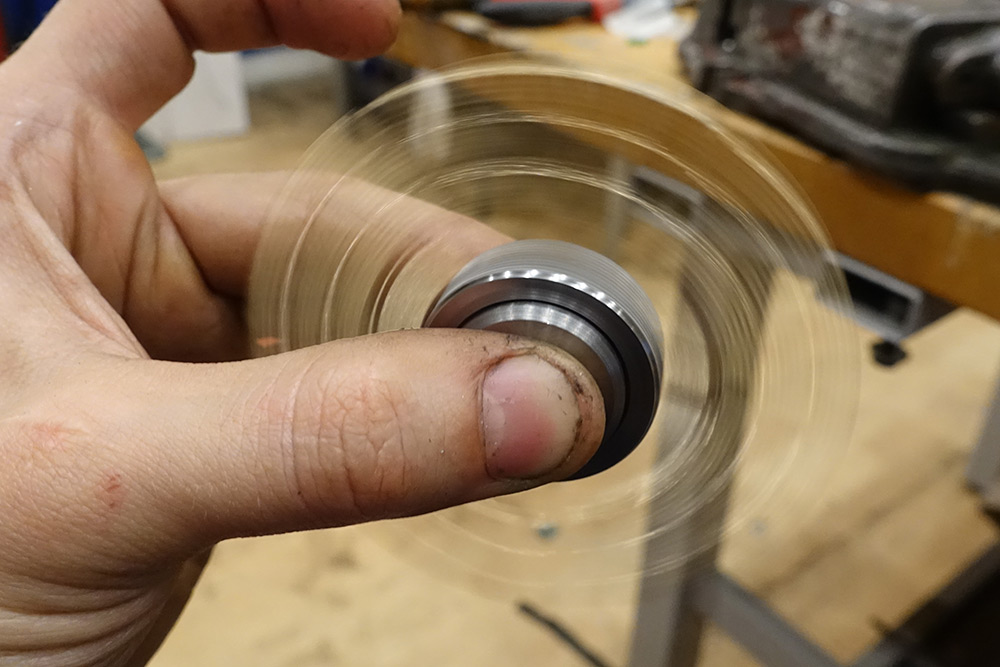
The bearing was of course the standard skateboard type, filled with a heavy grease that's completely inappropriate for the extremely light loads it'll see here. To fix this we (destructively) removed the pressed-in seal and washed out the old grease with lighter fluid. I gave it a couple of drops of very light oil, although in this application we could probably get away with no oil at all.
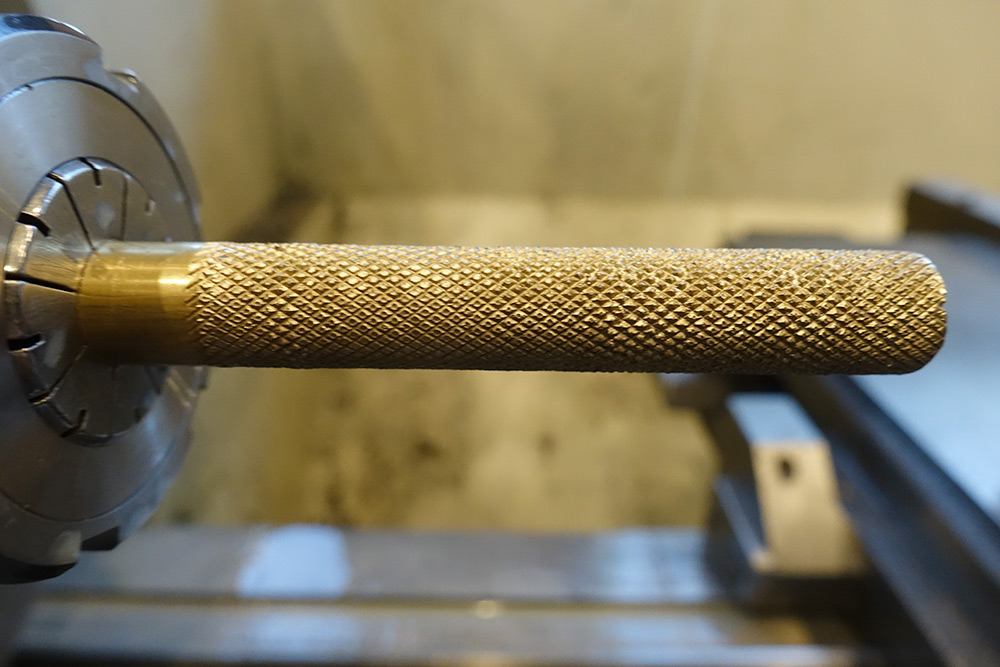
So much knurl.
Obligatory.