
Letter Buster
4 Sep 2020Progress: Complete
Before we begin, let me just say that I have never played Final Fantasy VII. Maybe I'll play it one day.
Perhaps more bizarre is that I'm building this as a gift for someone who also hasn't played Final Fantasy VII.
But you don't need to have played the game to recognise this sword. And I've been unable to do any metalworking for months, so as soon as I had the idea of a miniature giant sword it was bound to happen.
Roughing
I found some scrap metal of about the right size. Note, this is a letter opener, not a real knife, I'm not going to be hardening or sharpening it properly. Stainless would be nice, but mild steel is fine.
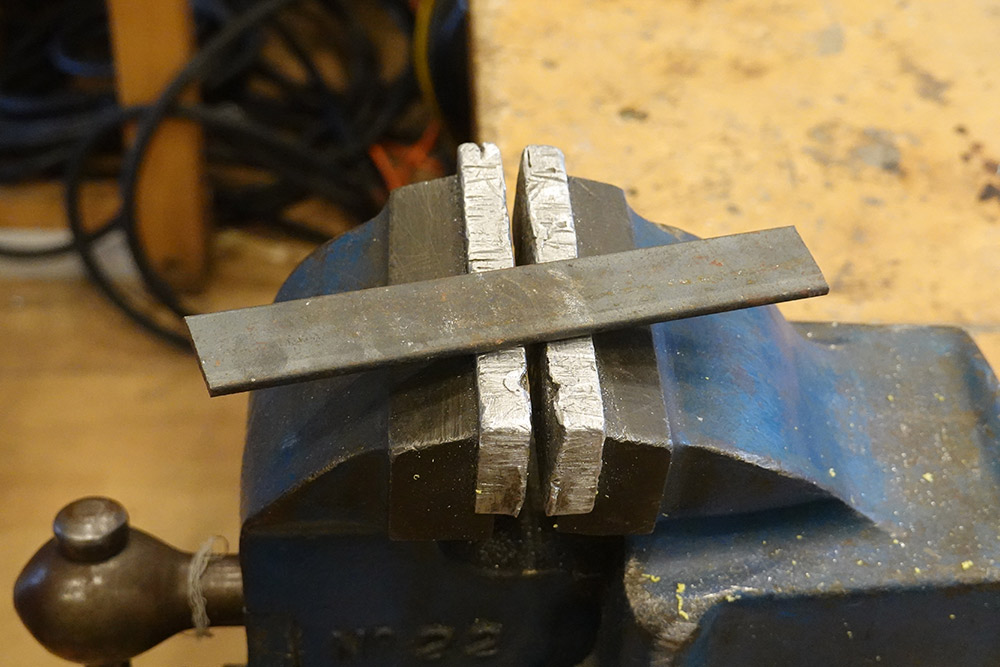
I squared it up in the milling machine. The raw stock is only a fraction thicker than 3mm, so I had to be really careful cleaning up the mill scale without losing too much thickness.
Also, if it ends up thinner than our parallels we'll have a lot of trouble holding it later.
With the part squared we next need to think about the big chamfer. The angle is only cosmetic so I simply clamped my smaller vice in the big one at roughly the right tilt.
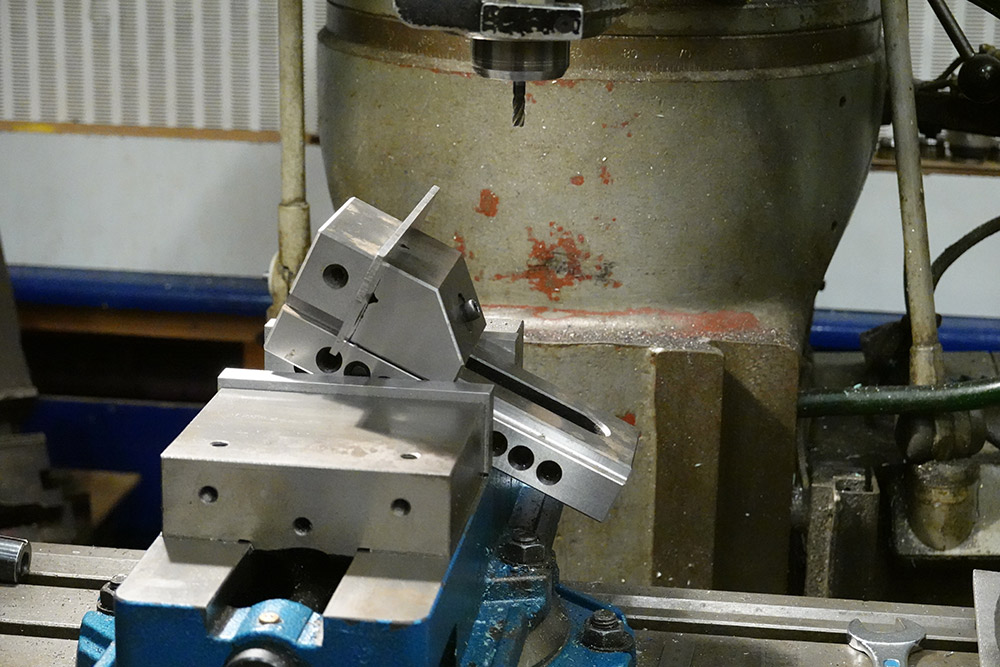
It's not the most rigid setup in the world, I probably should have used a shorter parallel so it didn't stick out so much.
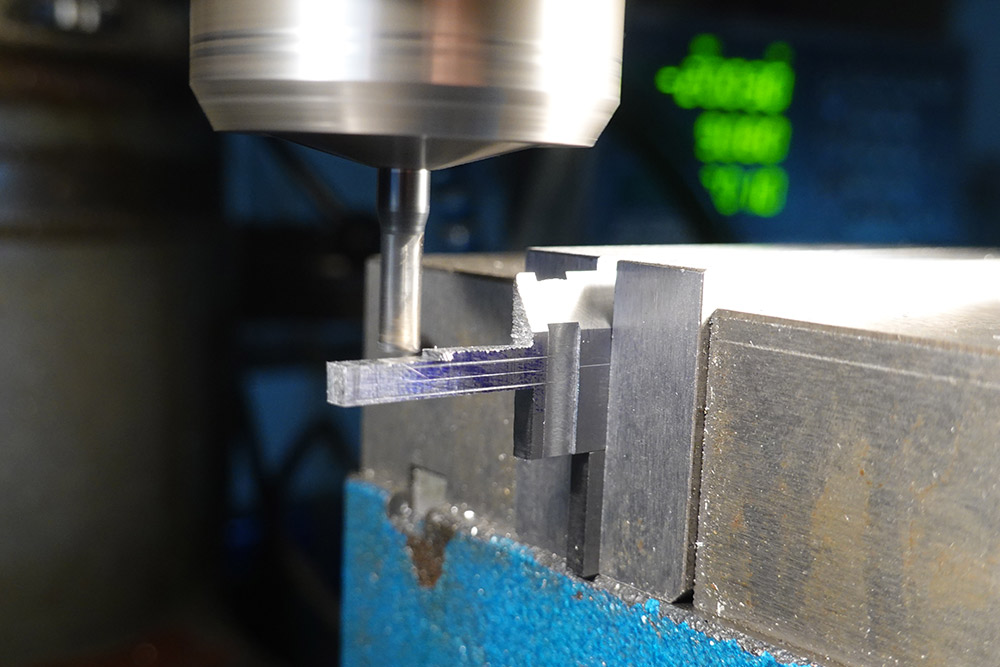
The harder bit now is the secondary chamfer, which needs a compound angle.
In the screenshots, the tip of the sword is difficult to comprehend. The chamfer appears to make a triangle, but I'm not convinced that's geometrically possible while also terminating in a point.
I'm happy to just eyeball it and see how it comes out. I deliberately made the part extra long to allow for some experimentation with this bit.
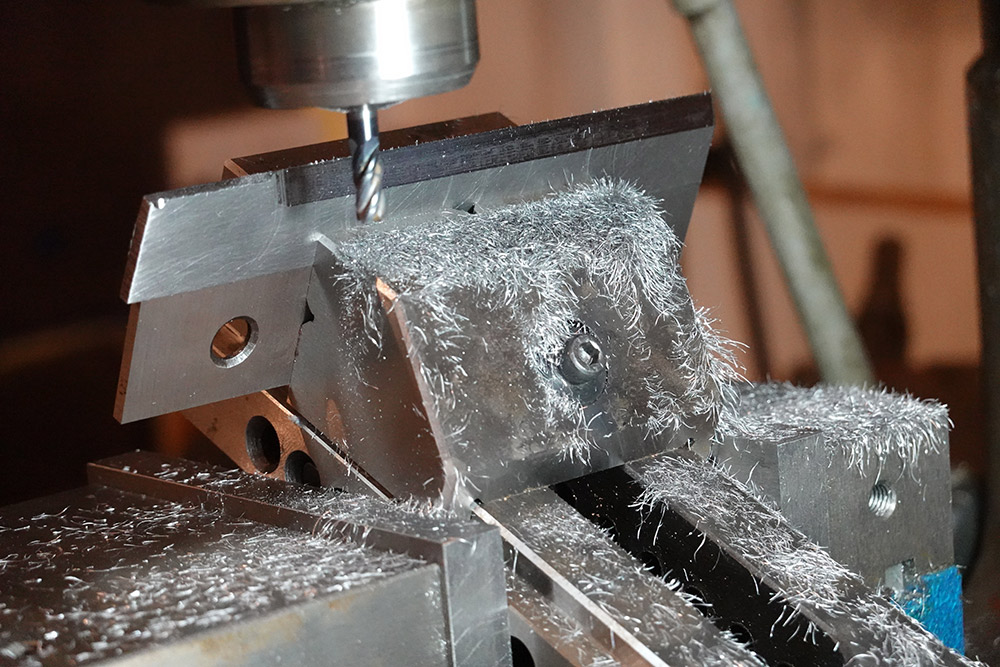
We have three angles: the vice-in-vice angle first, then the workpiece itself is angled down in the smaller vice. Finally the big vice is rotated at its base.
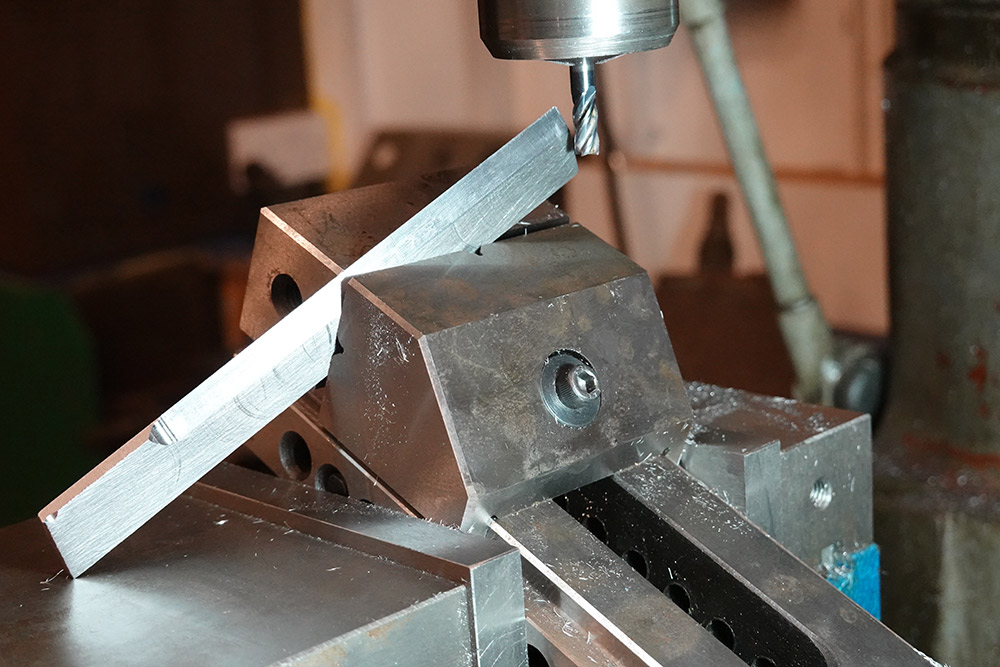
It took a few attempts but eventually I was cutting a visually pleasing angle.
Polishing
Laying sandpaper on a flat surface, I began to polish out the toolmarks.I don't want a mirror finish, some roughness is good, but circular toolmarks look meh. A brushed effect would be a nice finish, so long as the marks are all with the blade direction, as if it had been scratched from chopping stuff.
It might only be mild steel, but I ended up cutting myself more than once during the polishing process.
Refinement
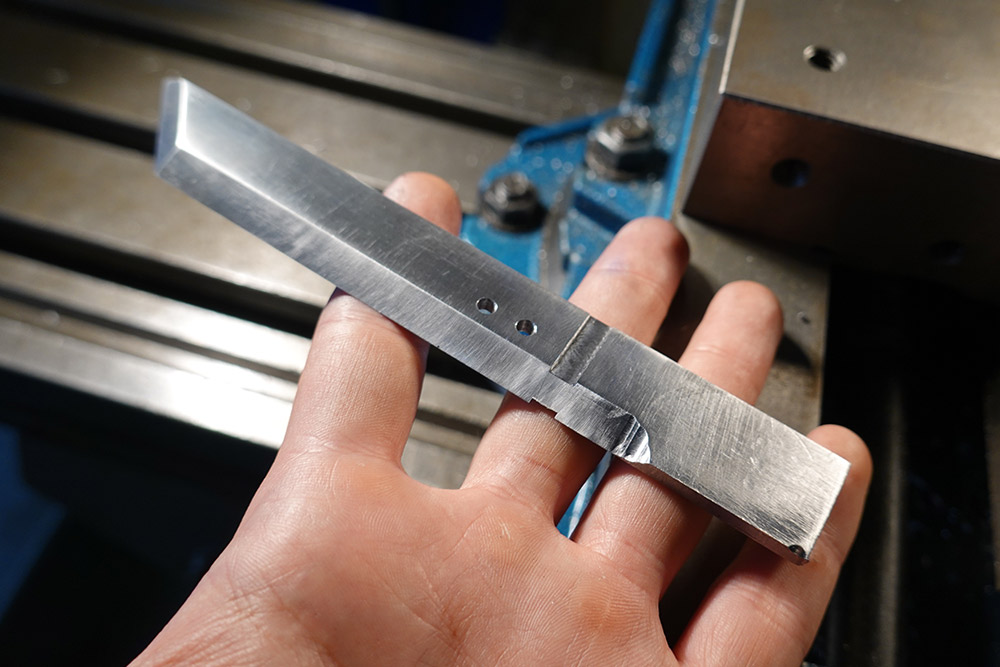
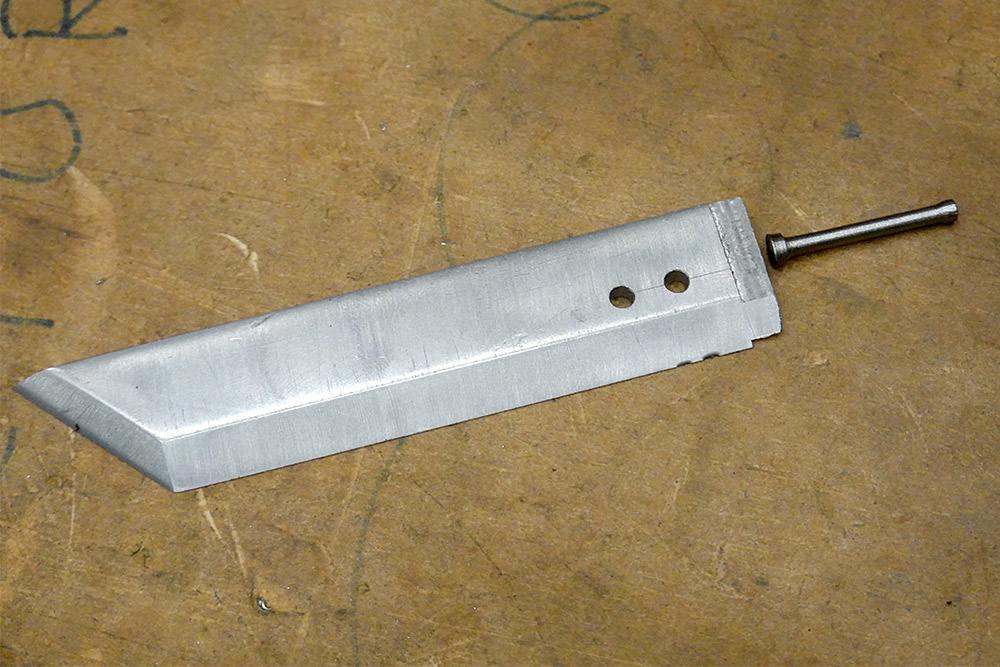
I laid out and drilled the two distinctive holes.

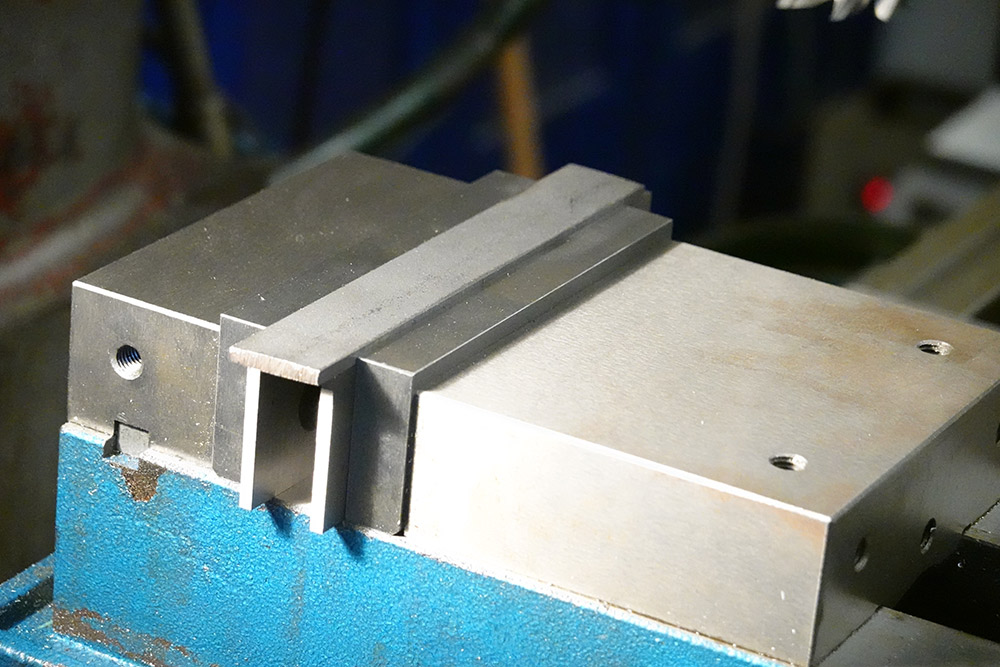
I hadn't quite made up my mind about how the handle should be done, but started by milling slots that will hold the decorative guard.
As you can see, most of the unworked metal is only there so we can hold it in the vice securely. Perhaps the handle could be turned down from it?
I hogged away most of the material first with a hacksaw and then back in the mill.
With great effort, I mounted this somewhat precariously in the four-jaw chuck on the lathe. The blade was wrapped in many layers of paper to hopefully avoid marring the surface. Centreing had to be done carefully, as the indicator needs to be backed off when the chuck is rotated. Not too hard when the indicator is mounted to the cross slide.
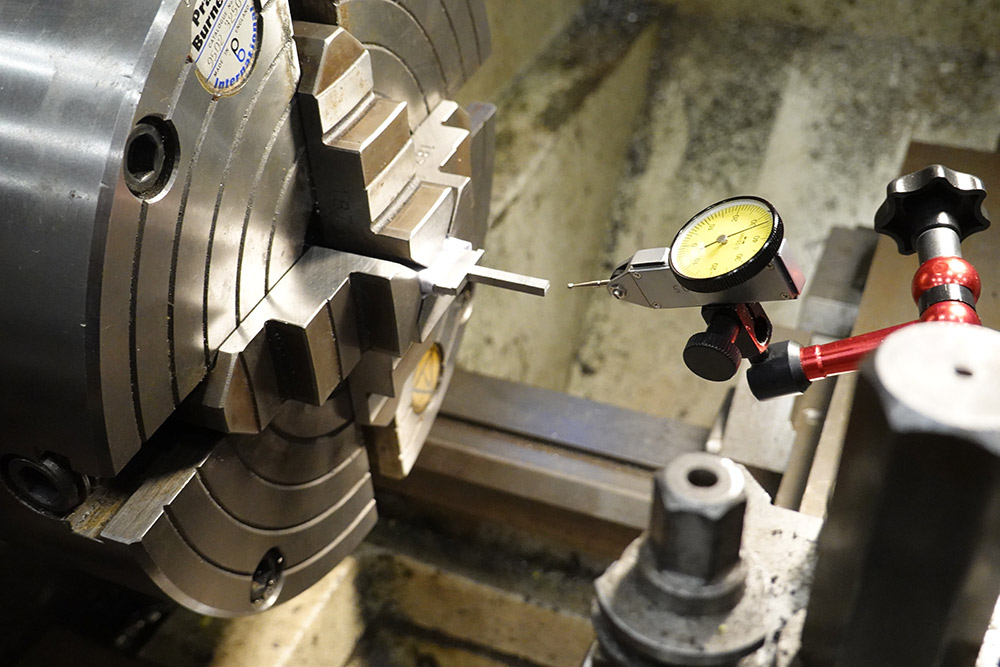
Unfortunately, this effort was all wasted as the part almost immediately caught on the cutting tool, deflected, and bent itself beyond recovery. I probably should have gone with a faster speed, smaller depth of cut, and a sharper tool. I also could have filed the piece to be more approximately round before hitting it with the lathe tools.
Anyway, I decided to cut my losses – by cutting off this handle, and going with the earlier plan that involves welding.
Handle Reattempt
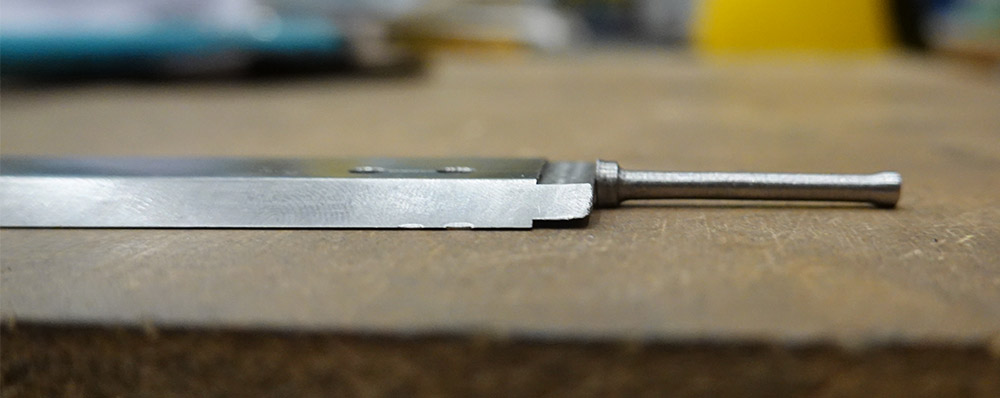
I ground a fresh cutting tool that's nice and sharp. Starting with some round stock, I began work on a handle.
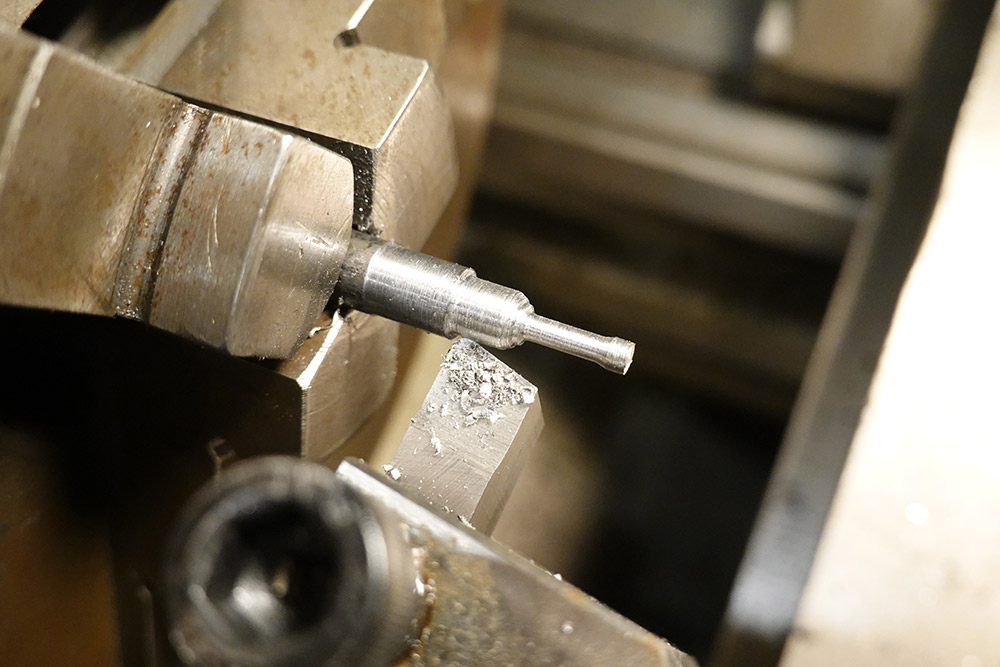
The correct way to make such long slender parts is to keep the bulk of the material present. I turned down only about a centimetre at a time, to final dimension, before working on the next centimetre.
Looks about right.
Critically, the welding becomes a lot easier if the parts aren't trying to roll away. I filed a flat spot on the handle where it joins the blade. In addition to not rolling away, this sets the height so when the two parts are on a flat surface, one of the angles is taken care of.
I do enjoy a good bit of TIG welding.
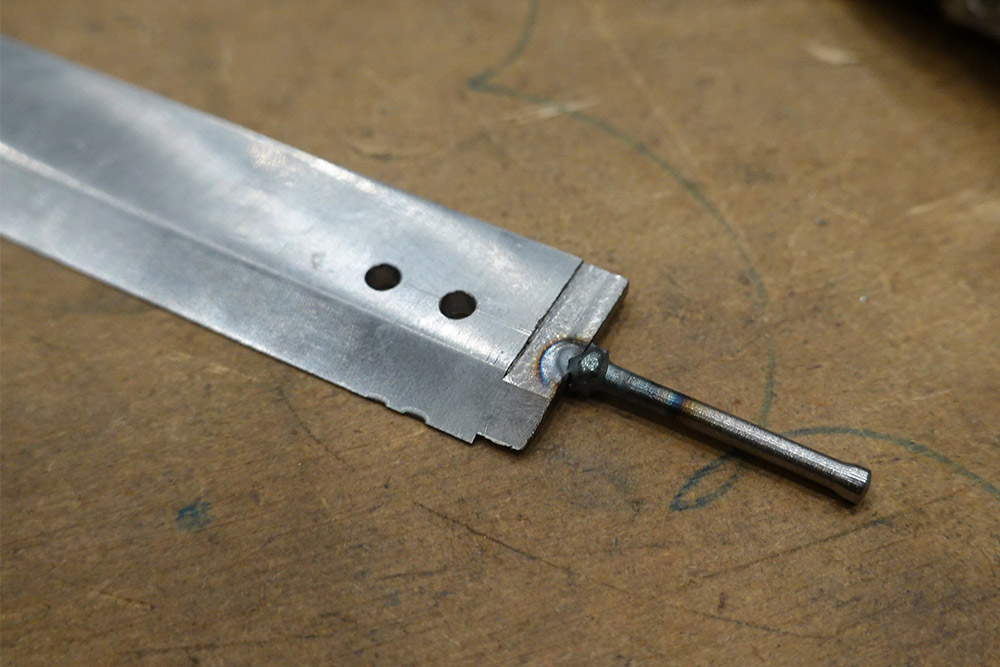
After tacking it, I flipped it over and welded the other side, then welded the first side again, since I really wanted good penetration before filing the weld down flat. I went a bit over the top, and dipped the tungsten at one point, d'oh. It is a very fiddly small part.
Filing the weld down you can see there's plenty penetration but the area around the weld has subsided a bit. I was not using any filler rod, of course. Anyway, something tells me that for the forces this weld will need to endure, it's plenty strong enough.
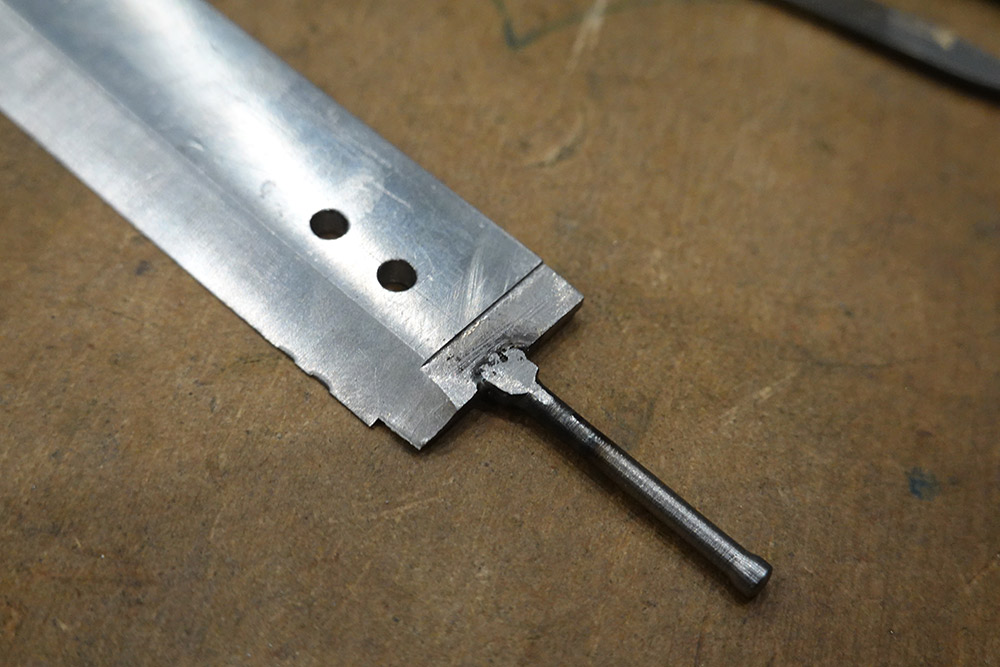
By the way, the two bite marks in the blade are from where it was held in the four-jaw chuck. Evidently, the paper was not enough.
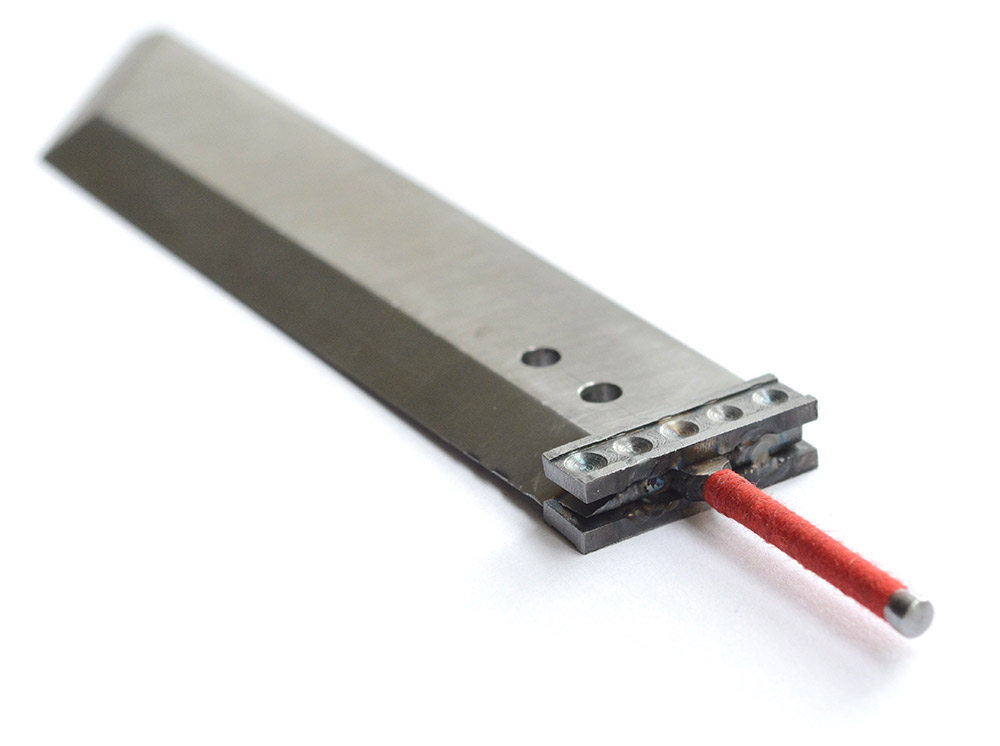
Guard Making
I struggled to find any scrap material of the right dimensions here. I ended up sawing off the end of a 5mm by 50mm steel bar.
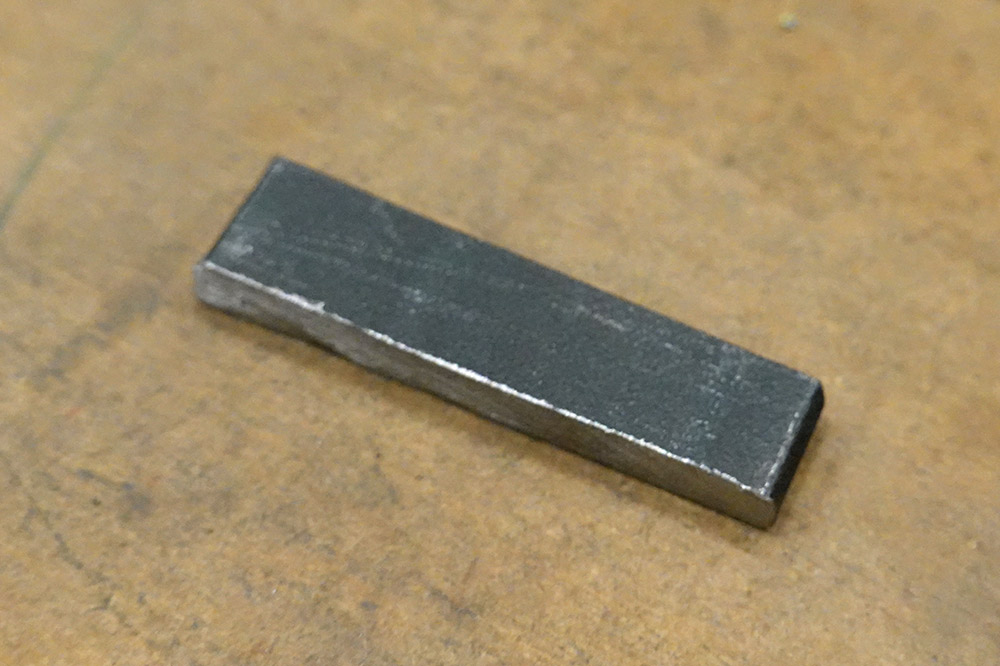
This was squared and milled down to a 6mm by 2mm profile. I should explain, the width of the sword is about 21mm, and the guard should stick out somewhat, maybe a millimetre on each side. I wanted to produce both pieces from the same stock to save time, so 50mm length is only just enough if we're hacksawing it in half later.
I'd rather it be even thinner, but this is getting very hard to hold. I milled the top of it about as flush to the vice as I dared.
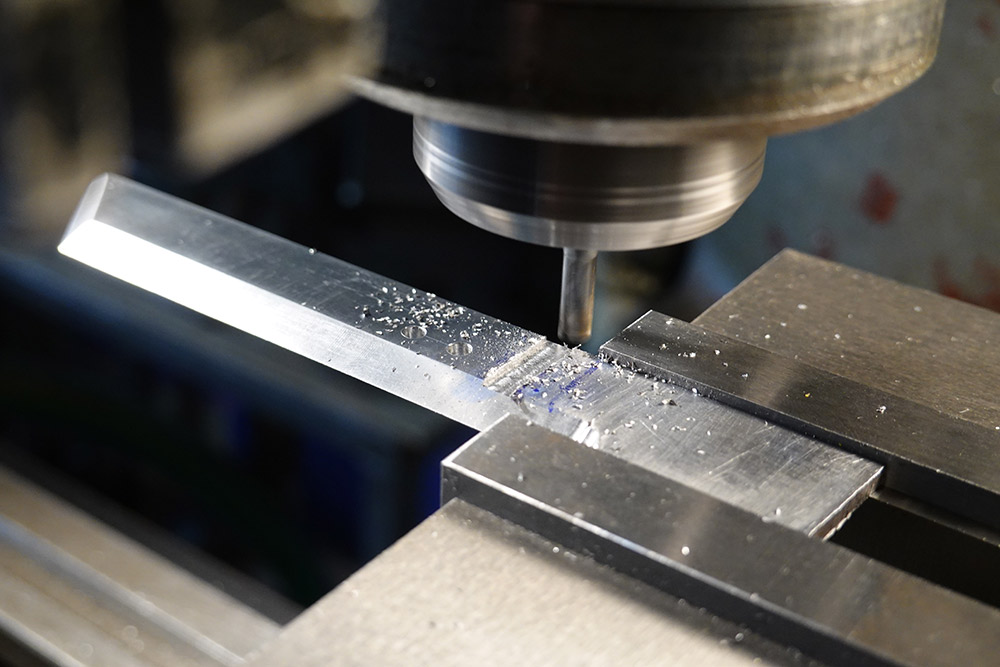
Next, with a 3mm endmill, I ran a shallow slot along the length, and instead of fitting rivets I decided to make some dimples with a drillbit.
I unfortunately miscalculated to begin with. There are supposed to be 5 rivets in the guard. I ended making six marks on one half – after making two marks the wrong distance apart, I figured it was best to just run with it.
No one will notice...
I sawed it in half, very carefully, and pondered the next welds.
Something like this could work. The toolmaker's clamp keeps everything in the right place, then the main blade can be held in another vice to get good grounding.
Four tack welds are all it took. The oxide layer made some cool colours.
Nice. I'm not sure whether to polish away the oxide or keep it.
Let's take a closer look at those welds.
Three of them are beautiful, but the fourth, where the blade chamfer is, was very tricky. The porosity is a giveaway that once again I dipped the tungsten.
Wrapping it up
It's possible to wrap a handle in a way that turns the whole thing into a knot. However, a no-glue wrapping technique might be tricky when the wrapping material is thin cotton thread.My wrapping is a bit patchy in places, but no matter, that just adds character.
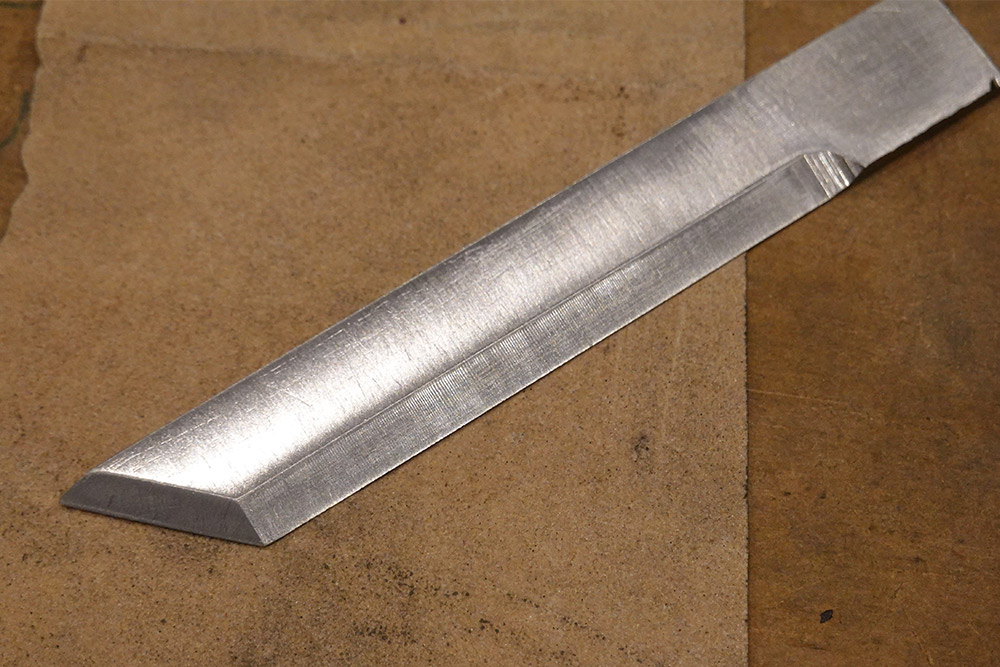
In the end I did buff out those oxide colours, but only after much deliberation.
As I hoped, the not-quite-polished-out toolmarks look at least a little bit like they're scratches from chopping stuff.
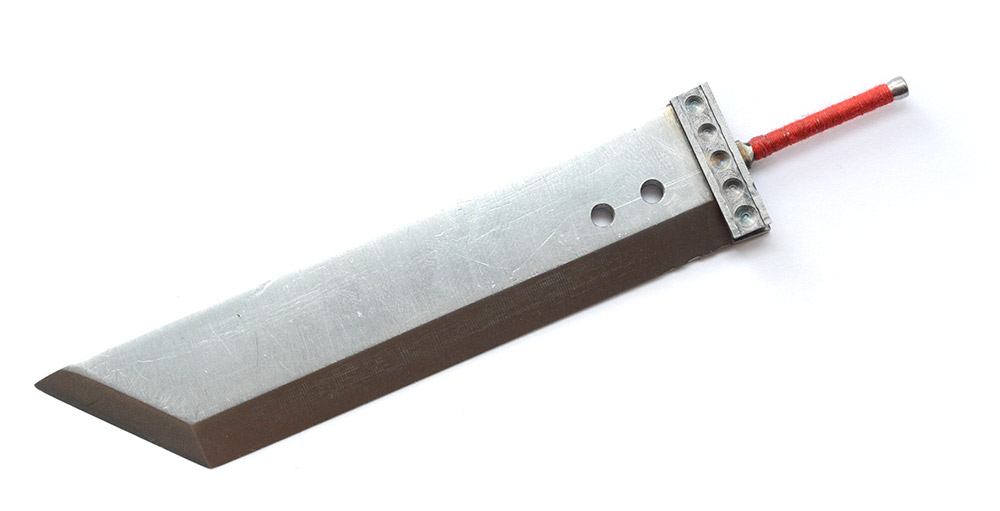
I think it turned out quite well.
Naturally, the geometry, size and thickness mean it makes for a really poor letter opener. I tried to open a letter with it. It was difficult.
Producing a gift that's actually useful and effective would be quite out of character.