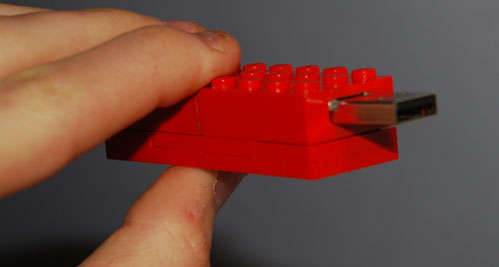
Lego MP3 player
16 Jul 2008Progress: Completed
I saw a couple of USB drives with Lego casing and thought I'd give it a go. On my search for a cheap drive to hack open I found this very cheap MP3 player, and boldly thought, "Wow, that'll be even better!"
Different to the flash drives, this needed buttons and a headphone socket. Plus an annoyingly large battery.
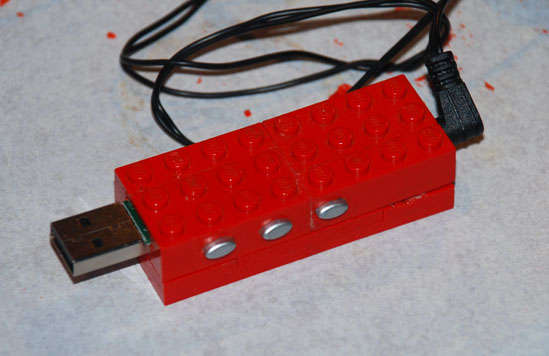
The MP3 player was an amazingly cheap £4.97. Unfortunately that meant it was rather large and didn't have many features, but it works.
I also needed:
- Four Lego bricks (two 1x4s and two 2x4s) and several Lego "plates" i.e. flat pieces for the base
- Super Glue
- Hot Glue
- A mini drill or similar for sanding down / cutting up the bricks
- Sand paper
- A solder iron and solder
- Good lighting helps
Removing the gubbins from inside the MP3 player was as easy as prying it open with my fingernails. Something of higher quality will probably need a little more effort.
After looking at the board I realised I could either go for making the case four dots wide and be on the safe side, or three dots wide and need to do a bit of squeezing. I went for three.
It was fairly pain free to glue the bricks together and hollow them out. For the sake of getting the circuit in easier I kept them in two parts. Note that super glue was what seemed to be the best choice here, the edges were merely a millimeter thick, and it needed to be strong and accurate.
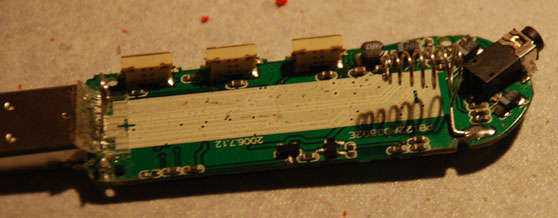
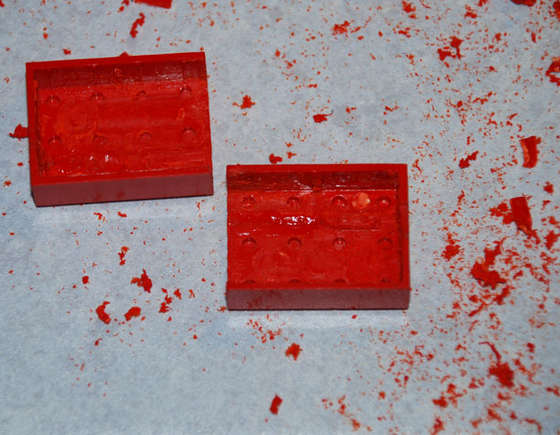
The circuit was too big for the case, so I needed to reshape it a little. I figured I could do the following:
- Sand down the edges to remove excess
- Add on a few link wires so I could cut off the end of the circuit
- Move the awkwardly positioned headphone socket
To start, I sanded down the easy bits just about as much as I could. Saved at least two millimetres. I then basically cut away all of the circuit that supported the USB port so I could push it through further and save more space. Eventually I got one end to fit in.
It's pretty hard to get any pictures of my messy link wire(s), but I managed to cut quite a bit off there too. And desoldering a surface-mount mini headphone socket... that wasn't nearly as easy as I'd expected. It eventually came off, with a lot of poking, drilling, prying and sucking up solder.
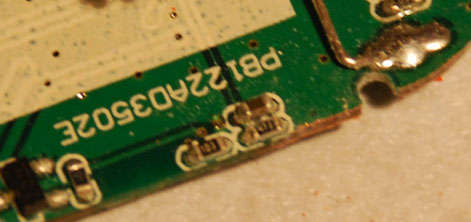
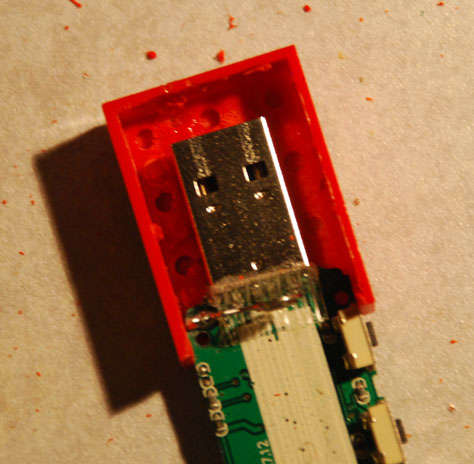
Making holes for the buttons and USB thingy was fairly easy, just mark out and drill (I did the marks on the edges so as not to get pen on the lovely shiny outer surface). It seemed best to make a hole in the middle and then work one's way out, continually testing.
Once the USB head fit (with a little more sanding to the board) the buttons were a little more tricky. The tact buttons had little plastic silver buttons over them on the original player, which I kept, but there was no way the grid thing that held them would fit in here. I decided to cut each button out of the grid, and then sand down the back of them until they were a silvery grey lump. I then very carefully cut a rim to the holes I'd made for them, so that when they were inserted they were flush on the inside. I could then fit the circuit in without any more wiggling than before, and the buttons still had a nice feel to them.
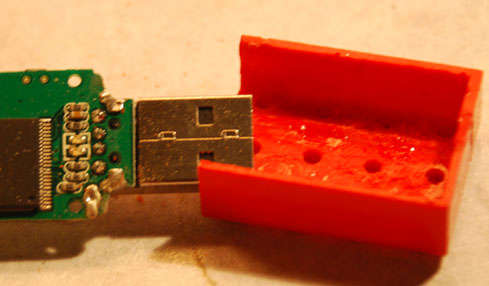
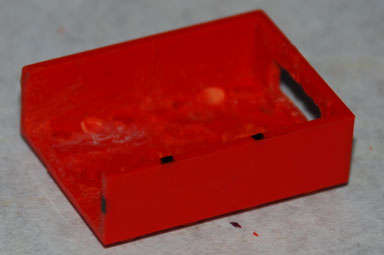
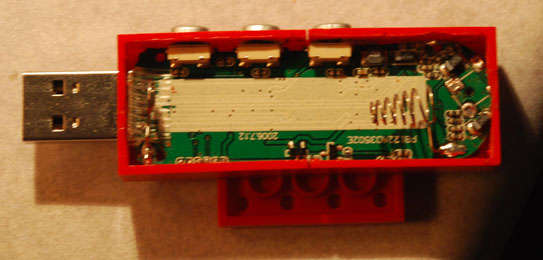
With more sanding and shoving, finally I got the thing into the case. Here you can see it held together with another piece of Lego, with the buttons looking nice and all. Also on the right is the remains of where the headphone socket was.
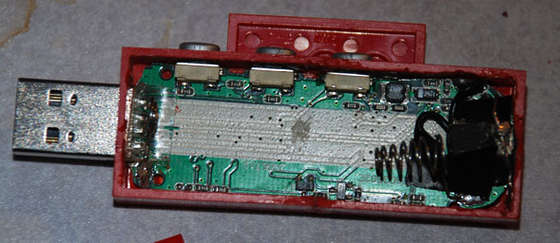
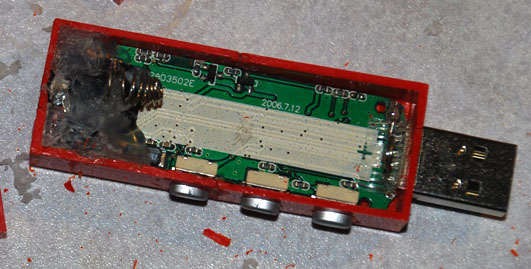
Oh, this bit was fun. The picture doesn't show much, but it was quite a feat. The thinnest wire I could find was still a thick, inflexible, industrial sized slug... well, sort of. It certainly wasn't the easiest thing to use. After connecting all the pins with their original pads, it was a matter of shoving it through another hole, and smothering in hot glue for it to withstand many plugging ins and outs.
It's important to test before covering in glue though, if you can hold a battery to the awkward terminals. The first time round one of the pins shorted and the sound was only in mono, which isn't quite what we want.
Also the glue mound I built helped keep the springy battery terminal in place. I actually held it to a blowtorch first so I could change the shape slightly, but that doesn't really matter. The SMT components are quite heat sensitive, they shouldn't be under heat for more than a few seconds.
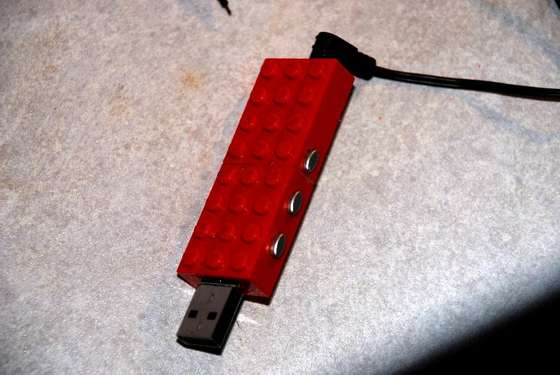
Of course once that was done I could glue the case together permanently. The thing now looks pretty good.
The battery cover - alas, this bit was awkward. See, the battery stuck out a lot more than I expected. So the single layer cover was out.
I put two flatties on top of each other next to it, and it *looked* like it would work. It wouldn't.
Eventually my two layers got sanded and drilled into just a frame. It's not nearly as nice as I'd have liked, but it does the job. You can stick it onto more Lego around the edges, but not in the middle due to the edge of the battery poking through. Oh well.
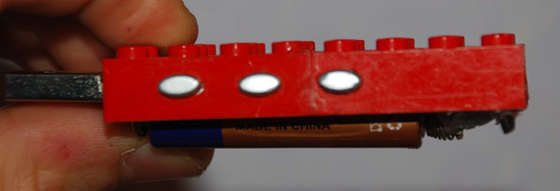
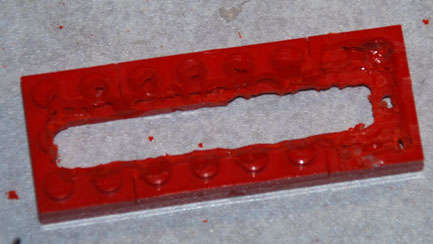
Because so much had been carved out, the original bumps didn't keep the cover in place. I thought of using magnets, but couldn't find any. In the end I glued little metal rods into it which made it (sort of) click into place when you close it. At least it holds.
So what next? I hoped to add a light to this - the original had a light on it, but it was made of two SMT LEDs so there wasn't a hope in moving them, and if I replaced the bump above it with a clear one it wouldn't look balanced at all. I would also like to desolder and resolder the USB port to be a bit more logical - at the moment you have to insert it upside down, because of the crappy design of the original player which needed to be inserted with the battery compartment on top.
But for now, I'm off to listen to my favorite tracks on my new Lego MP3 player. Hmm, needs a better name. Lego-MP3? MP3-Brick?
