Knurled Earrings
29 Jun 2019Progress: Complete
I know you thought I was all knurled-out after knurling the knobs of the Luxury Timewaster. Knees knocking, knuckles knobbly... but don't get your knickers in a knot, I'm not knackered yet! Now I know the knack to knurling, I can knock out knick-knacks in no time!
See, another friend of mine has her birthday just a few days later, so it's time for MORE KNURLING
Construction
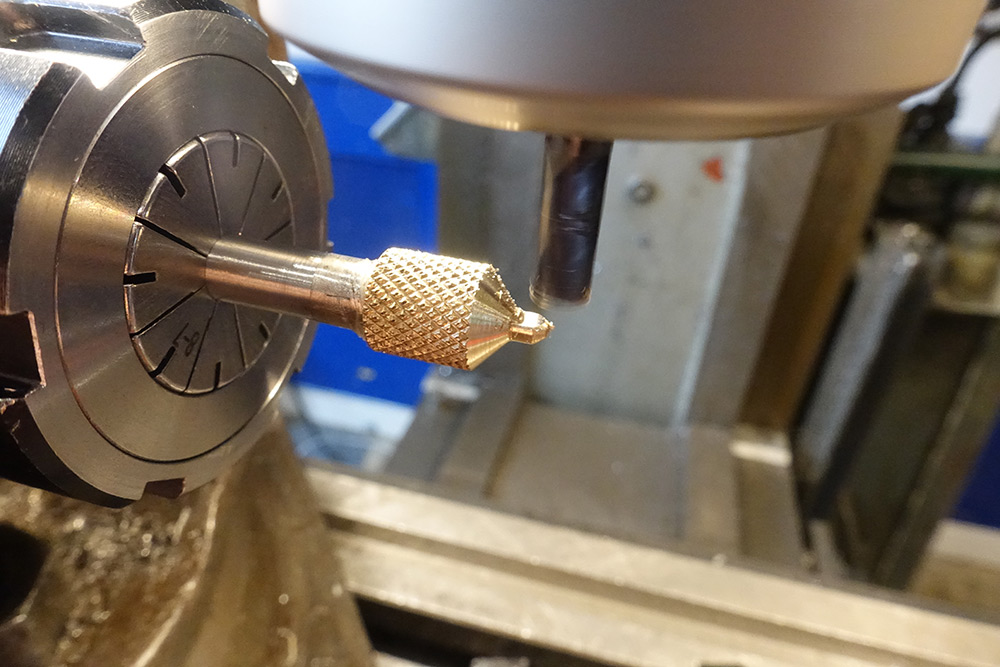
We begin, as you probably suspected, with knurling. The brass stock was turned down to 10mm before knurling enough of it to make both earrings (that'll make sure they match).
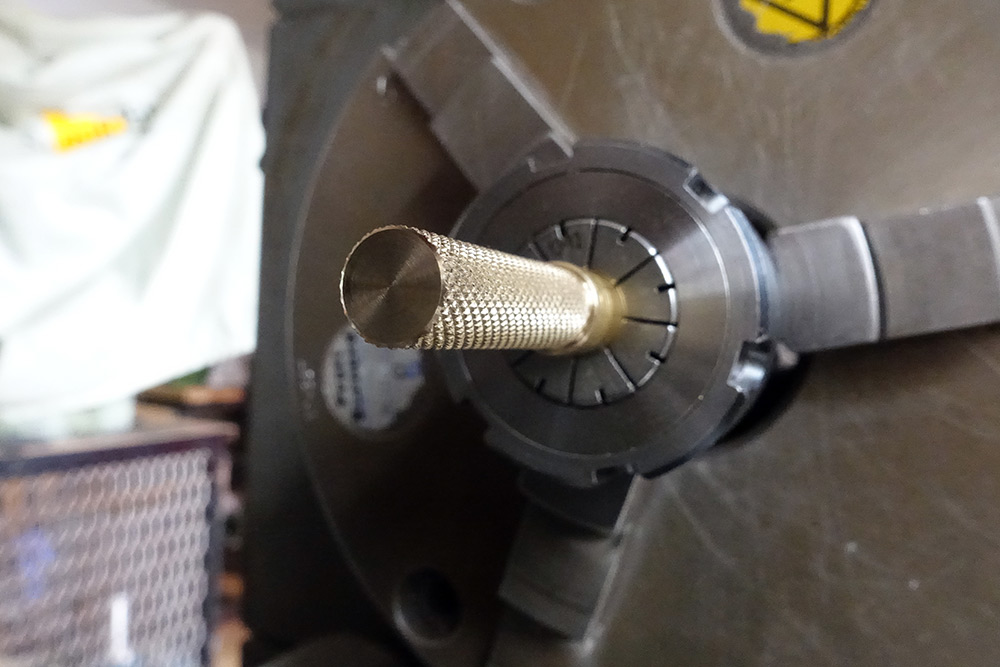
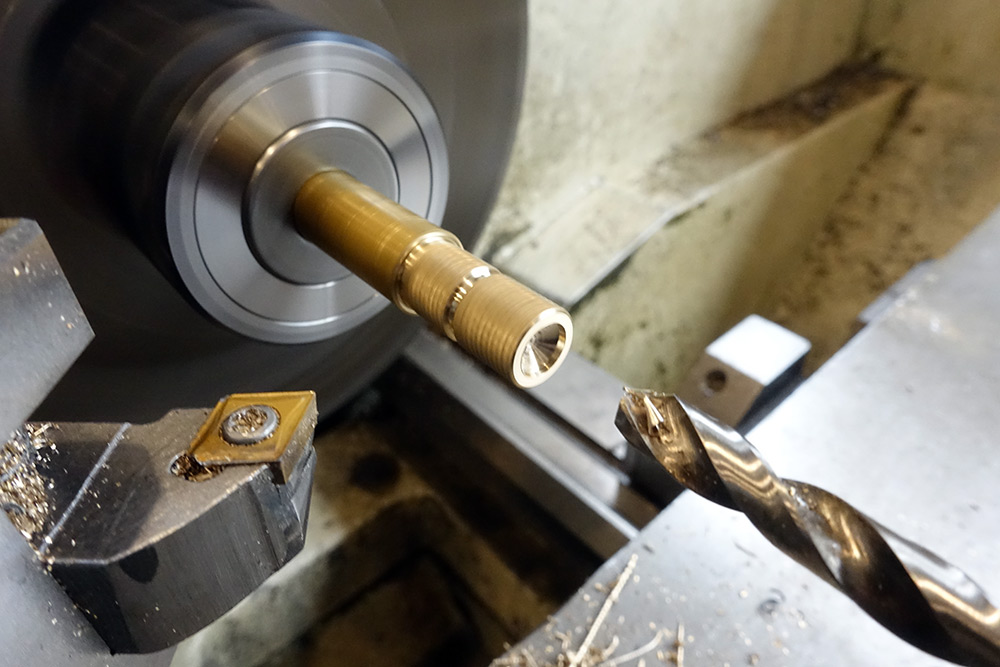
Each earring is to be hollowed out, so after touching off to mark the length of the first earring, we centre drill it, then follow with a 7.5mm bit.
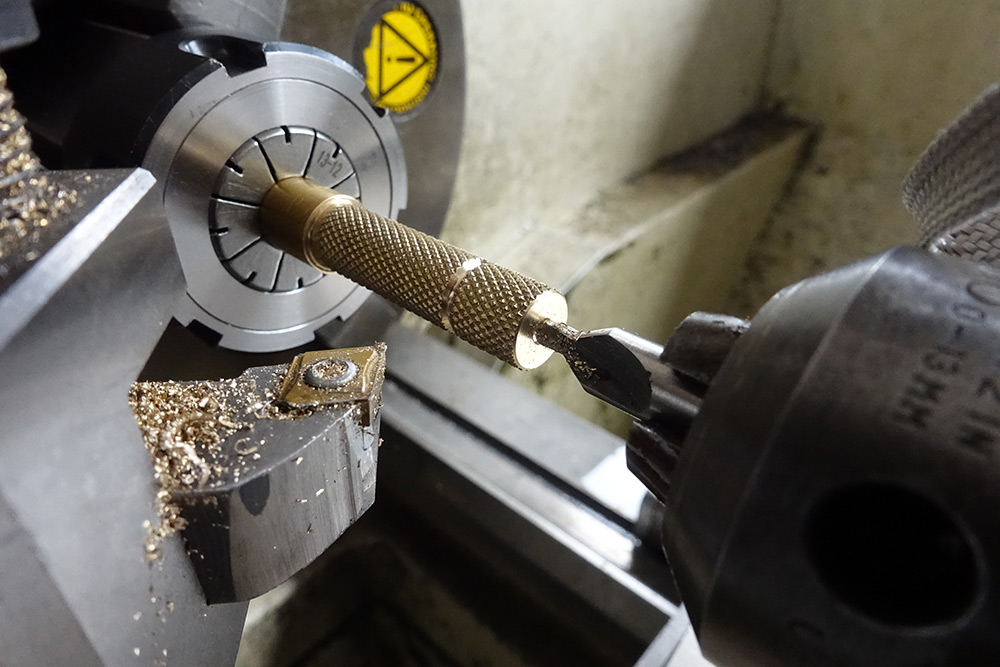
The diameter was just an aesthetic choice, perhaps a wider drill bit would have given a more dainty look, regardless this is the look I chose and I'm sticking to it.

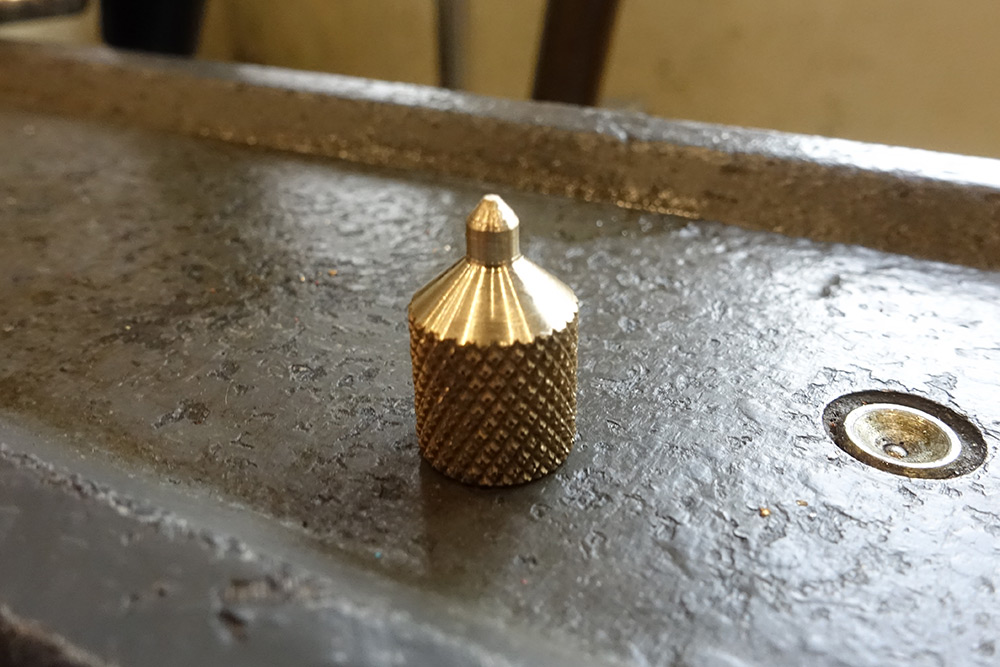
The tiny taper was cut just by setting the tool angle. A perfectionist might want to match this angle to the 59° angle of the drill bit, in order to have a uniformly thick shell, but alas, here is proof that I am not in fact a perfectionist.
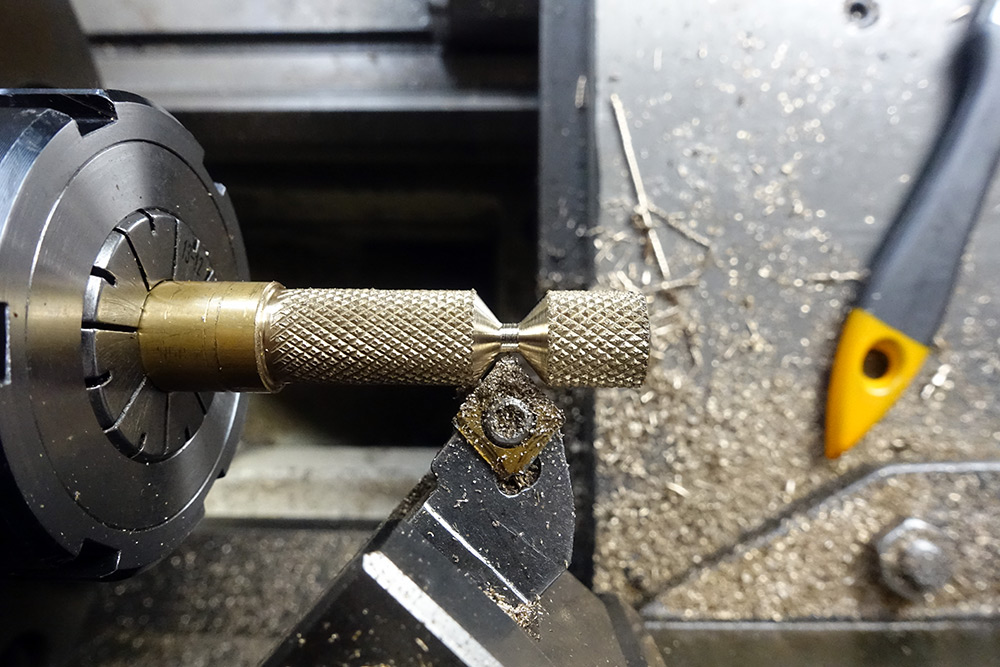
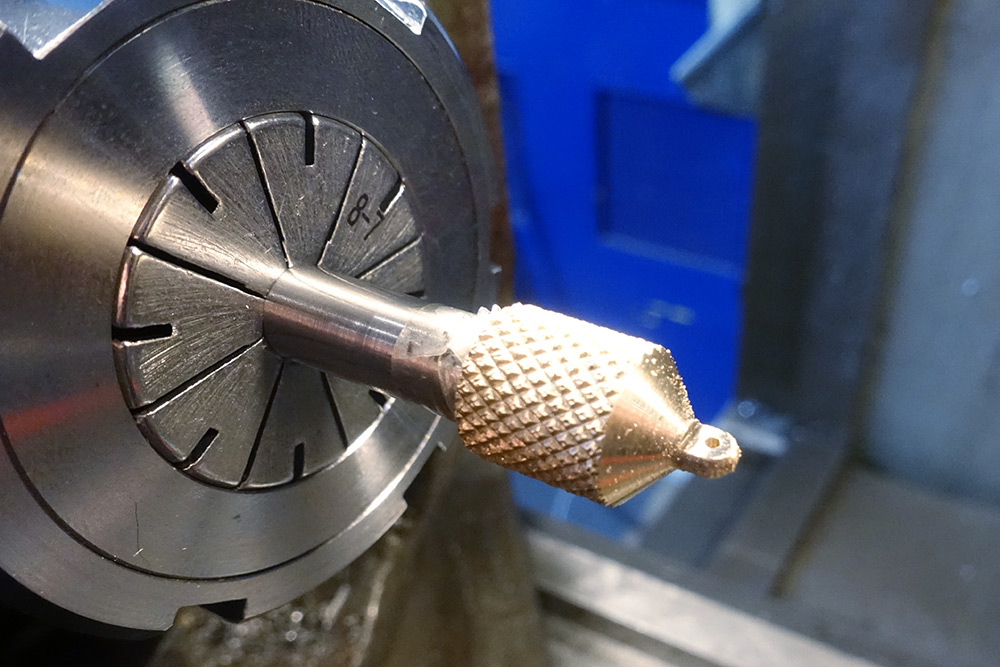
Then we part off, filing a slightly rounded end as we do.
The process was then repeated on the remaining KNURL.
To flatten and cross-drill the ends, we're now faced with a dilemma. The four-sided collet holder is a good candidate for holding it and easily flipping 180°, and the clamping pressure is low enough that it shouldn't harm the knurled surface. But unfortunately it protrudes so little from the collet that getting a small diameter drill-bit near it will be near impossible.
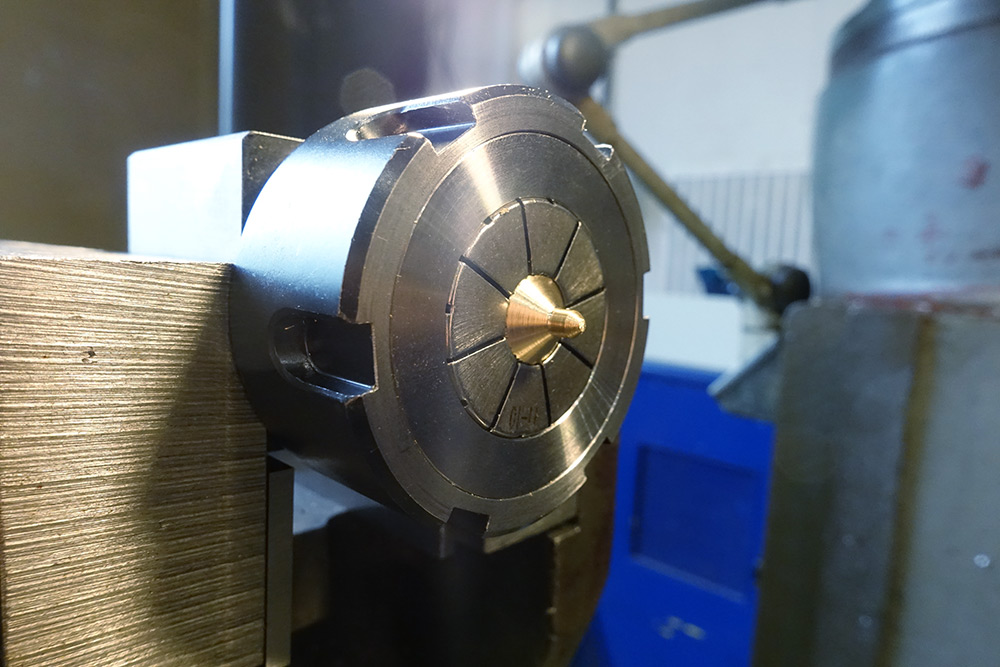
Solution? Mount the part via the hole we drilled in it. The very same drill-bit that was used to make the hole was now mounted into the collet backwards. The part has a loose fit, so I wrapped a single layer of stickytape around it. Would you believe this provided enough clamping force to mill the surfaces flat? It did!
Flats on both sides, we're now confident to drill the cross hole. Just to give you an idea of the scale, here's the full set-up for drilling a 1mm hole on the bridgeport:
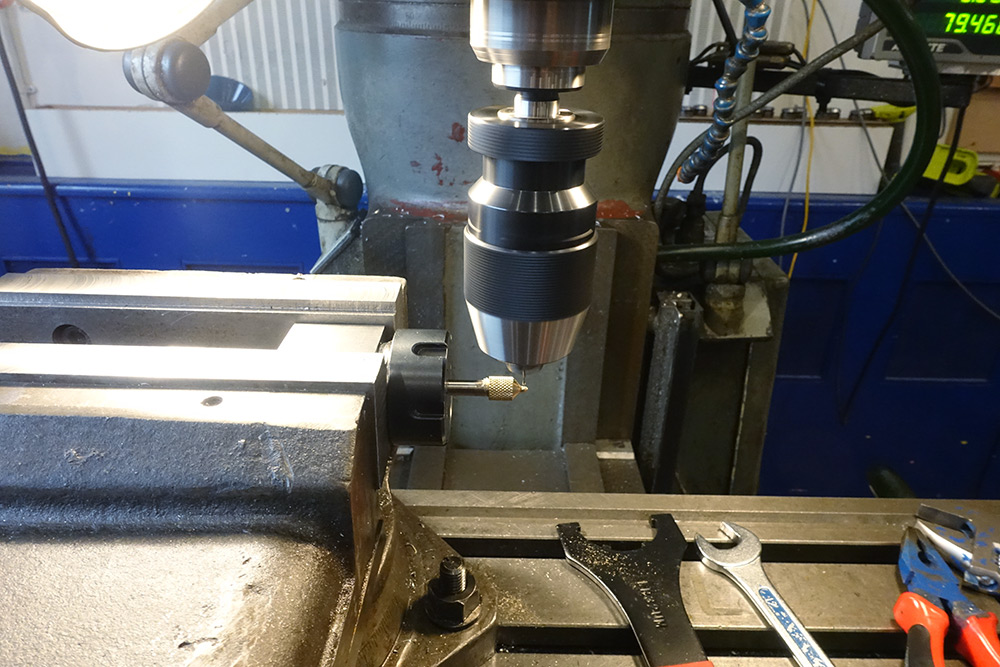
Astounding!
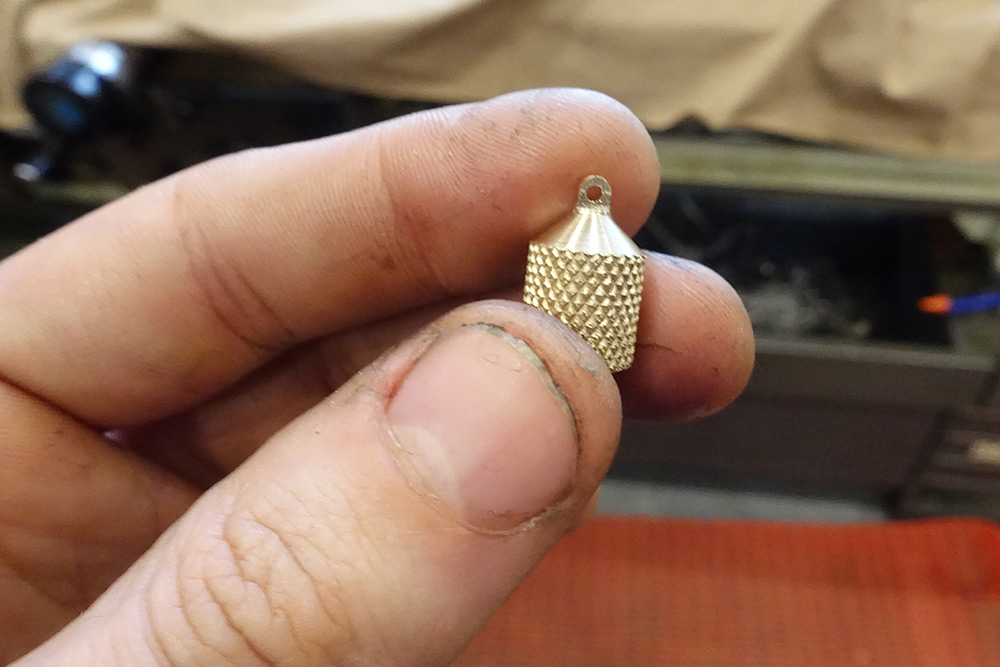
Dare I say the hole looks a little too small? I widened it to 1.4mm before repeating for the other one.
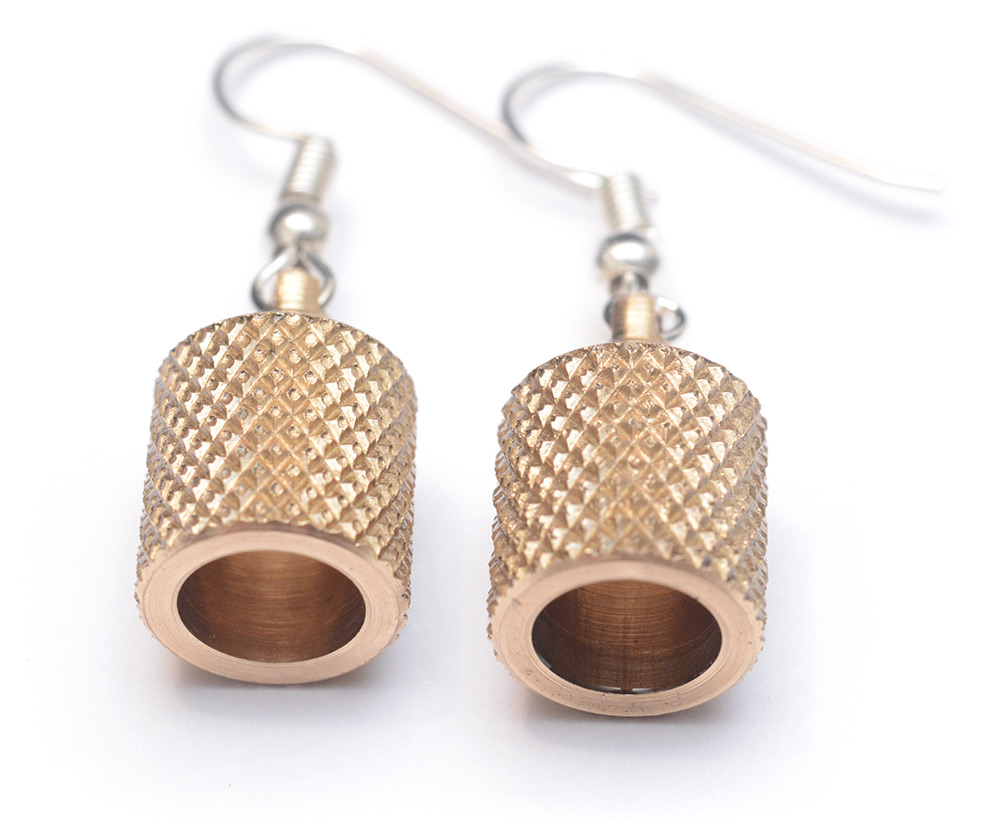
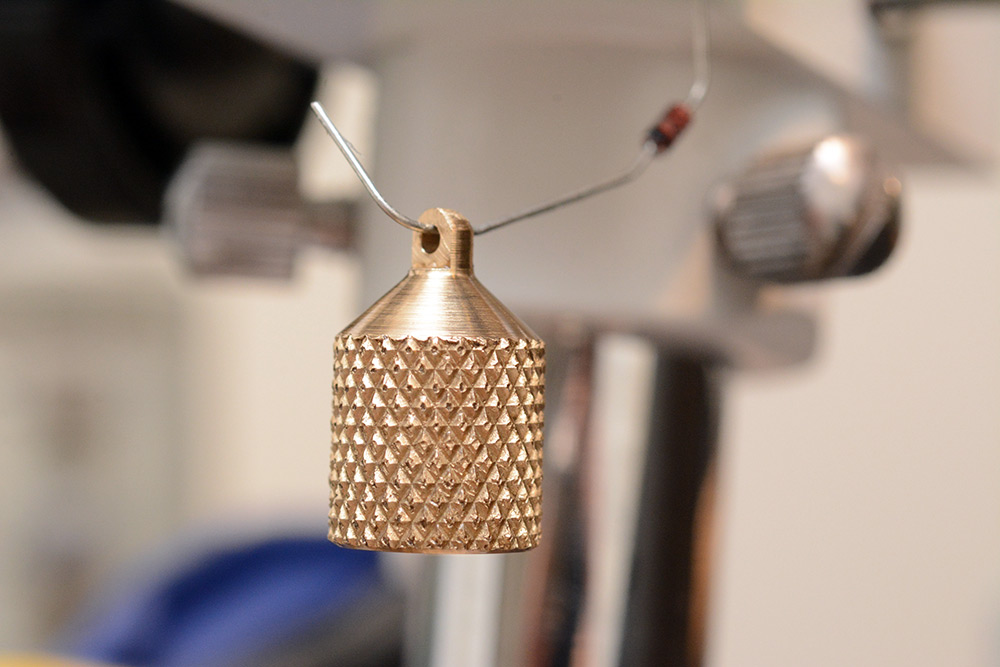
We're not finished yet! Brass tarnishes at an alarming rate, and I'd really love to have these earrings keep their golden look. The solution is to laquer them with a polyurethane-based varnish. I first dipped them in a weak acid solution to remove any oxides or grease, then dipped them in the varnish and hung them up to dry.
I can hear the reader bemoaning the lack of electronics in the last few projects ("argh! not another machining project!" they cry) but look, here I'm using a diode to hold it!
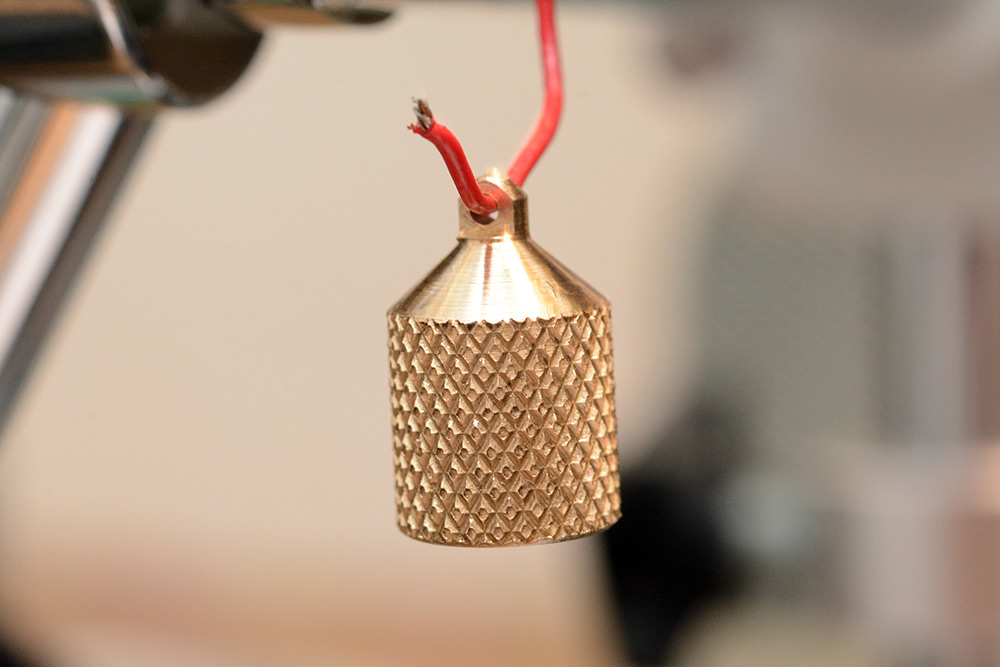
The other one only gets a random bit of scrap wire.
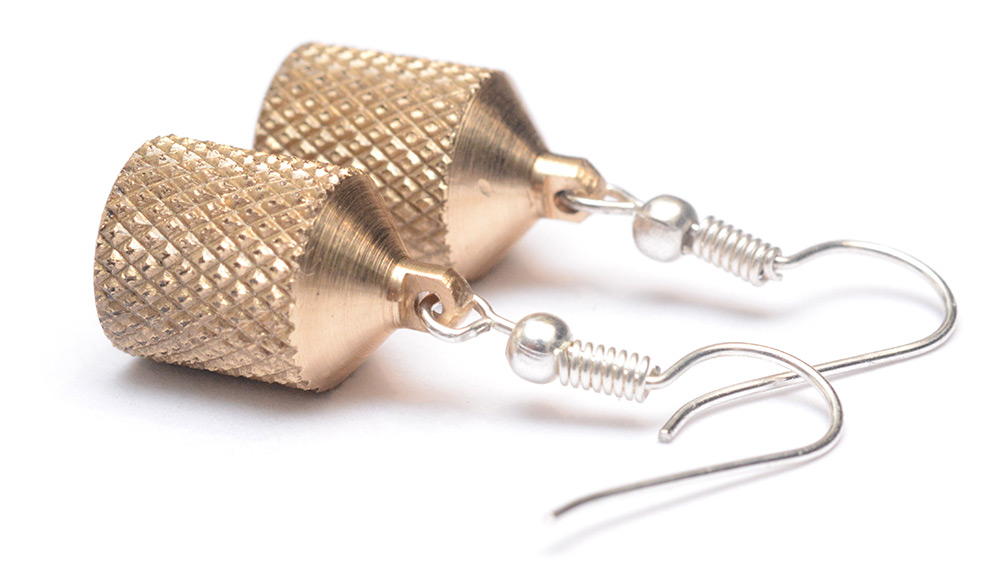
And once dry, the addition of off-the-shelf hooks completes the build.
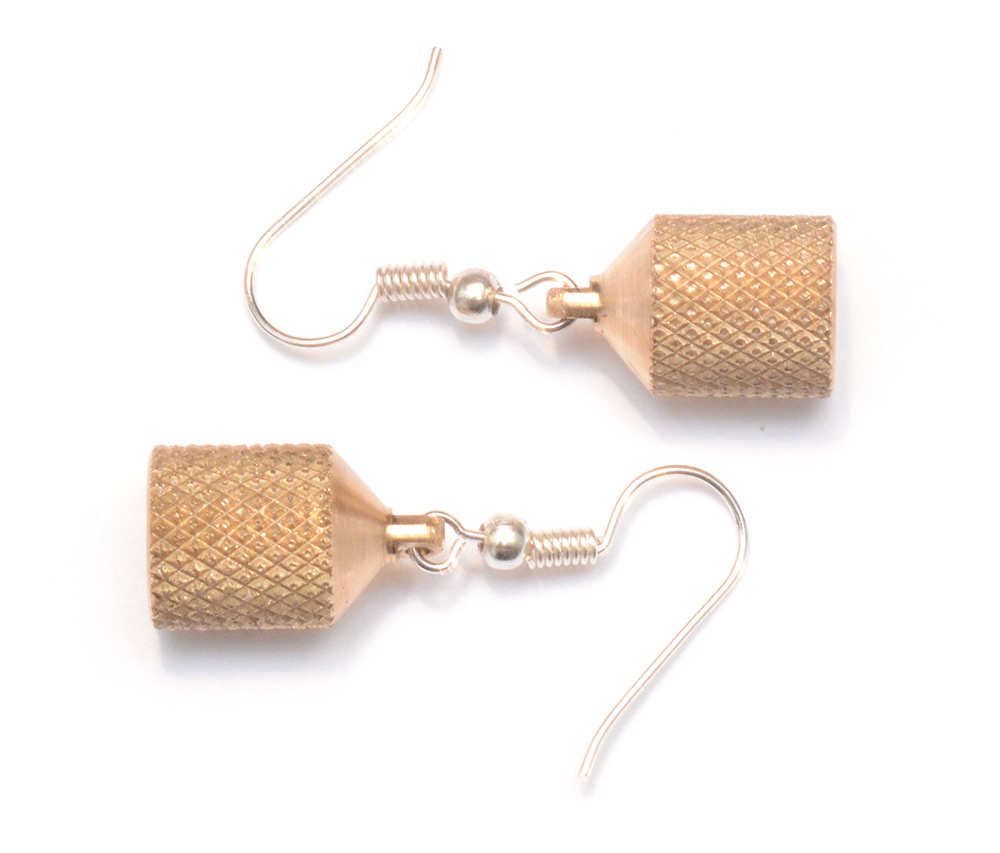
I think I have finally gotten most of the knurling out of my system now. Normality will resume shortly.