Jiggy
13 Sep 2021Progress: Complete
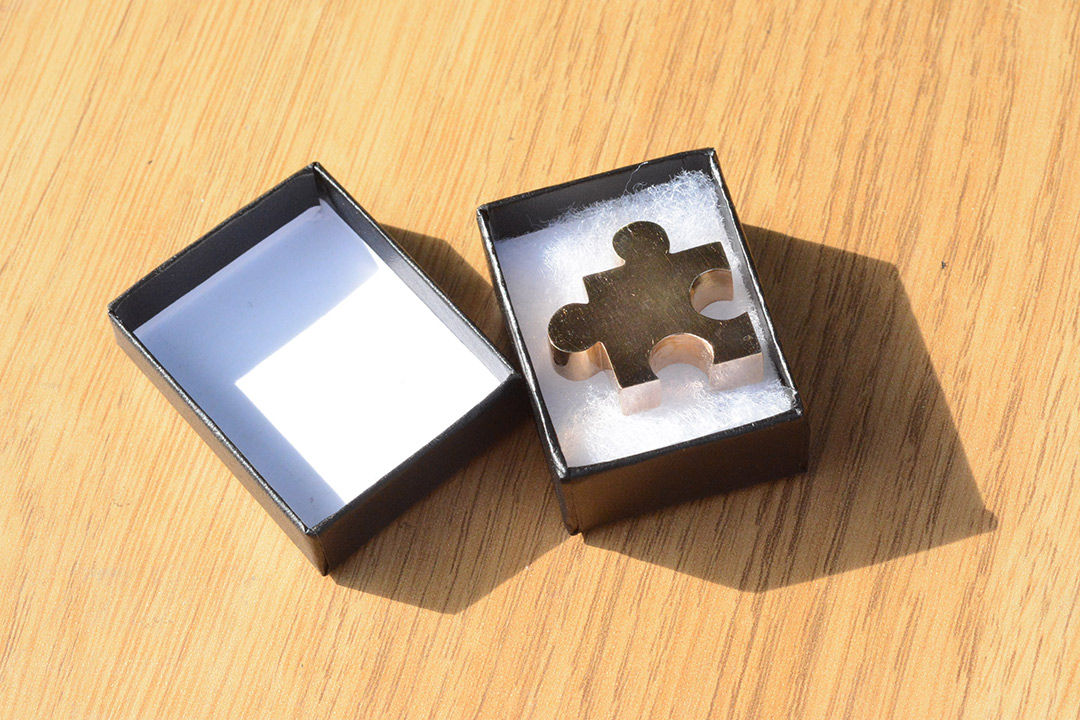
This is a very quick project, but a satisfying one.
The ultimate ideal as an inventor is to go from idea to finished product in an instant. This means having all the skills and resources at hand, and/or the creativity to overcome any shortages. Aye, that's the dream, to turn dreams into reality!
What I'm trying to say is that I made a lump of metal. Quick-like.
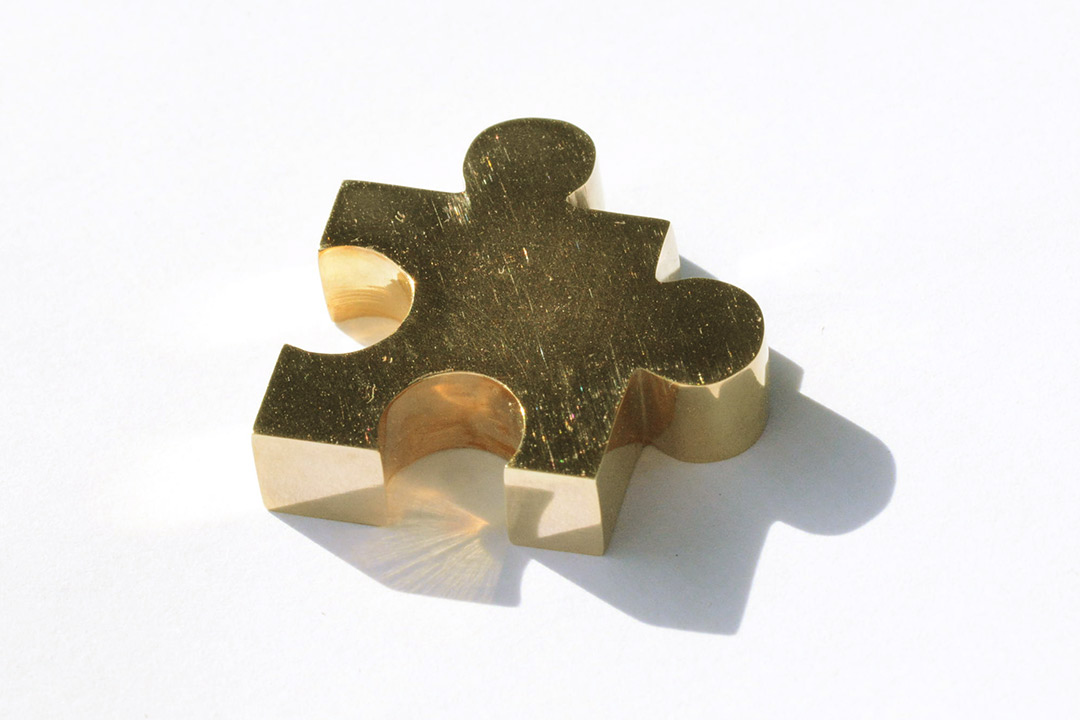
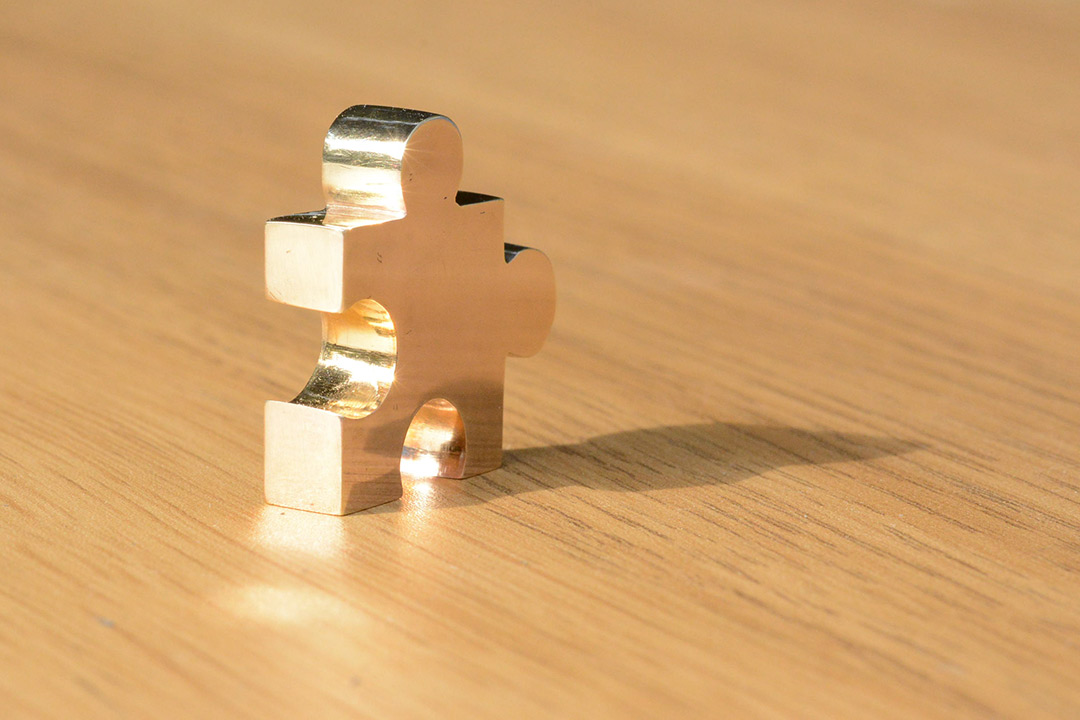
Specifically, the Jiggy or golden jigsaw piece from Banjo-Kazooie, which re-entered our consciousness lately thanks to a certain fangame: The Legend of Banjo-Kazooie: The Jiggies of Time. A magnificent mashup between two of the best N64 games. Don't be put off by the fact it's a fanmade rom-hack – this is a full length game that you absolutely must play. I'm no stranger to the scene, and I'm telling you, fangames don't get this good! I enjoyed it so much, I even donated a generous amount (for me at least) to the author, because I have bought 'real' games that have provided less entertainment than this gem.
It's been out for a while, but a friend of mine only just played it last week. We were meeting up on Saturday for a pandemic-delayed birthday celebration and I hadn't planned on making anything really – I've been so taken up with other commitments – but then the inspiration struck, mere hours before the event, and all of a sudden I had, just had to produce a golden Jiggy.

Modelling and milling
I started in OpenSCAD, to get some approximate proportions. The hole at the top was to potentially make it a keyring.
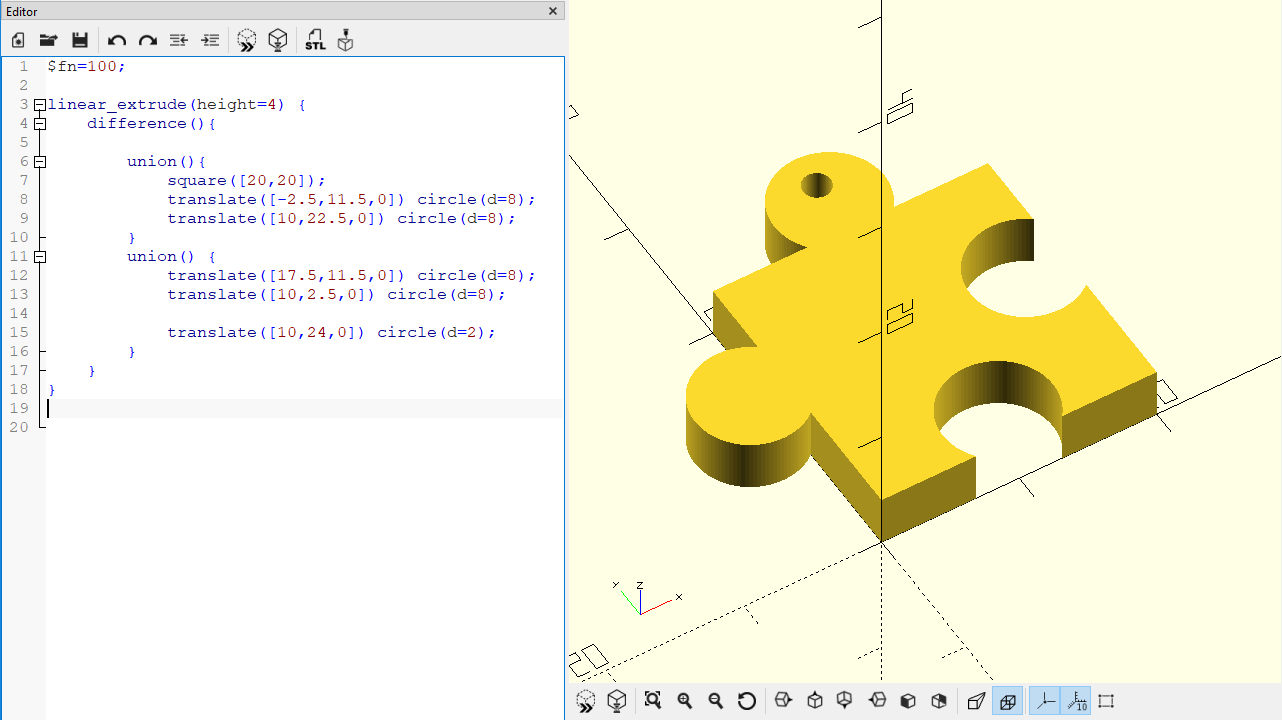
Here's an interactive WebGL embedded 3D model of this incredibly complex part:
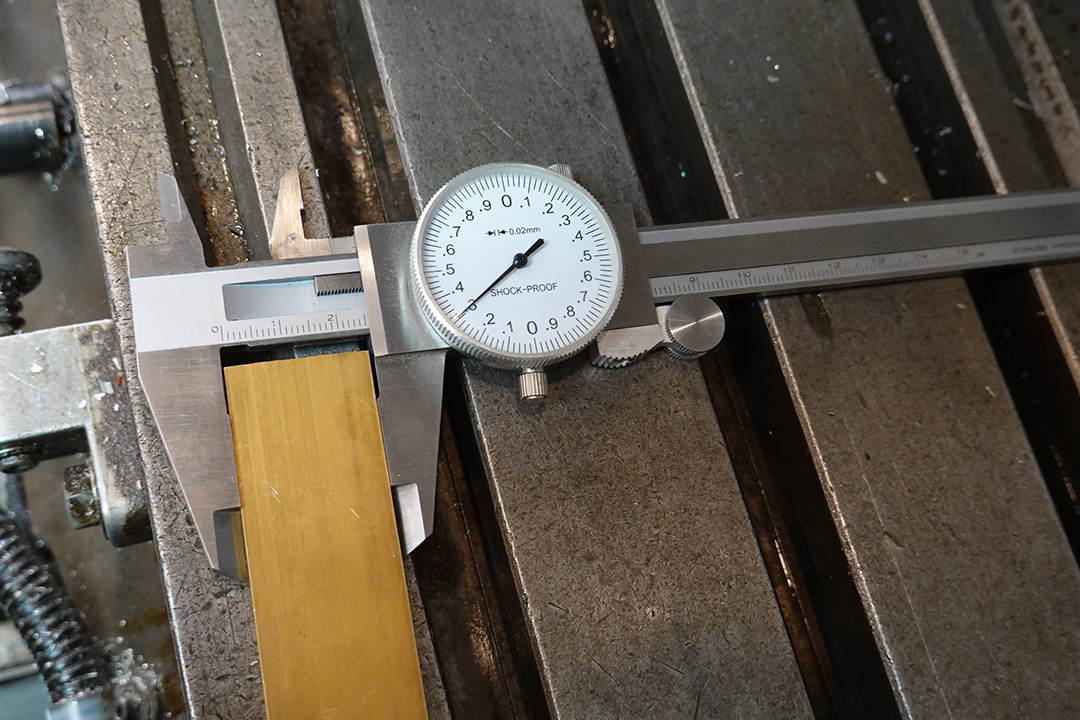
The next important thing was to check what materials I have in stock. Brass is the obvious candidate since it machines easily, polishes nicely and takes a gold electroplating without an intermediate layer. I had some 3mm plates, which I think is a little too thin, unless the jiggy was really tiny, and this 6mm flat bar which is 25mm wide. It's just about right, though my model above is 27mm at its widest, so I scaled the whole thing down a little to fit.
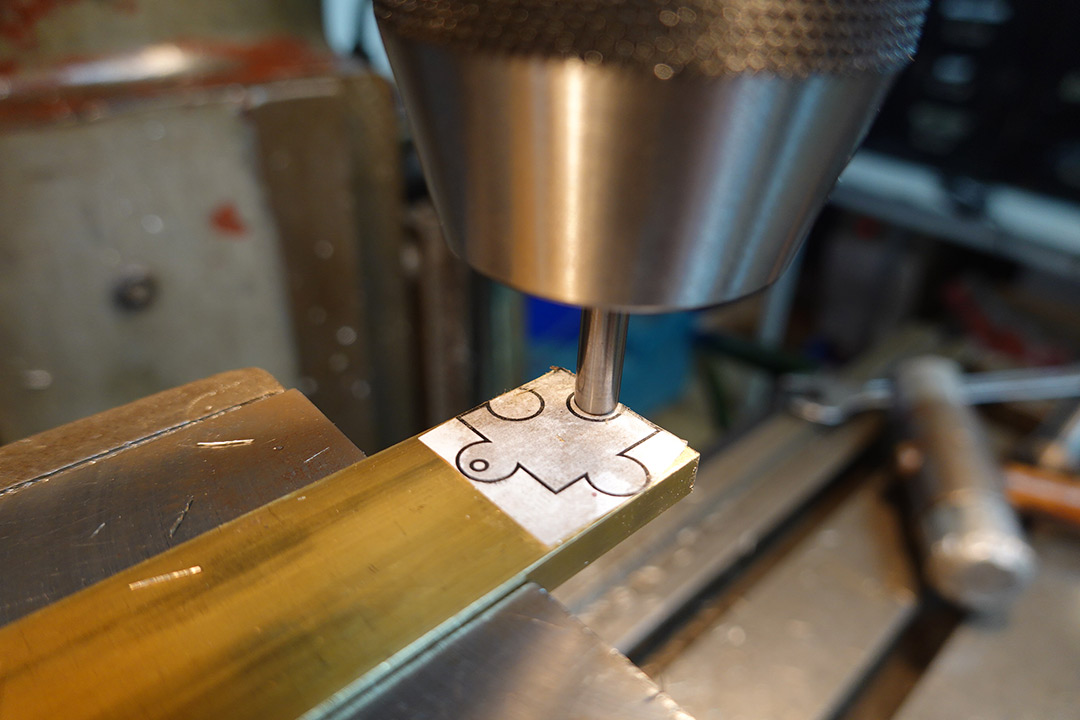
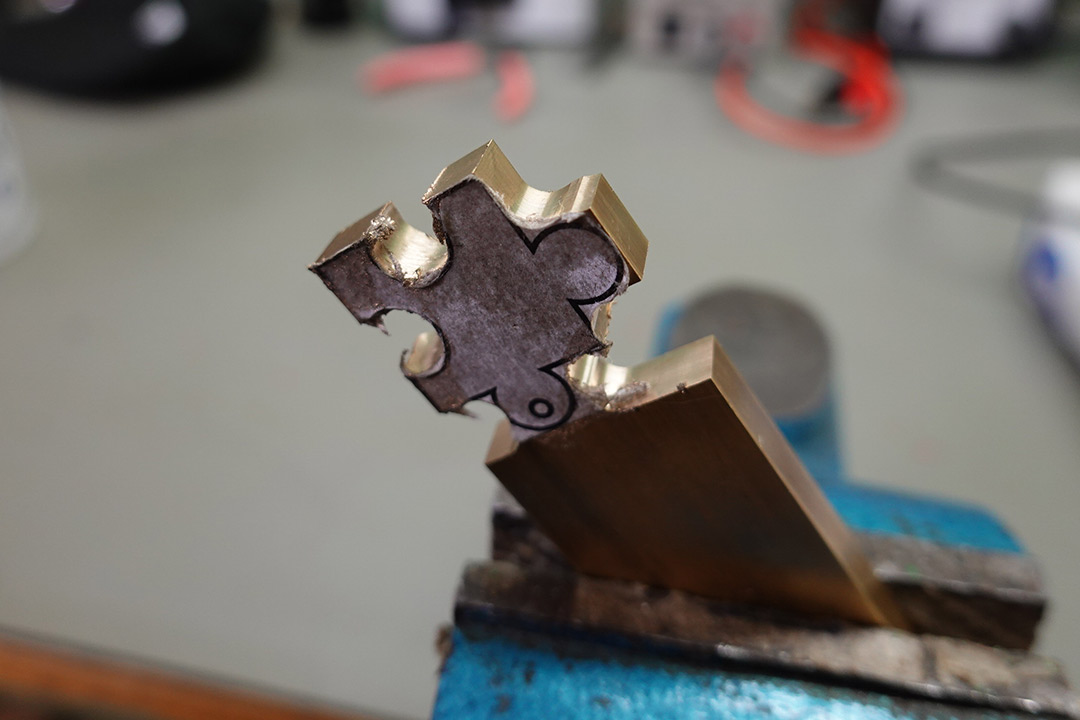
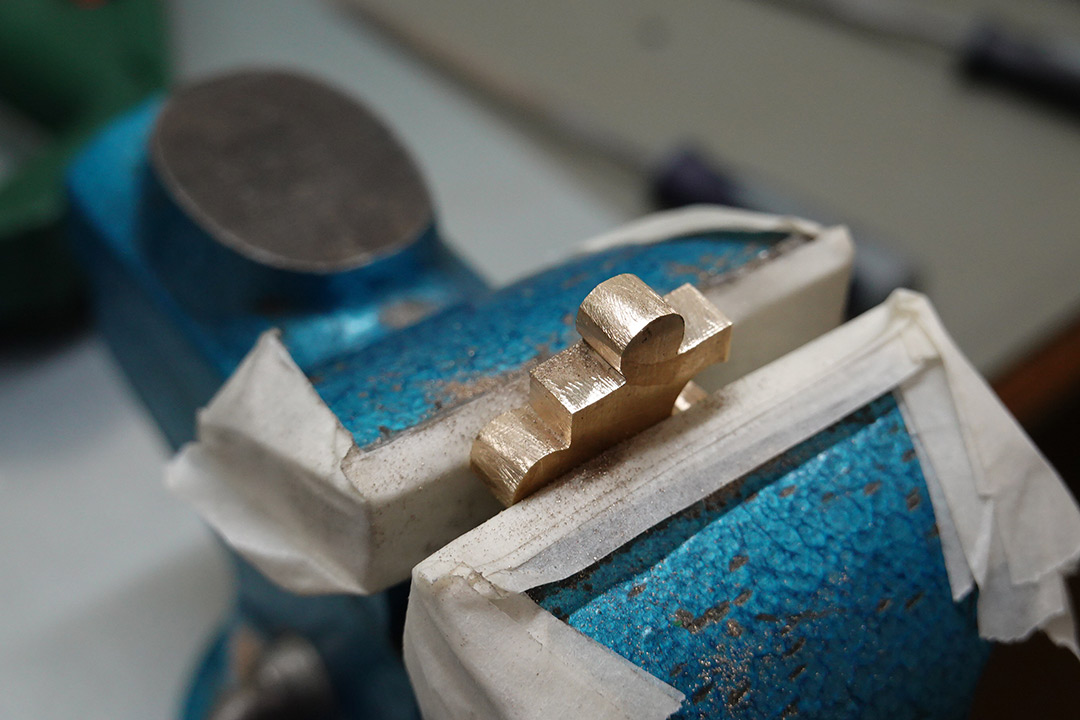
I then exported the 2D model as SVG, printed it out, and spray glued it to the stock, woodworking-style.
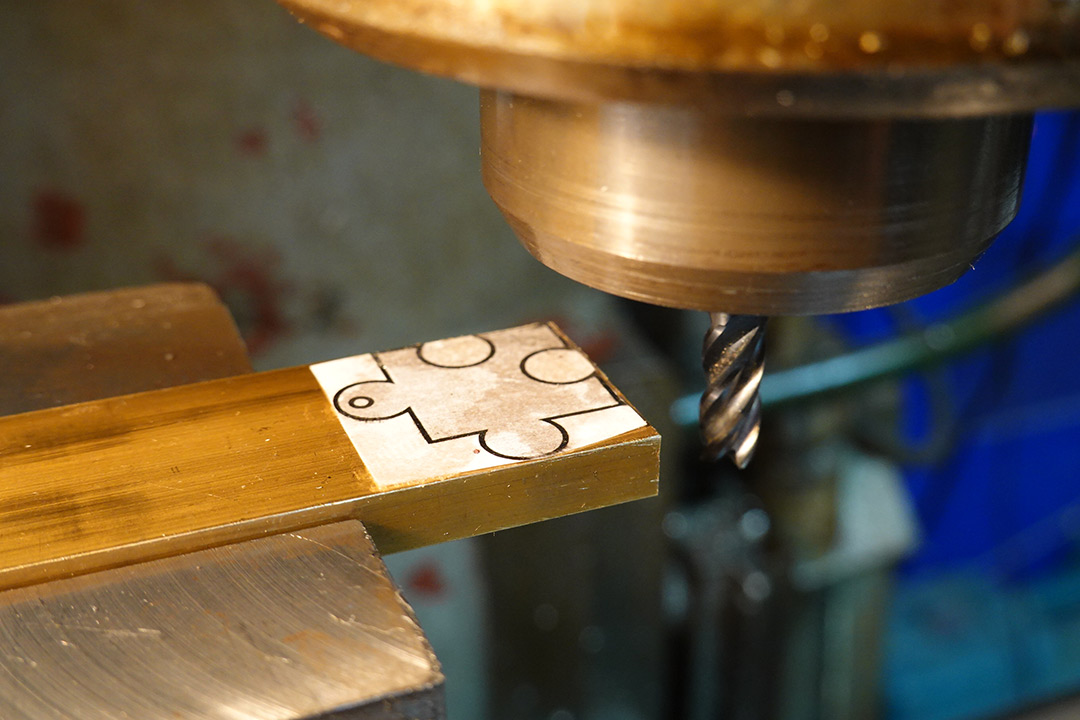
On the milling machine I then squared up the end.
We don't care about precision here. To line up the holes, I chucked an endmill in a drill chuck backwards to make a pointing device which can be visually aligned to each hole.
Centre drilling and noting the chosen positions on the DRO.
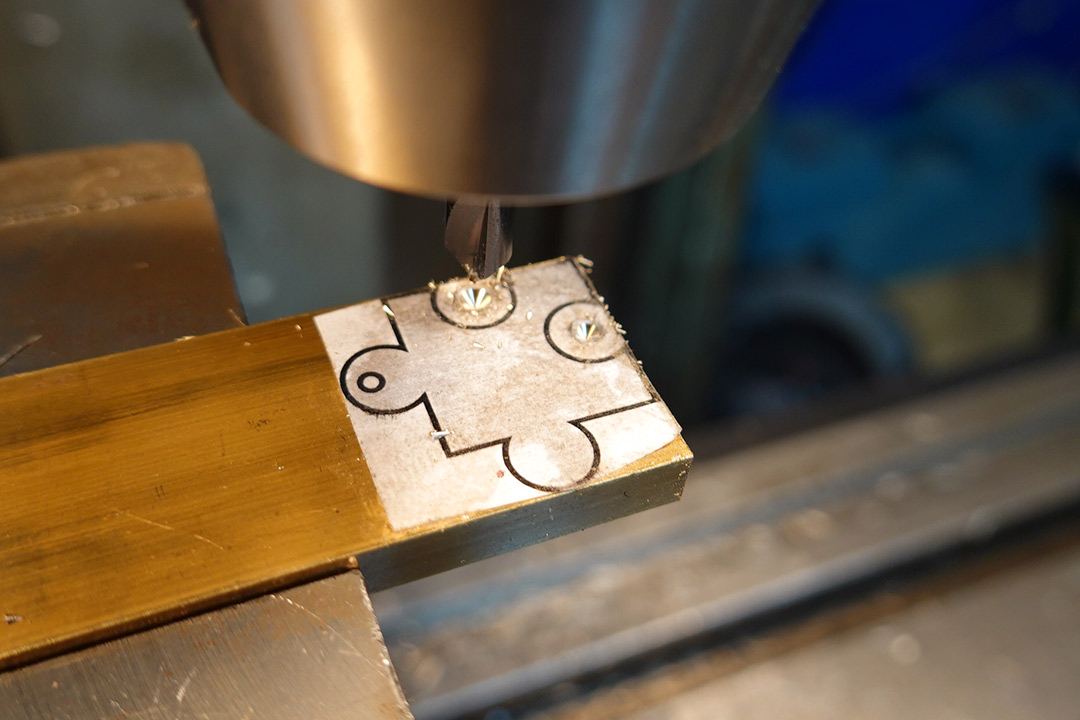
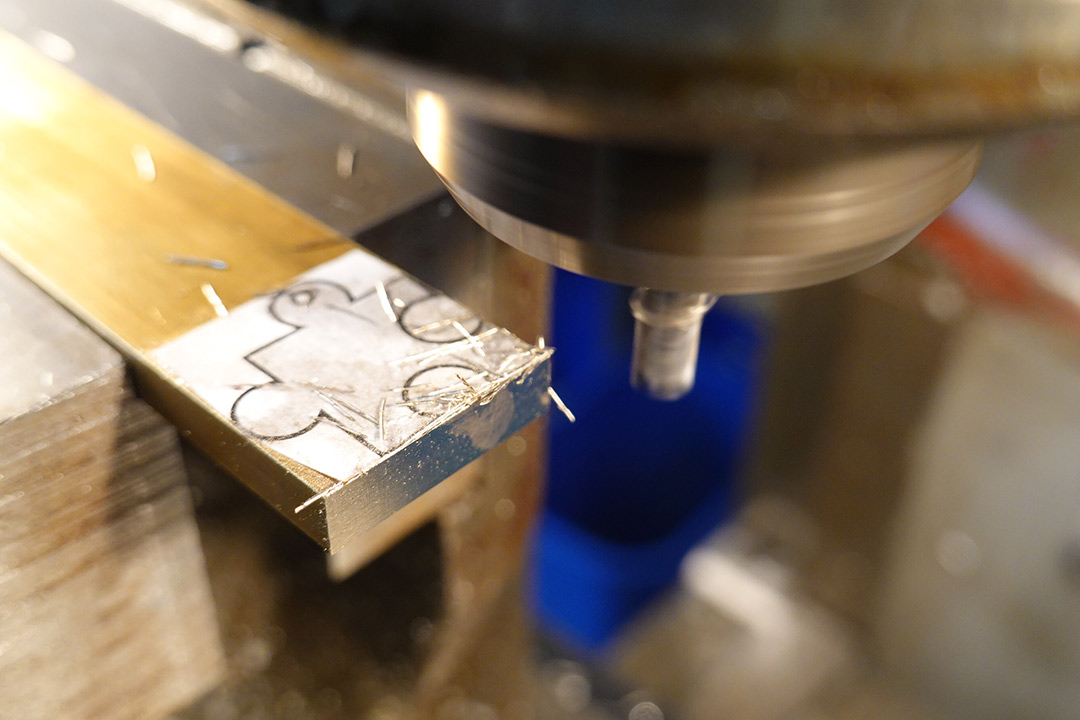
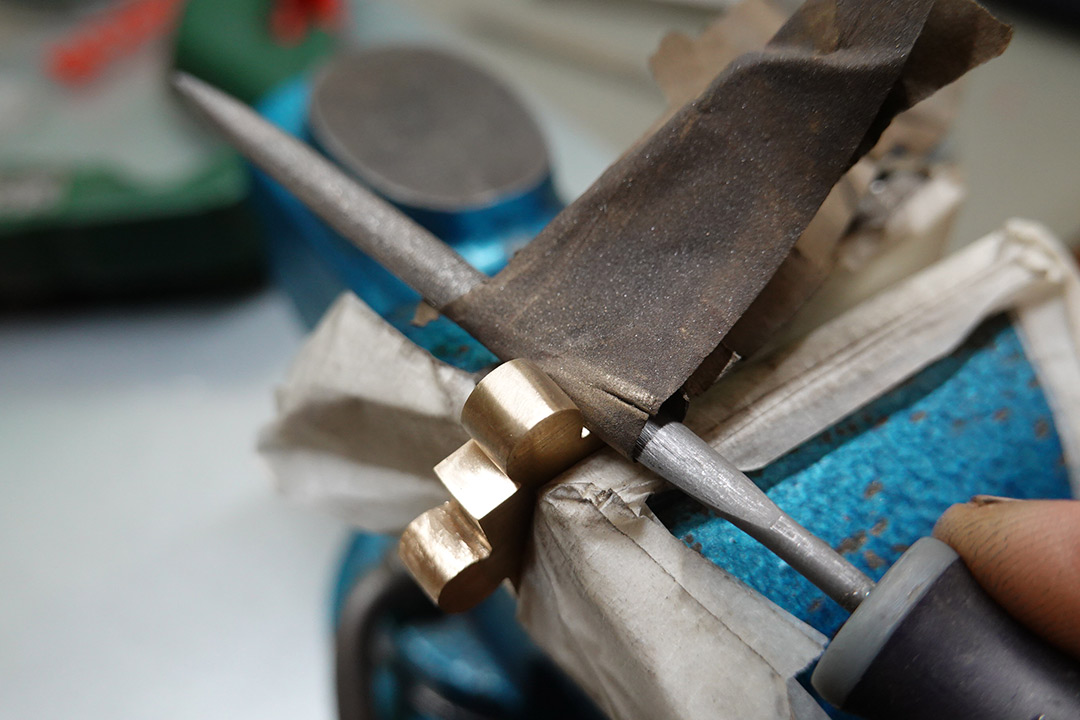
The partial nature of these holes means the drillbit will inevitably wander somewhat. If only I had a 7.5mm endmill to hand. As it is, I took it slow and handheld the part to stop vibration.
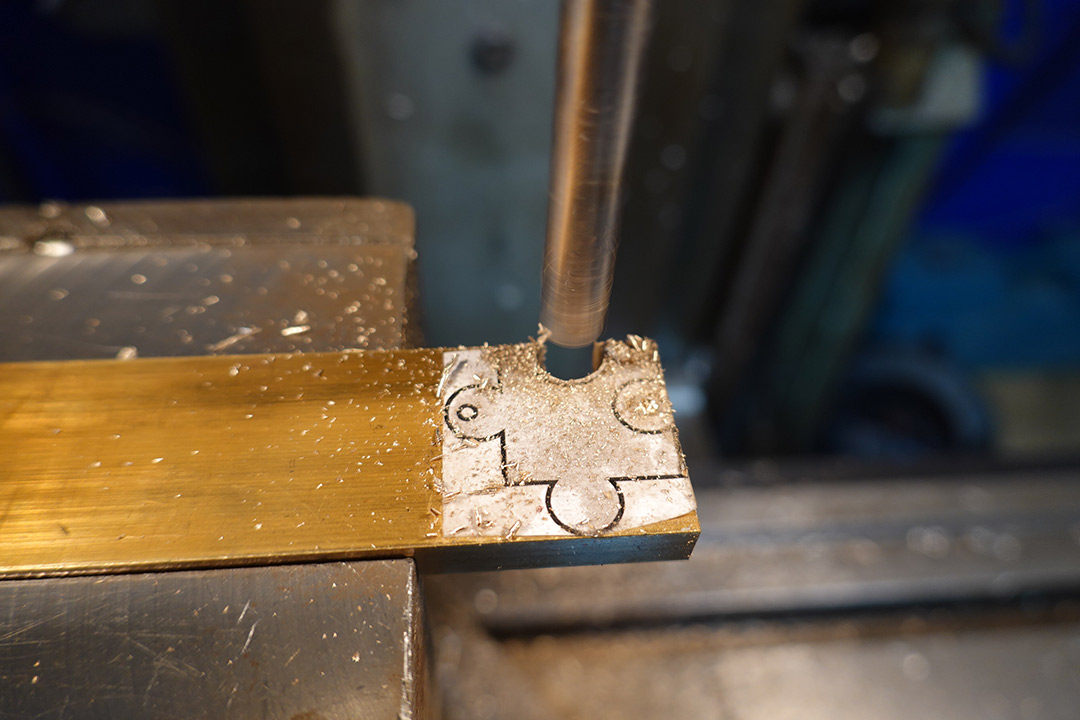
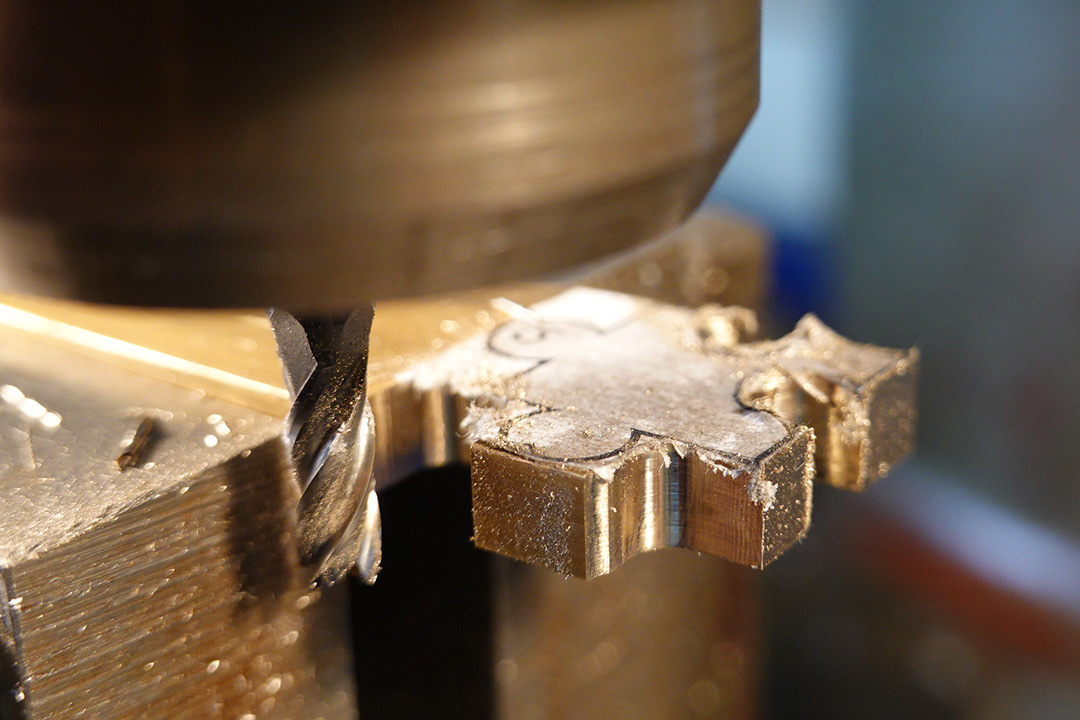
With the holes drilled, I next roughed out the part with an endmill. I really do mean rough. The final shaping will all be by hand with the needle files, but the rough milling will help to keep everything perpendicular.
I had another commitment to attend to, which meant stopping here. If I'd had a little more time, I would have milled the thickness of the part down to better match the model. 6mm is a tad thicker than the 4mm I'd planned. No matter.

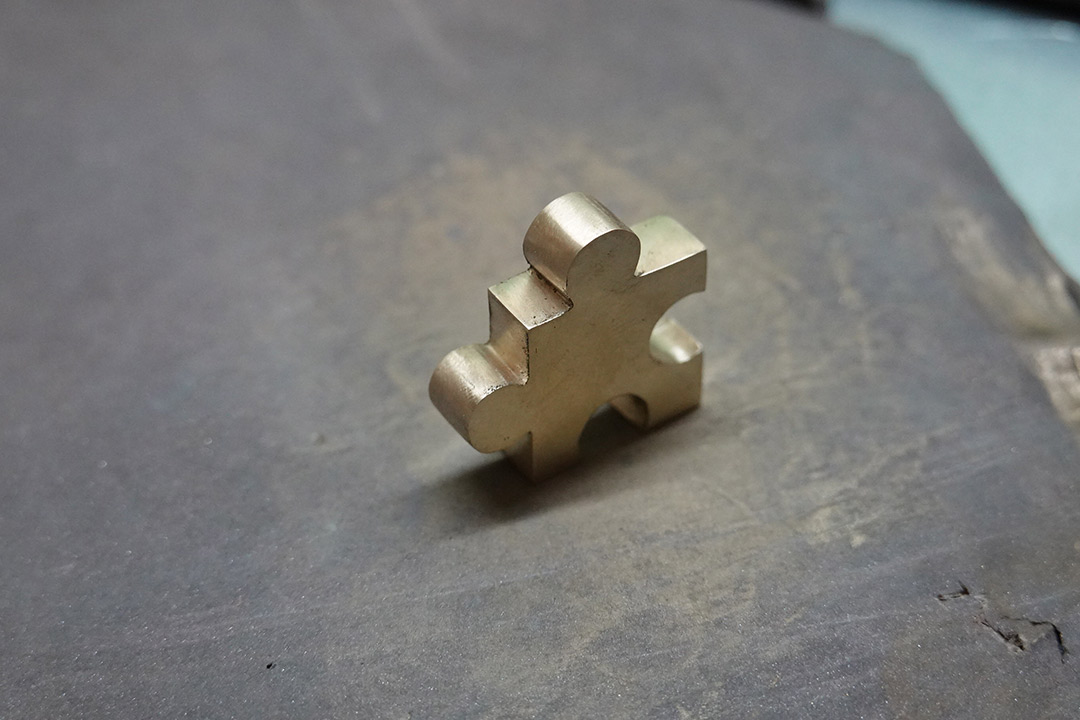
Filing and polishing
Returning to the project that evening, and no longer in range of the milling machine, next comes the fun part of filing to the line.
The outside corners are hit with the big size file, the little triangle needle file goes into the nooks.
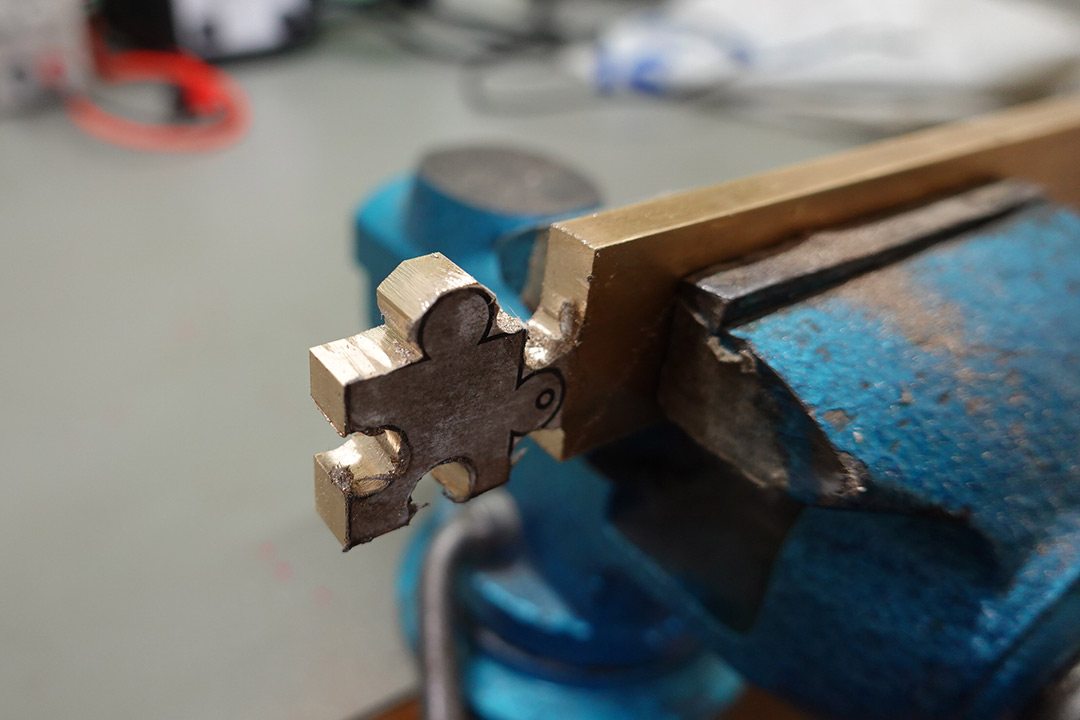
Lucky we're working with this nice brass. If it were steel, we'd be at this for hours. As it is, the shape starts to appear pretty quickly.
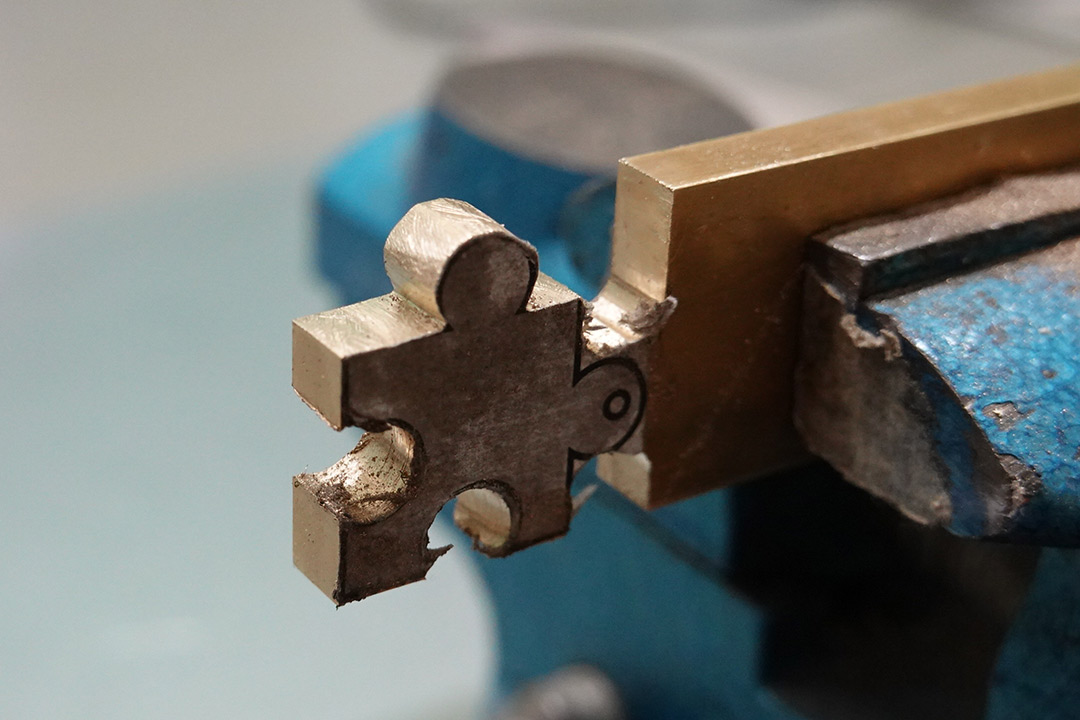
Time to hacksaw the part off and repeat for the other tab.
I wrap the vice jaws in tape when I don't want them to scratch the part. There'll be a lot of re-clamping from here on out.
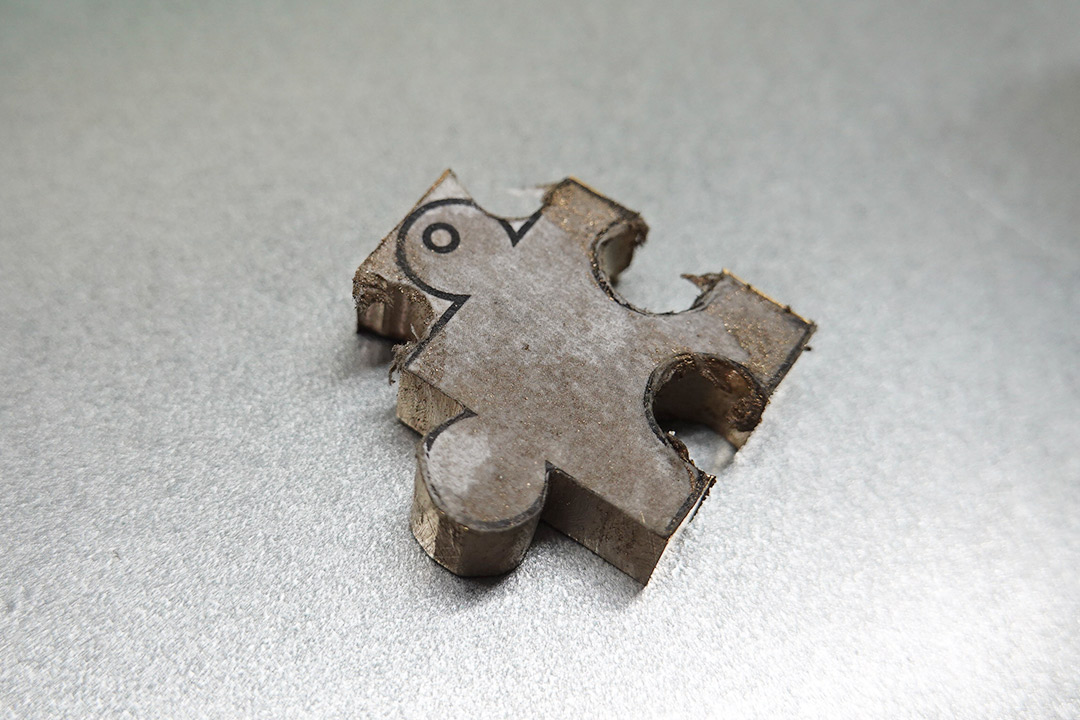
Now for the most tedious part of all: removing the toolmarks. I wrap 400 grit paper around the needle file and use it to smooth things out. This first pass takes the longest. The half-round file is useful to get into the little nooks. For the flat sections, an HSS toolblank is a little easier to wrap the paper around.
For the big surfaces, and the other flats, we can lay the paper on a flat surface and jig the jiggy around.
When all the toolmarks are gone, we can repeat the process at a finer grit, first 600, then 800, and so on as fine as we dare go. Luckily, this goes very quickly compared to the first pass.
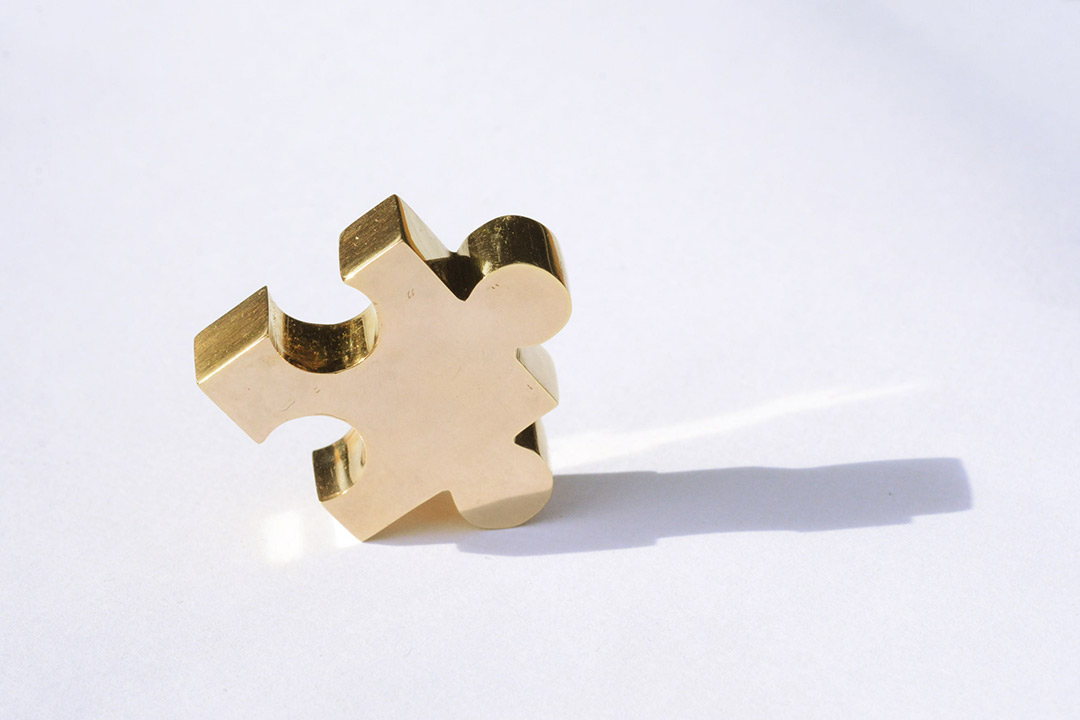
Finally, we can hit it with the brasso polishing compound (supposedly equivalent to around 10,000 grit). To polish it, I wrap tissue paper around the needle file. There's probably a better way.
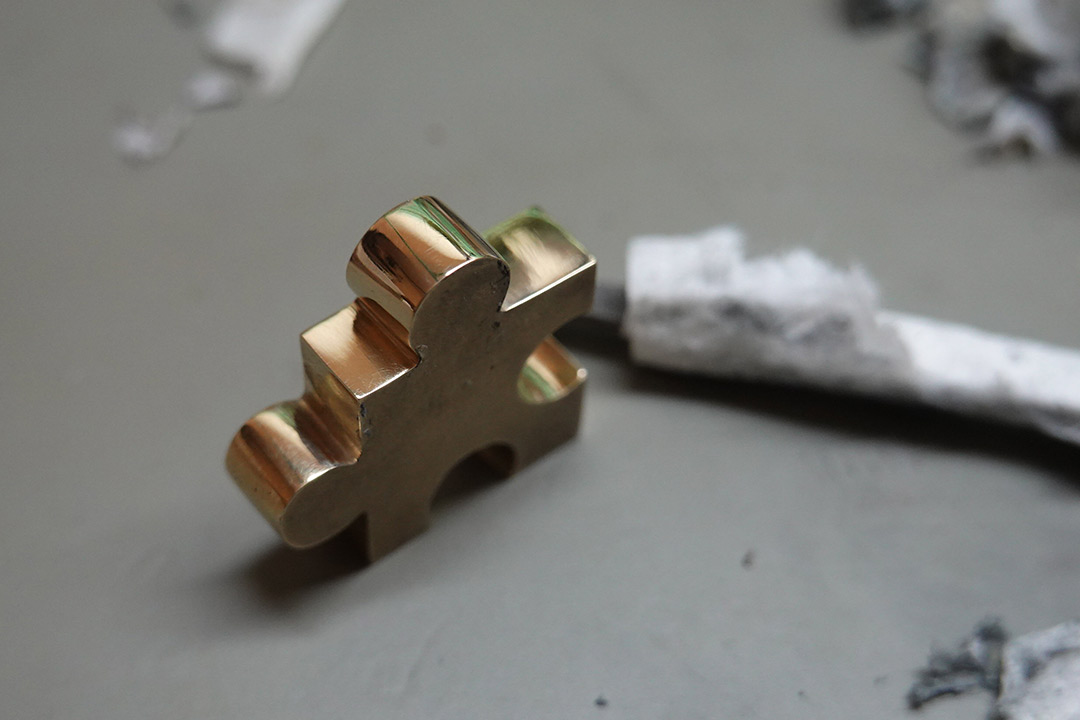
I also wrapped tissue paper around a drill bit to polish the inside edges of the cutouts. Eventually, the whole part gets a mirror finish.
Electroplating
At the time of writing, I've not yet posted my Amulet project (which is completed, but there's still hours of video footage to edit), so perhaps a little exposition is needed.Free machining brass is a joy to work with and looks gorgeous after you've polished it – for about ten minutes. It tarnishes incredibly quickly, and by the following day it looks dull and sad. Not good enough for a golden jiggy!
Until now, my solution was to varnish pieces, which does work reasonably well, but it's somewhat unsatisfying, especially when the part has sharp edges or fine detail. I've wanted to be able to gold-plate projects for ages, so I recently took the metaphorical plunge. I've far too much pride to buy a ready-to-use gold plating kit, however. The only definite requirement for the process is the electrolyte, which can be bought on its own. (You can prepare it by dissolving gold scrap in a noxious concoction of acids, but that's a little too hardcore, even for me.)
A tiny 25ml bottle of potassium gold cyanide, at 8 grams of gold per litre, costs about £35. We only need a few drops to electroplate our jiggy.
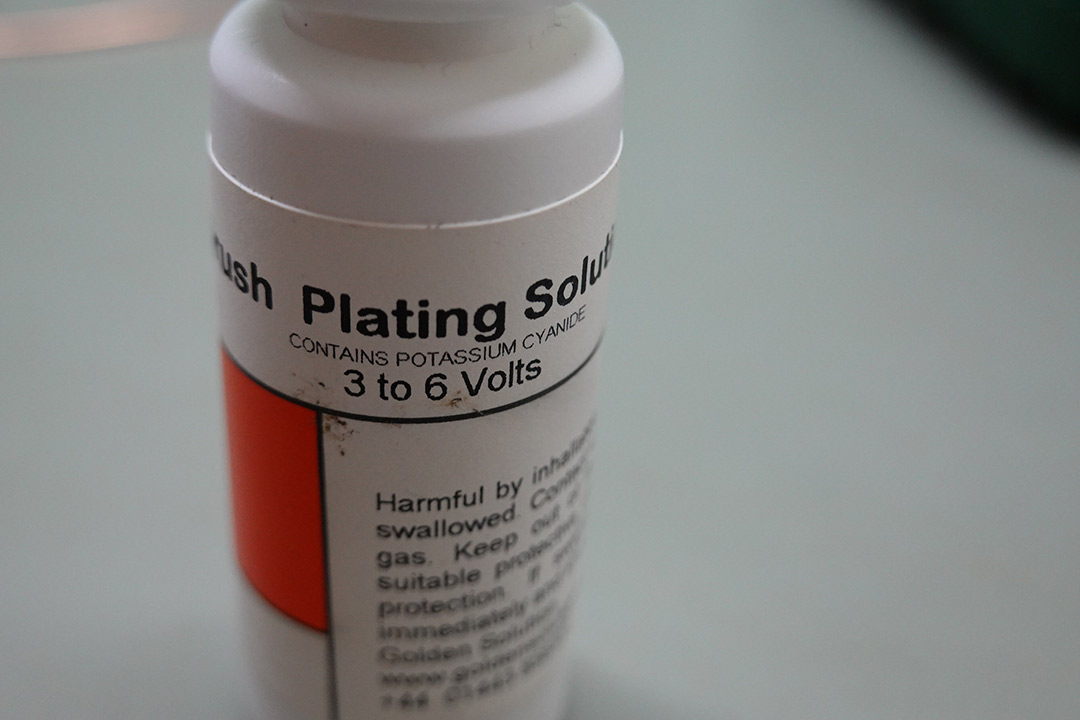
Believe it or not, potassium cyanide is one of the safer ways of gold plating. Other methods involve even worse chemicals. It's still fricking cyanide though, which means safety gear galore. Needless to say, I wasn't entirely comfortable operating the camera for this process, but if you sit tight, I'll shortly post the Amulet project where I managed to film myself doing it.
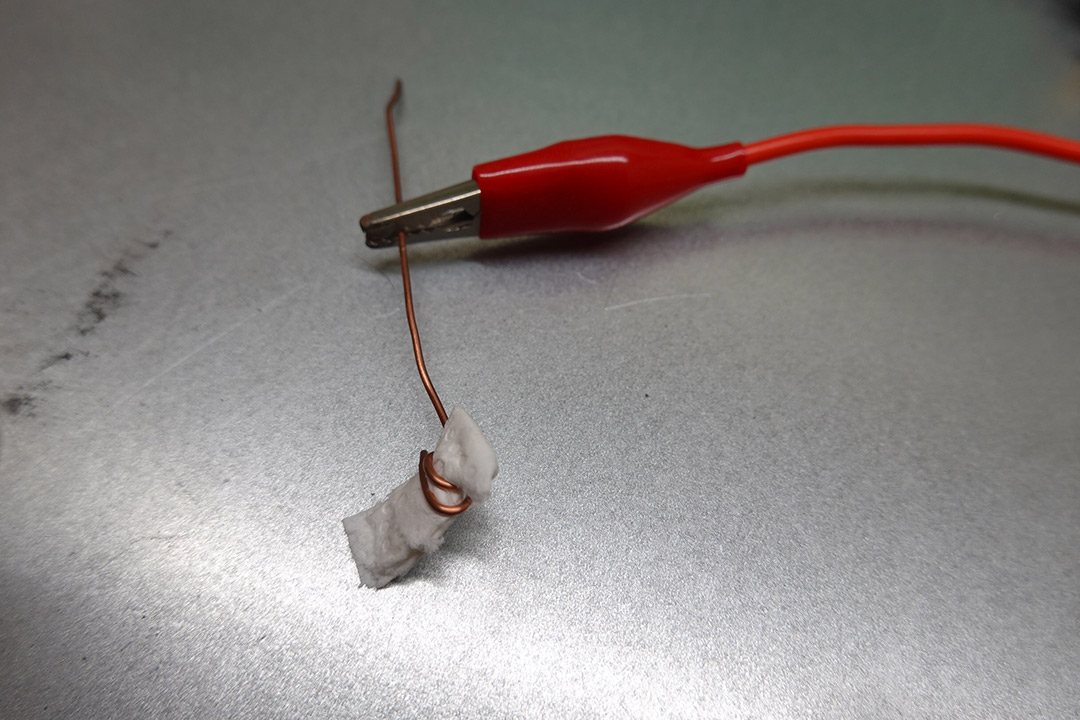
This is brush plating, so one electrode is a brush which we've dipped in the electrolyte. This saves having to pour out loads of it and submerge the part. I'm not sure what the correct brush electrode should be, but my first attempt on the amulet was a crocodile clip, which ended up corroding to all hell. I suppose the anode undergoes the opposite of getting a plating. This time, I made my brush by wrapping bits of tissue paper in scraps of copper wire. When the wire is corroded, I can just start afresh.
Before plating, the part needs to be really clean. After giving it a final polish, lacking any better kind of degreaser, I soaked it in some diluted bleach. Left long enough, the bleach will start to eat into the metal, but this is so dilute there's not much risk. You can test how clean the surface is by lifting the part out of the liquid and seeing if droplets form on the surface. A completely clean part will not form any droplets.
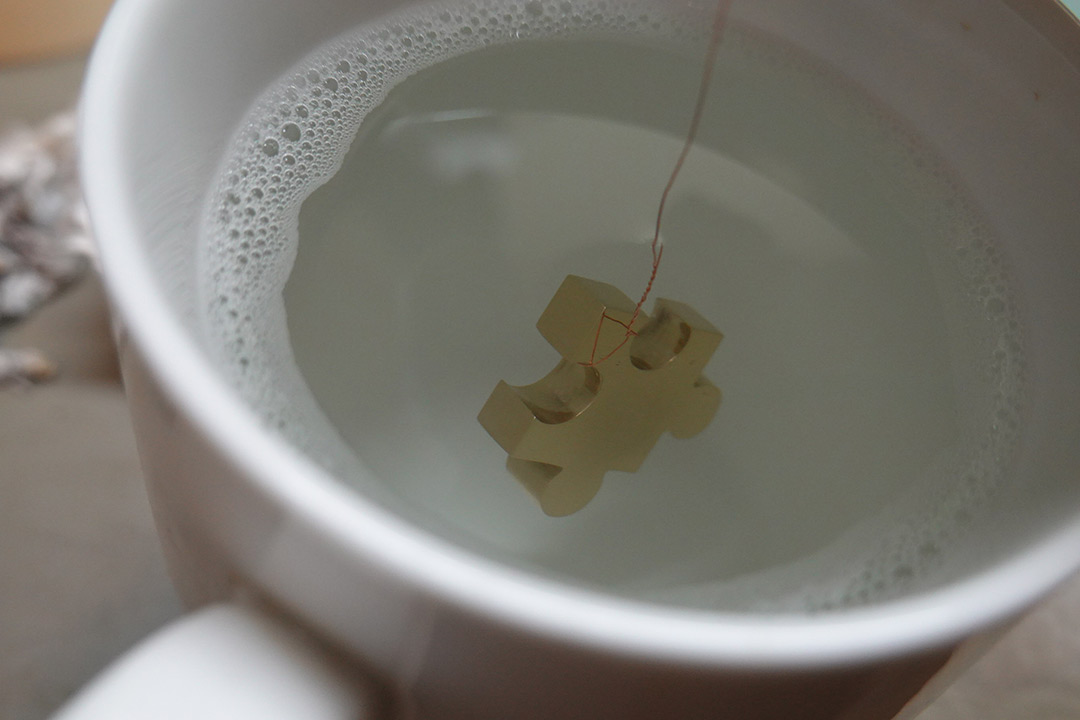
The copper wire it hangs from is my cathode connection. The process itself involves dipping the brush in the electrolyte, picking up the jiggy by the copper wire, and slowly wiping the brush over every surface. I set the power supply to 5 volts. Little bubbles of hydrogen can be seen where the brush makes contact.
One of the annoying things about gold plating brass is that the colour change is very subtle, so it's hard to keep track of where you've plated or not. This is one advantage to doing an intermediate plate of nickel. Perhaps I'll do that in future.
I spent a while going over every surface repeatedly, since I want the coating to be thick. But even a few seconds of contact is enough to visually change the surface. This is especially noticable on the copper wire supporting it, which turns golden almost immediately after touching the brush. The plating solution is purple in colour, and the brush gradually loses the purple tint as it gets used up. Also, this time green oxides were forming around the copper wire of my improv brush. I refreshed the brush four times in total.
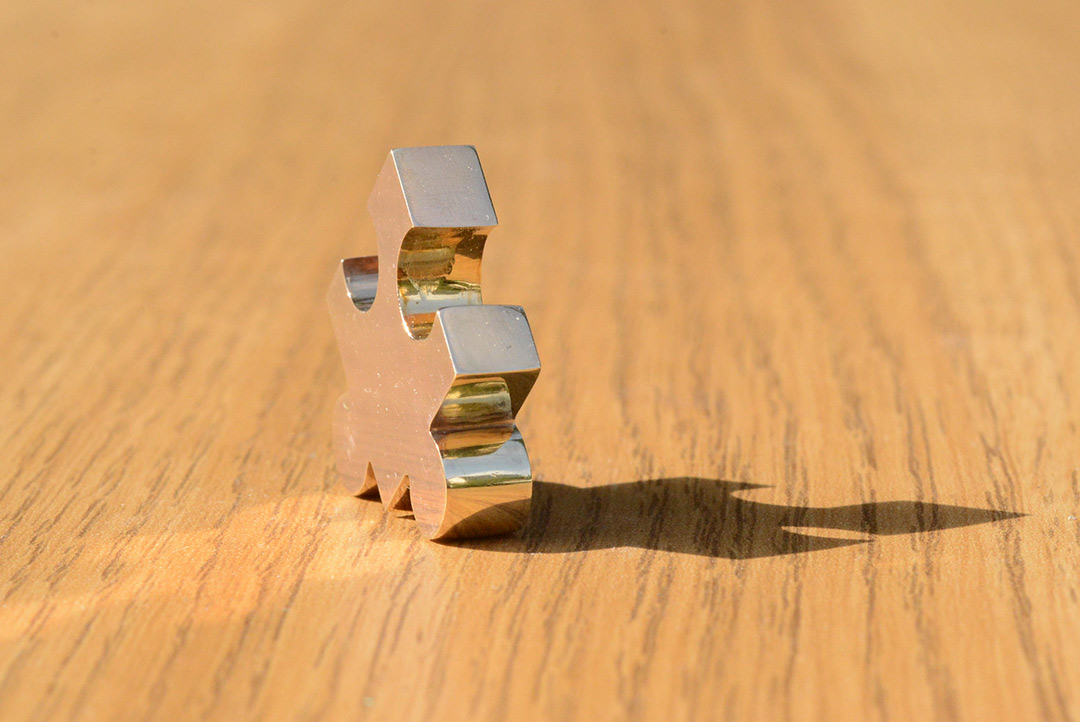
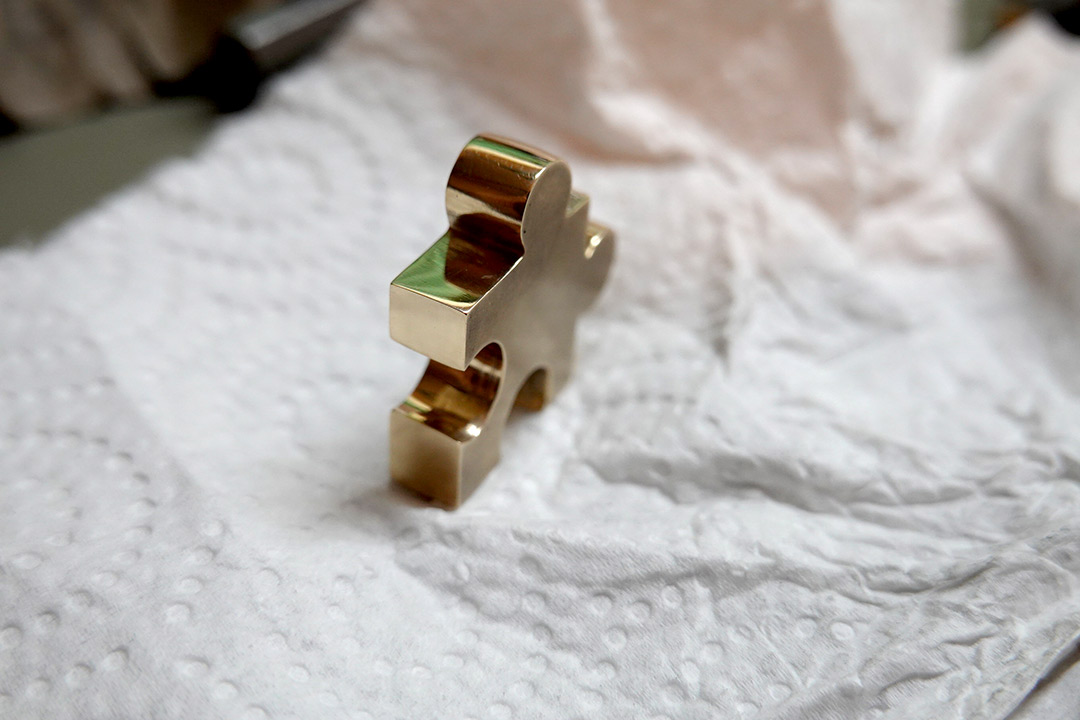
The gold plating doesn't come out with a mirror sparkle, instead ending up a sort of sooty, foggy, uneven thing. It was particularly noticeable here, I'm not sure if I contaminated something, but the gold definitely needs a secondary polish.
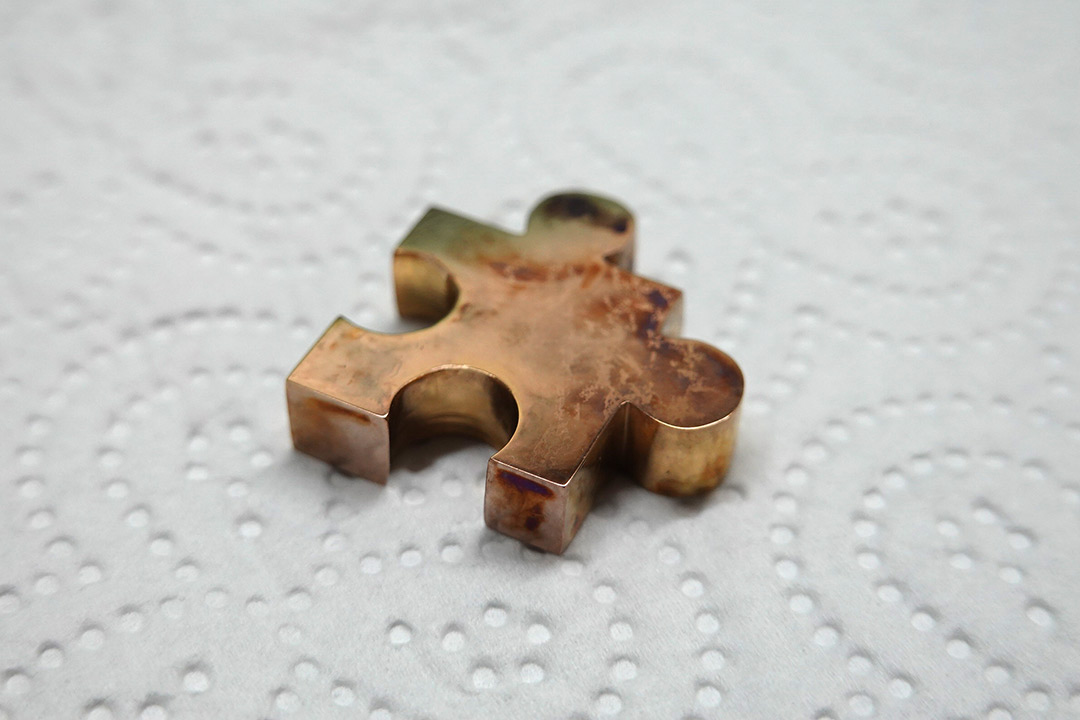
The right polishing compound for this last step would be an incredibly fine jeweller's rouge, but all I have is brasso (hence my need to plate it extra thick). A very gentle rub with brasso and tissue brings back that golden shine, this time one that will last.

I love goooooold...