
Creative Camera Mounts
8 Feb 2020Progress: Complete
In an attempt to patch the hole in my project timeline, here's a couple of items I threw together to help film the main projects I'm working on.
Magnetic Tripod ("magpod")
Getting a DSLR camera close to the lathe is tricky. It's hard to get it where the macro lens can see the work clearly, without blocking the operator's view of what's going on. I've invested in a few items that can help with this, but they all have their drawbacks. A camera jib works well, and can hang the camera right over the work without getting in the way, but it has a huge disadvantage, that it wobbles whenever it gets knocked. Not only does the wobble visually shake the frame, but when the machine tools are running, the vibration can cause interference effects that make the whole image do a dizzy dance that's quite unsettling. Also, the jib is a huge pain to set up and put away.
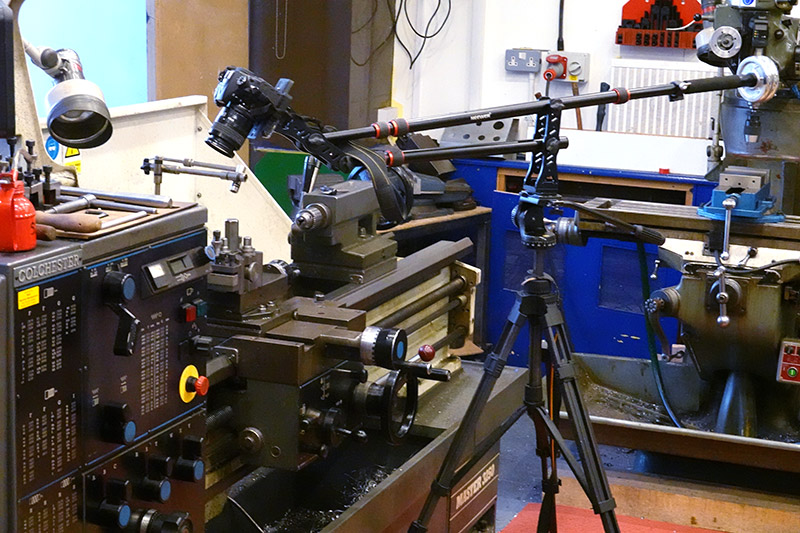
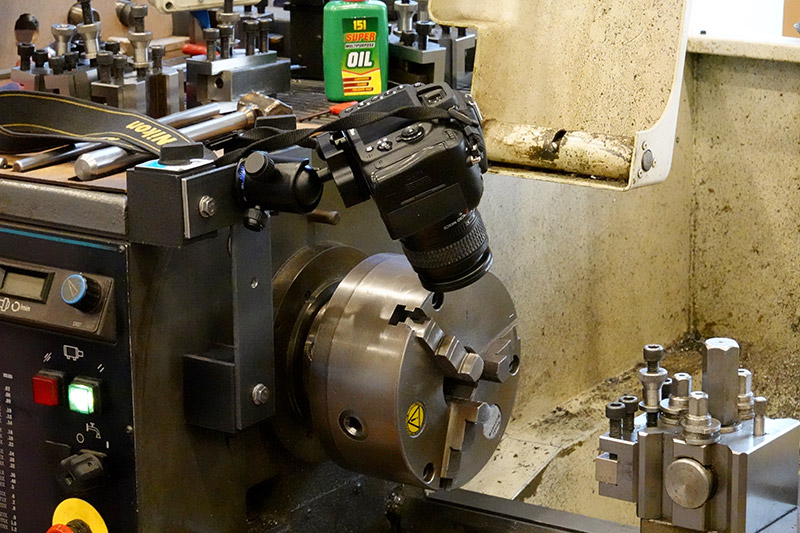
What I really wanted is the type of mount used for dial indicators, just scaled up so it can safely hold a heavy and expensive camera. You can buy oversized Noga stands, but they're crazy expensive, almost the same cost as the camera. I thought about buying a giant switchable permanent magnet, but those are really expensive too. The standard-sized indicator holder is only about £10 and comes with a switchable permanent magnet, so I bought three of those and made myself this:
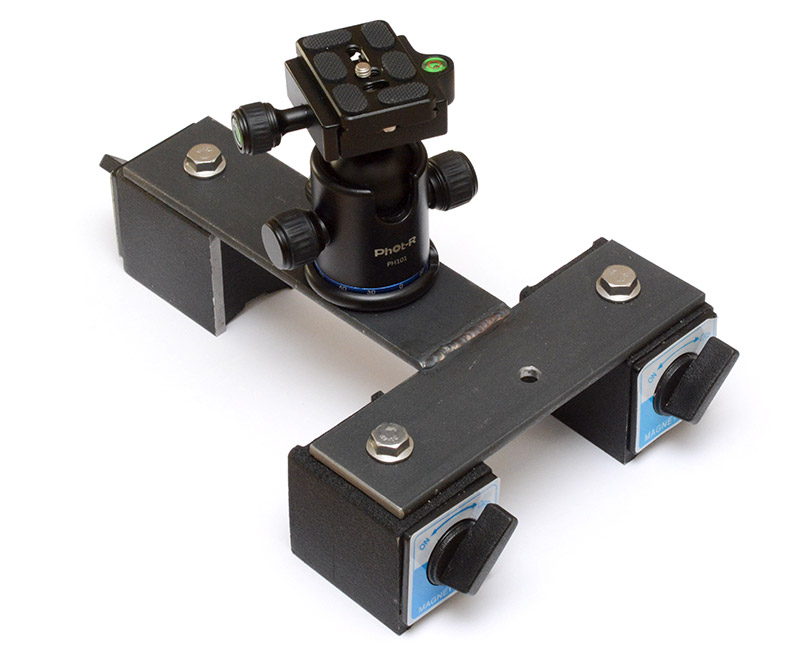
Just a single weld and an off-the-shelf tripod head mounts onto it. The magnets have metric threads, and tripods all work with imperial threads, of course, but it's not a problem.
I may build a spacer part which can be bolted into the middle, lifting the head further up. Or I may try and build my own Noga mechanism. But this is enough to stick a DSLR to and know that it's going to stay put and not wobble.
Spacing the magnets out gives more stability, the width was chosen so that it could still fit onto the milling table or the cross slide.
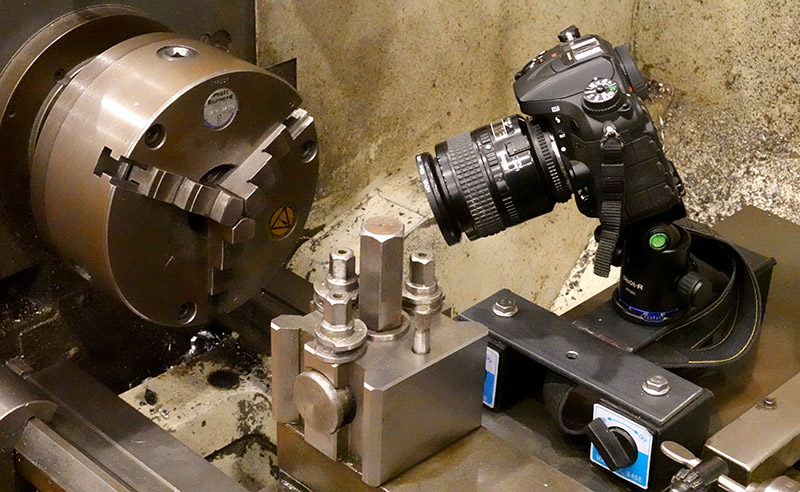
The holding power of the switchable magnets is OK, but it has to be against a solid metal surface. The chip pan on the Colchester lathe is just sheet metal, so trying to stick it at an arbitrary position doesn't always work, the friction is not enough to stop it sliding down. You can hook the feet of the tripod over the top though.
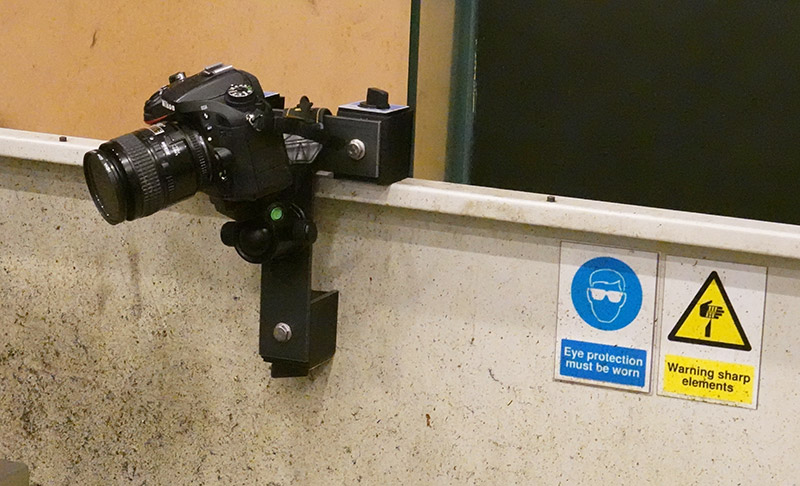
The magnets have two holding surfaces, so that arrangement is really secure.
But possibly the best mounting point for it is directly onto the headstock, the solid cast iron lets us get a proper grip.
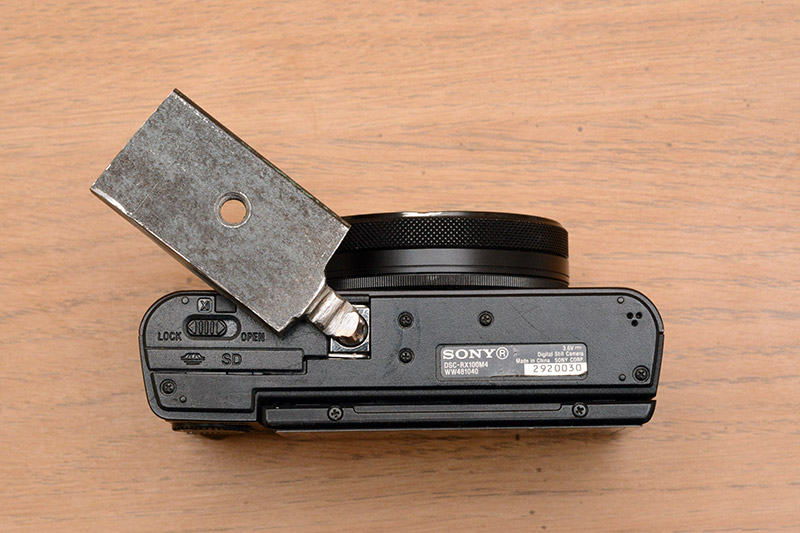
Sony RX100 tripod shifter
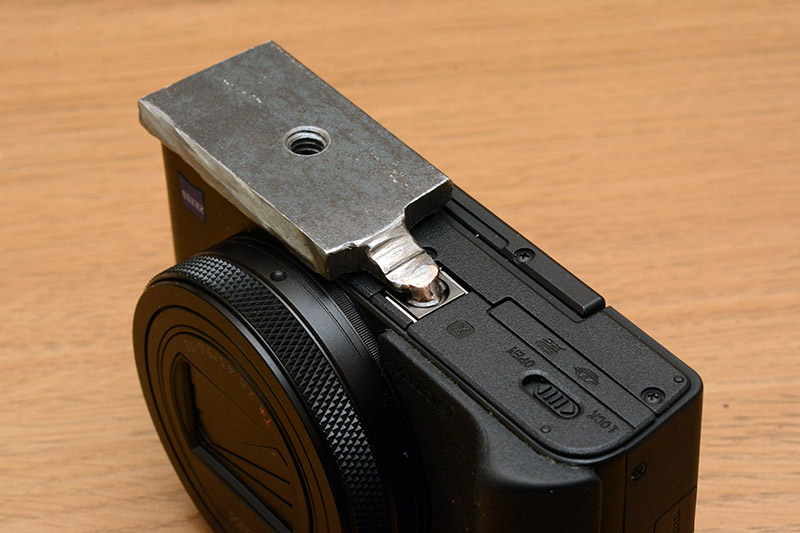
The RX100 is a compact camera, so it has to make some sacrifices. There were a number of complaints I had about the Mk IV, and nearly all of these have been patched in subsequent releases, but one thing even the latest model doesn't fix is that the tripod mount is integral to the battery door. This means it's impossible to change the battery, or more importantly change the SD card, while it's on a tripod. I tend to check footage frequently by pulling the SD card and watching it on a laptop, and having the tripod plate block this process is really irritating.The battery door opens over the tripod mount, and hinges in such a way that there's only 2mm clearance between them.
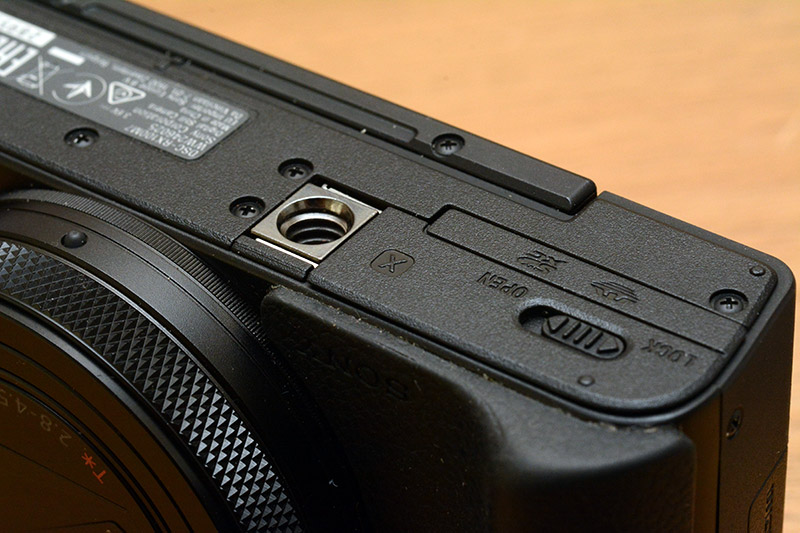
But 2mm is enough for our workaround.
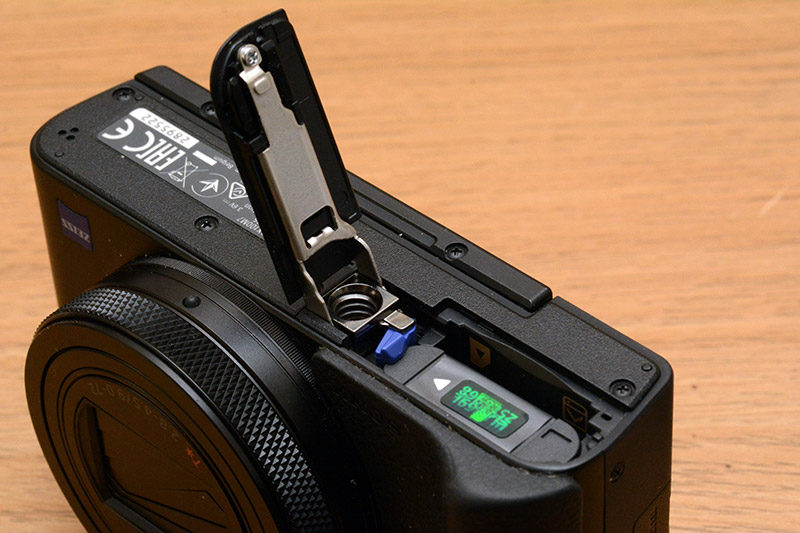
It's a tripod-mount shifter!
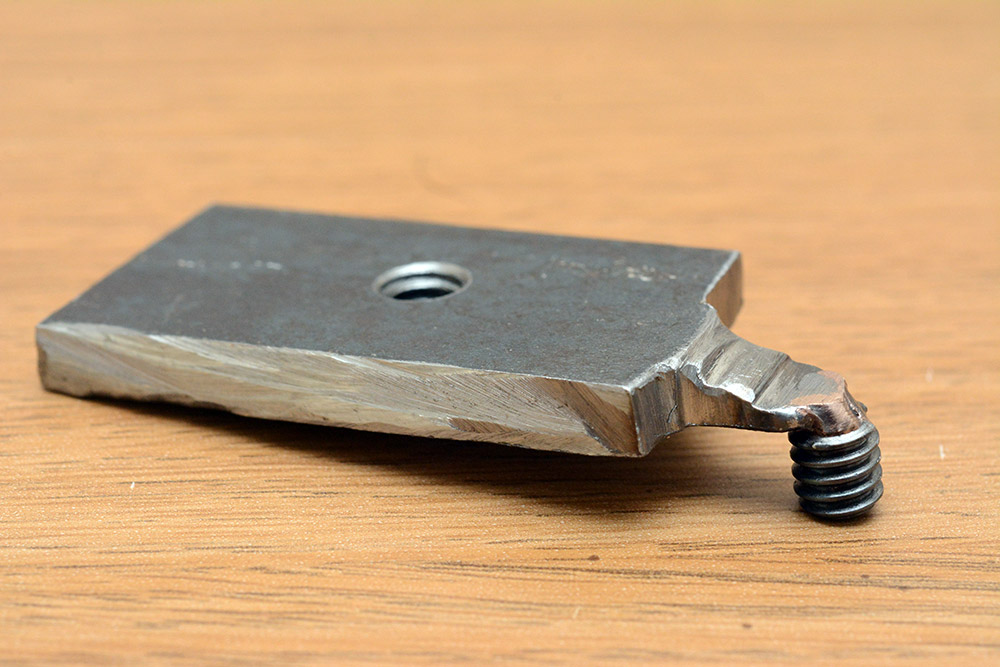
To produce it I started by cutting a 1/4-20 thread onto some stock on the lathe, and parting it off part-way at the length I wanted, then fully parting it off longer than that. This left a sticking-out bit on the bolt so I could use a pair of pliers to tighten it into the camera.
With the bolt fully tight, I marked the position the extension needed to be attached to.
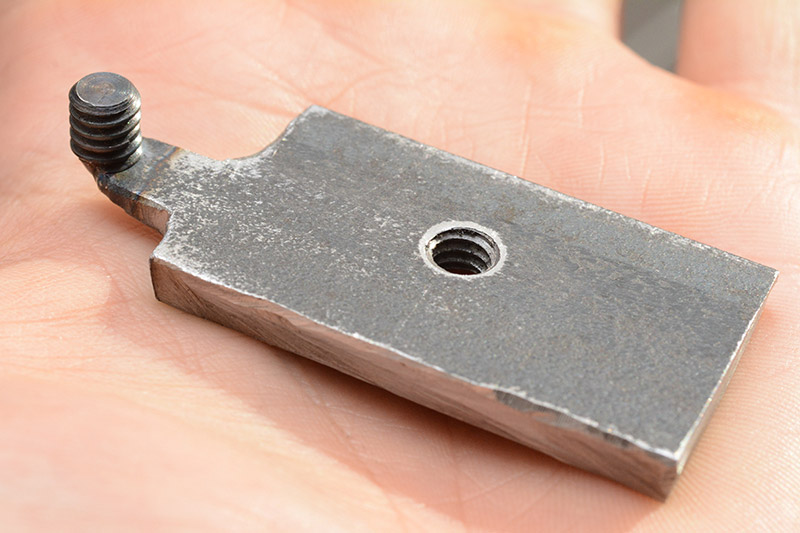
Next I tapped a 1/4-20 hole in some 5mm sheet steel, and cut out the rough shape I wanted with an angle grinder.
Finally, double-checking the alignment once again, I tack welded the two parts together. I then built up the join with some silicon bronze TIG-brazing with the rationale that this would be less likely to distort the parts. It's quite difficult to maintain the right temperature, especially on such a tiny part, you can see that I managed to melt the steel in one place.
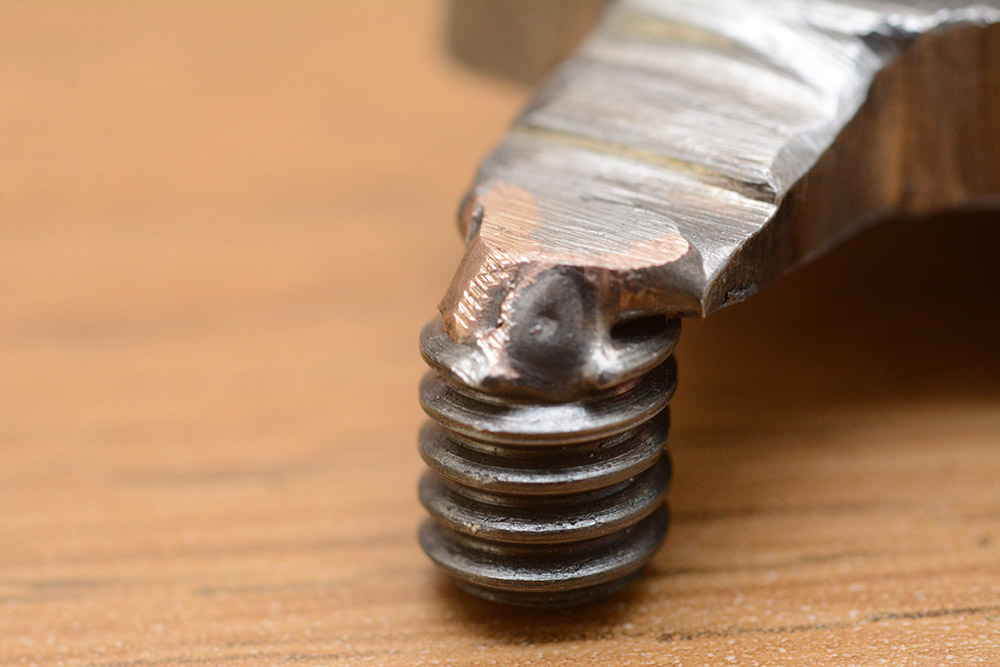
The section of missing thread at the top has no impact on performance, though. The top of the weld/braze was then filed down to fit under the door.

The result is so effective I'm tempted to mill the edges and make it look pretty. But not too much, the large amount of material left on it is a useful surface for the tripod plate to grip onto.
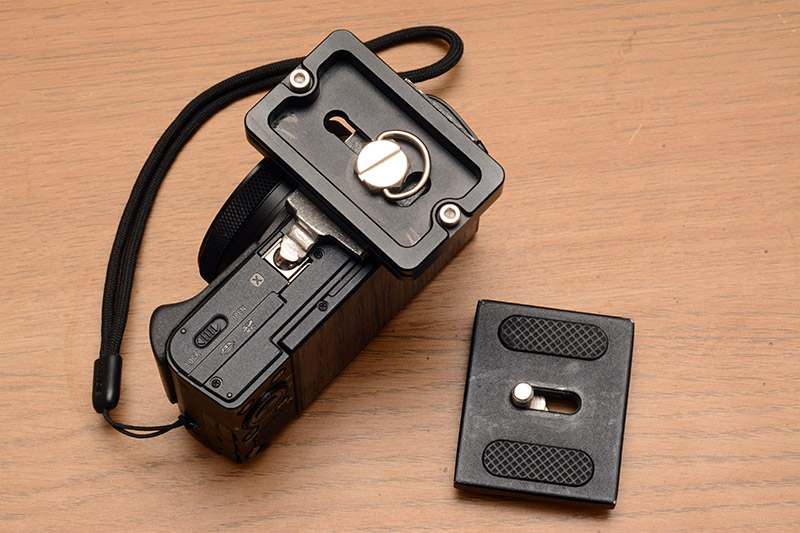
On my big tripod, the head is wide enough that I still can't open the door while it's mounted, but quick-releasing the camera to get to the SD card is still a lot less hassle than unscrewing the plate entirely.
The other problem with this adapter is that it's matched to the specific camera. The Mk IV has the same design, but the timing on the thread is completely different, and when fully tightened the adapter sits at a completely useless angle.
The thread timing is essentially randomized during production, there's no incentive for them to go to the extra effort of ensuring it's consistent.
Rather than welding, perhaps it would be possible to have a tiny thread and a locknut, so the angle could be adjusted. But there's so little room under the door that I'd be worried about its strength.