
Clothes Rail
24 Oct 2026I'm a junkie for spatial efficiency, and the empty space above the dresser in my room had begun to grate.
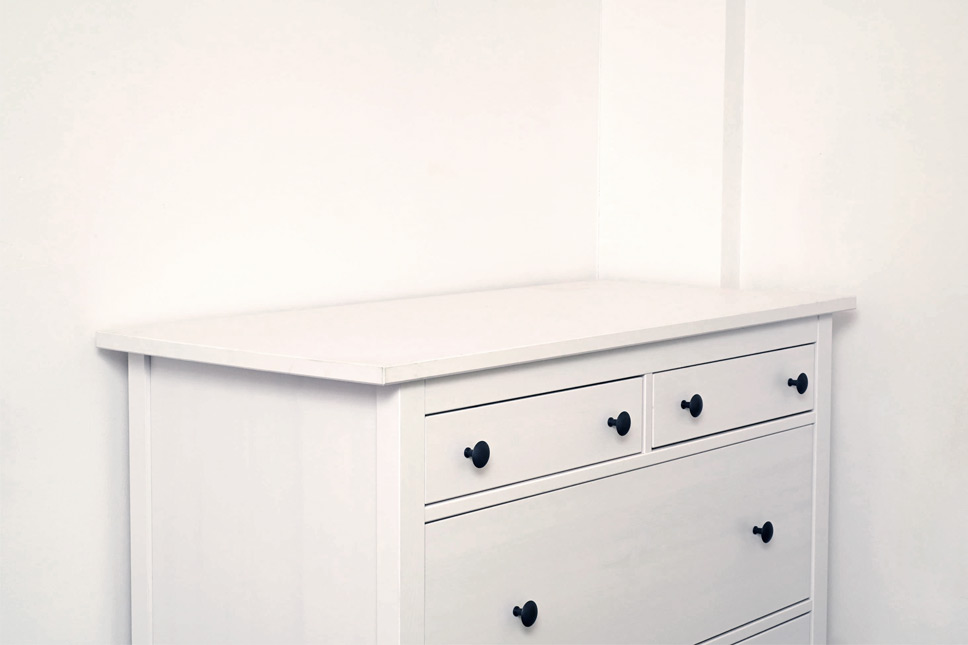
We could hang a few more shirts up there.
In any sensible society, we'd throw a few tubes together, maybe with Key Clamps, and call it done. But the world we live in makes this completely uneconomic. To my horror, you can get an adjustable-height clothes rail with casters, delivered, for less than £10. There are even multiple options at that price point! It is simply not possible to buy the raw materials for that little. Doing it with Key Clamps would likely cost four or five times as much.
I was in a weird mood, and driven by this perceived inequity I sought to find out if we could throw something together using only the scraps we have to hand.
I've not much steel tubing but I do have a load of grotty old copper pipe.
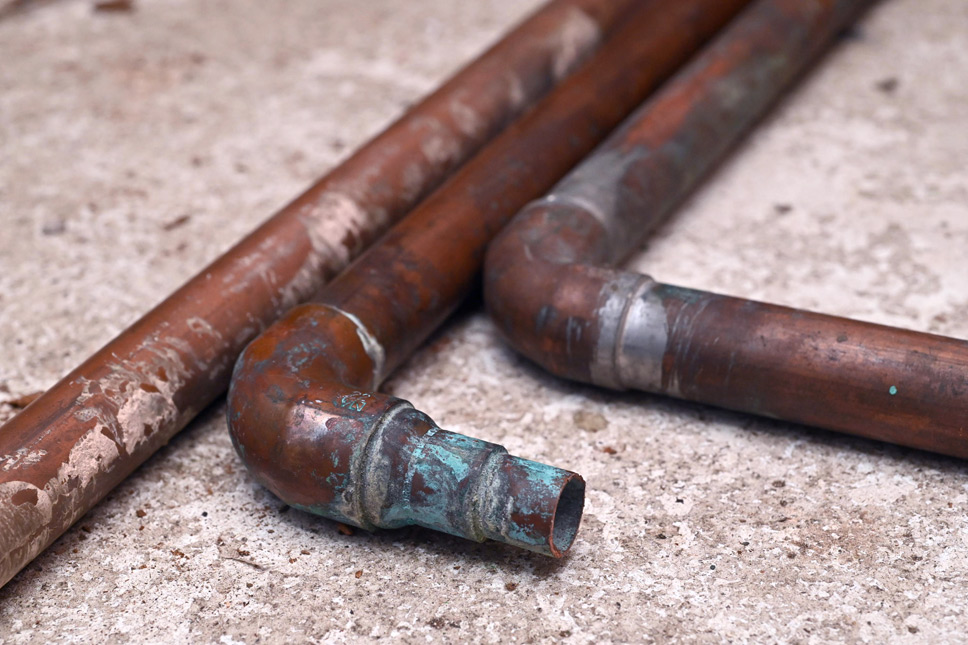
It'd be a pain to reuse those fittings, and a total waste to buy new ones, but for the forces involved, 3D-printed connectors should be enough. To FreeCAD!
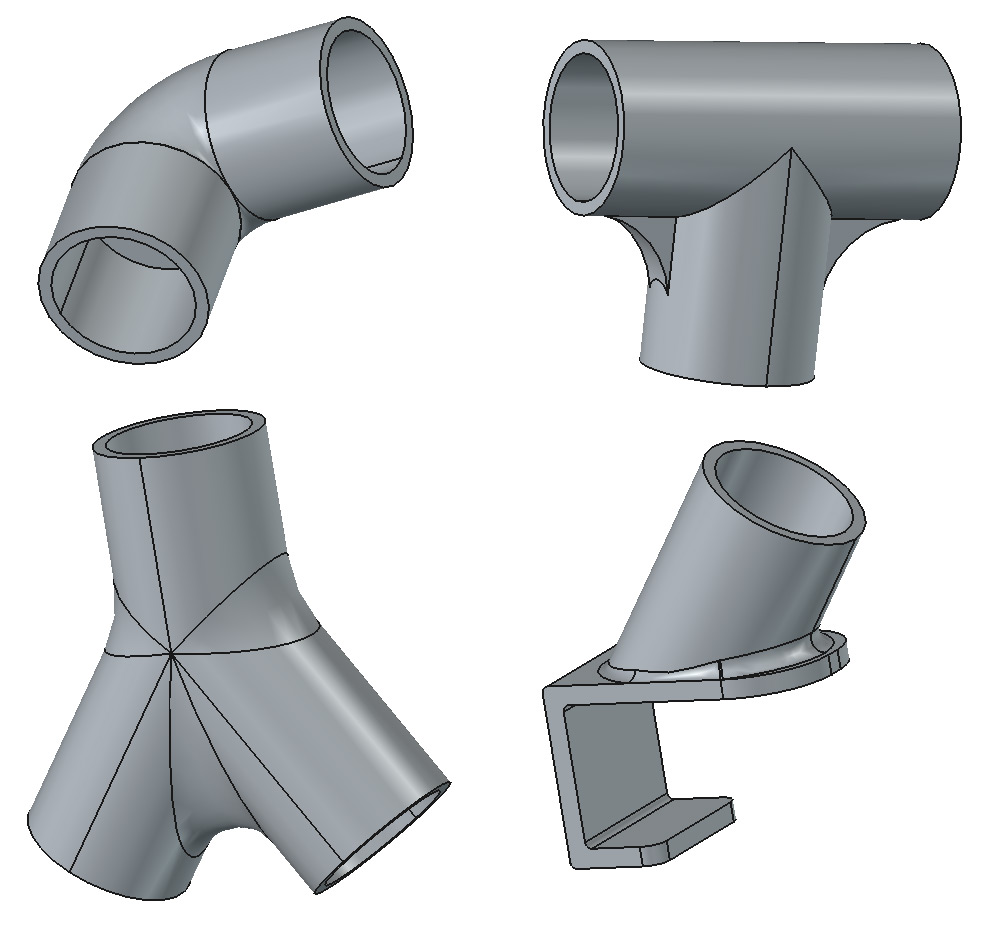
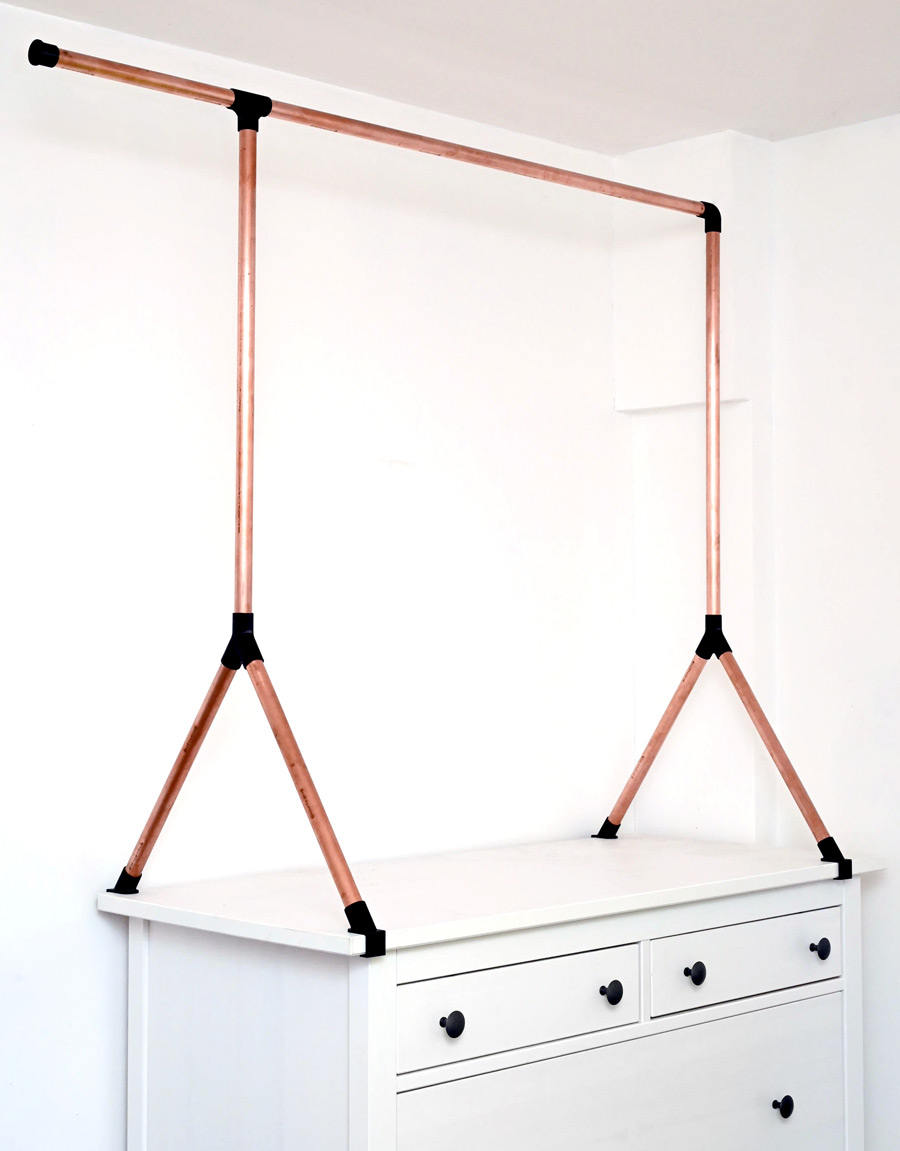
This will clamp to the top of the dresser, and the asymmetry works around some boxed in pipes in that corner of the room.
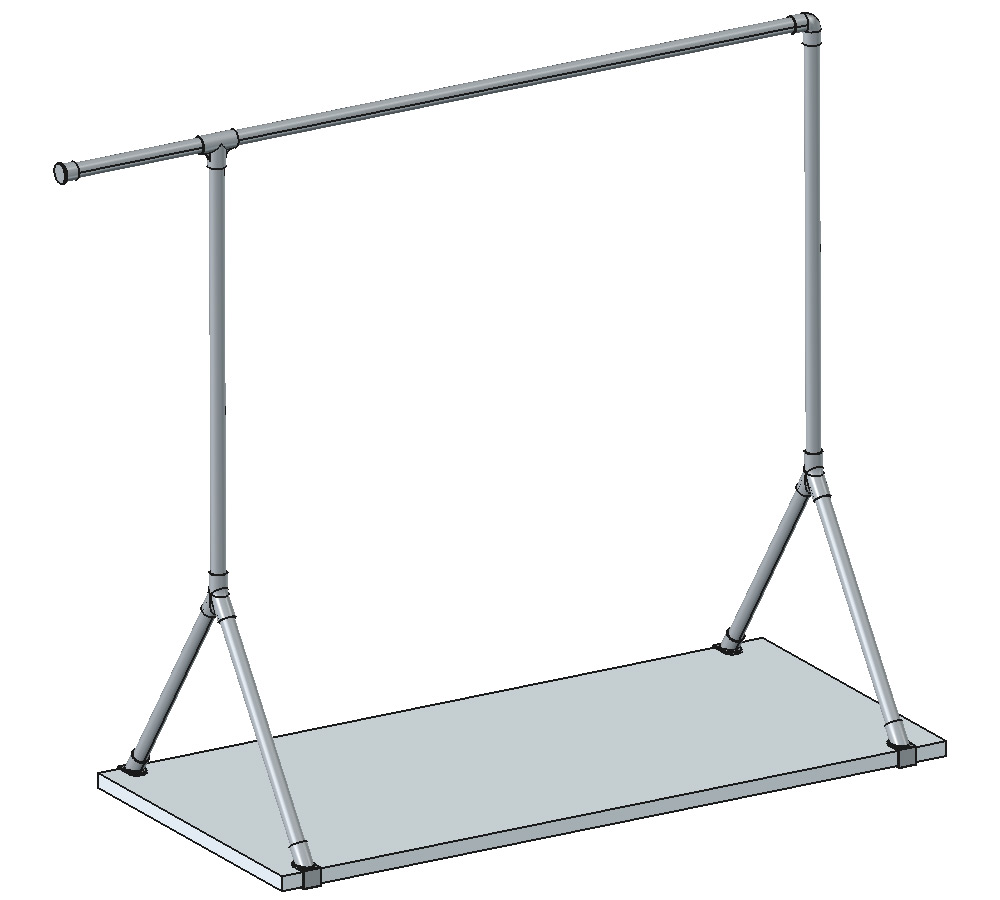
The splay was set at 70°, parametrically permuted to an aesthetic angle.
We started 3D printing in PETG.
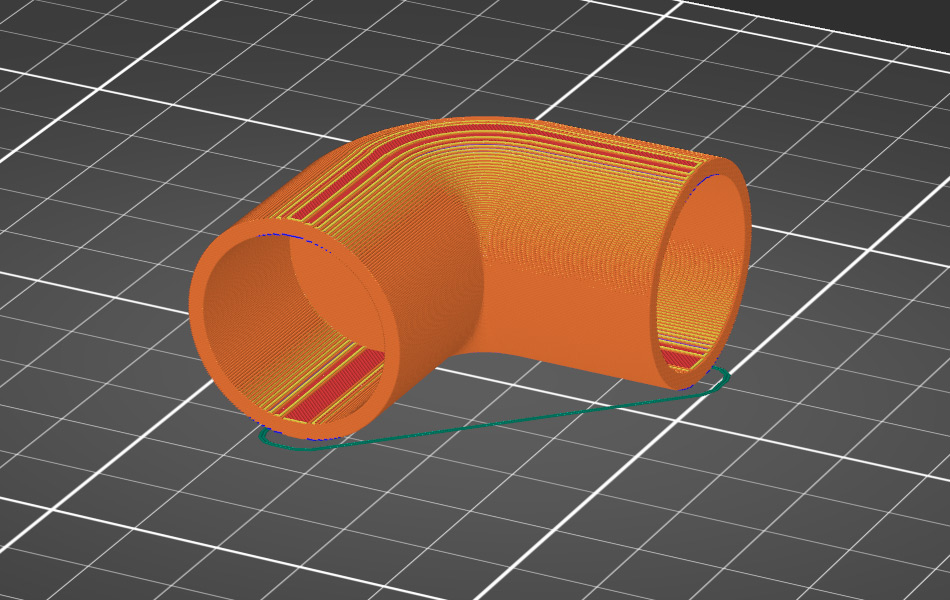
Printing in this plane without support resulted in sockets slightly undersized. I think the walls sag a little during the print. I scaled up the rest of the prints by 1%, for a tight-but-not-too-tight fit.
The pipe was given an ample clean with sandpaper, and ended up almost like new, if not for the dents and scratches. Then we lopped off the CAD-calculated lengths and slotted it all together.
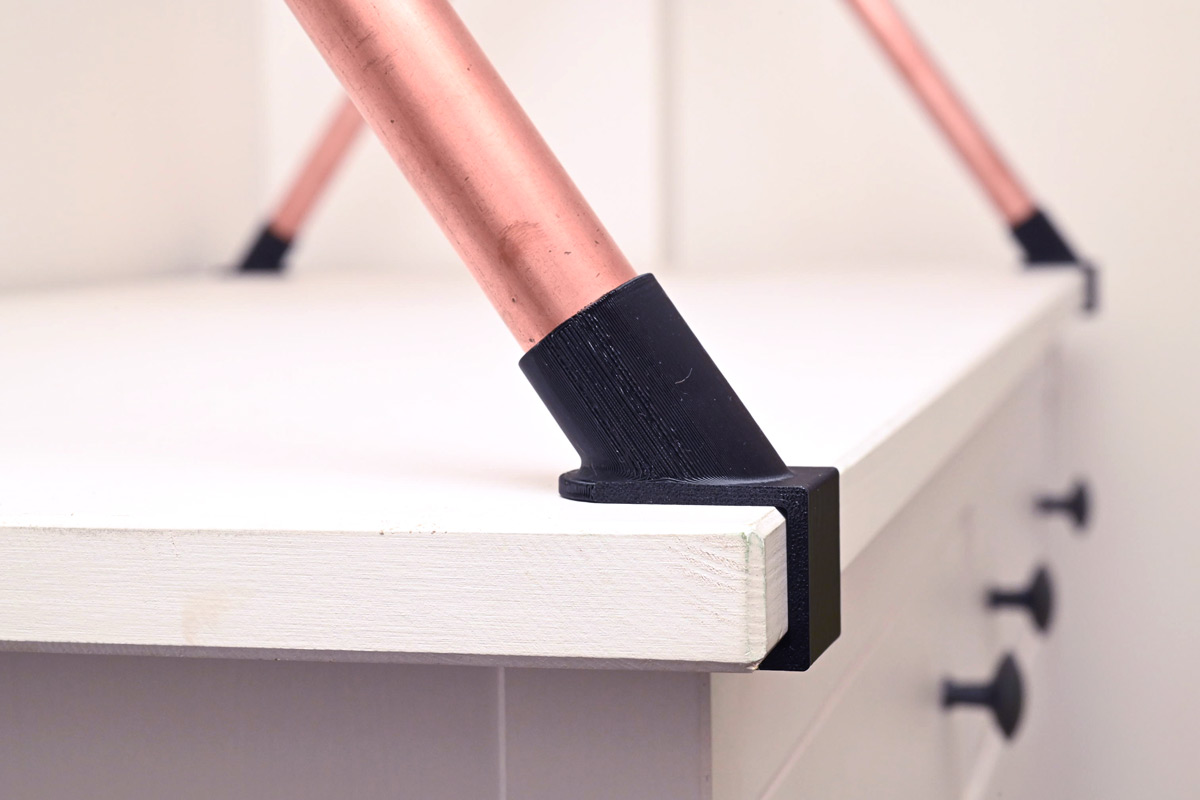
Paint or varnish the bare pipe? I think if we hung wet clothes directly on the copper it might stain them, but I don't expect to do that.
And loaded with a couple of our bleached t-shirts:
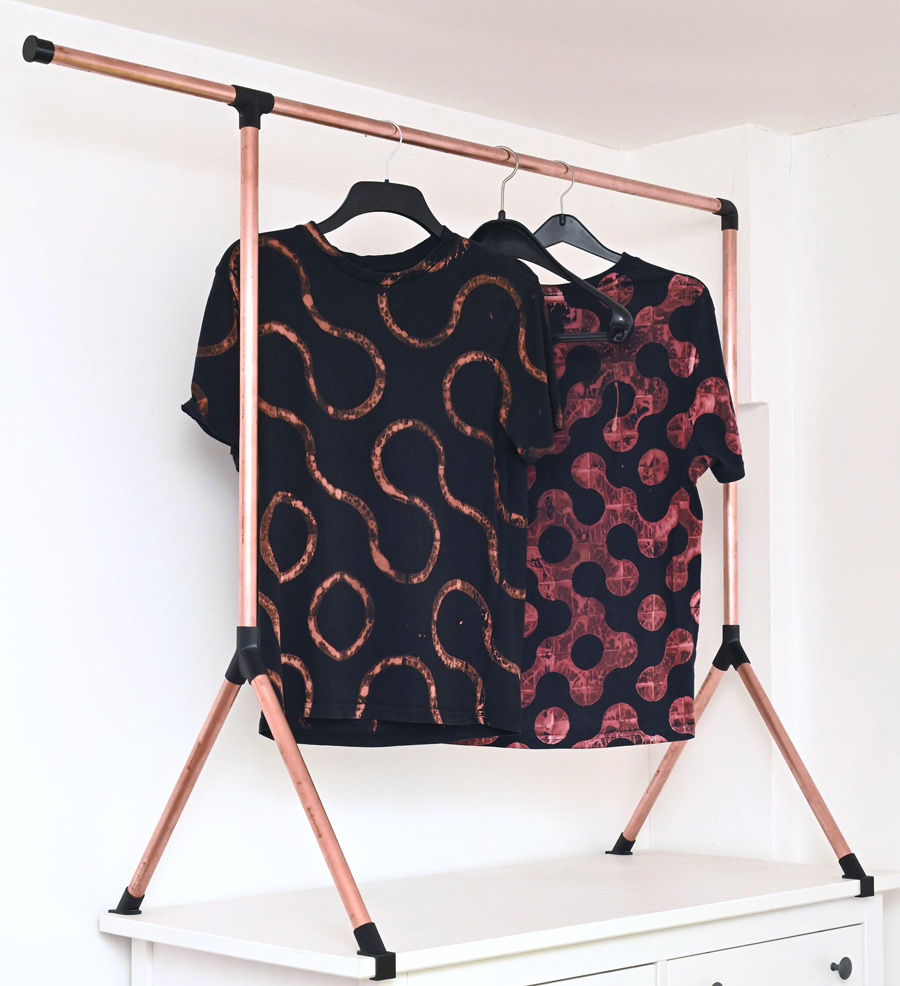
That consumed about 4 metres of 22mm copper pipe, and an afternoon of 3D printing. Had we bought the pipe new it obviously would have been insane, but given that it was only awaiting the scrap yard I think we just about hit parity with the ready-made clothes rail options. Besides, none of those were nearly as stylish.