
Another Two-headed Coin
10 Sep 2016Progress: Complete
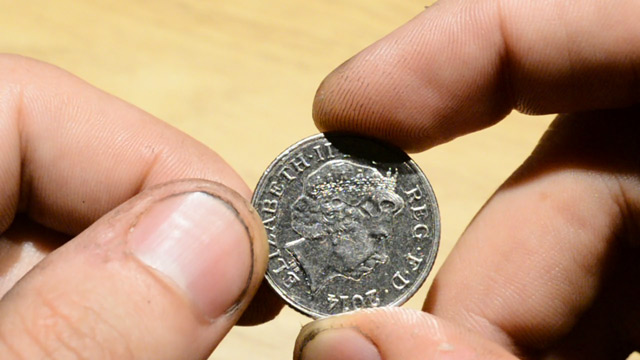
Yep, it's another two headed coin, and this one is ten times more expensive than the original.
I did this mostly as an experiment in filming a project on the lathe. It's a lot harder than you'd imagine, especially on a small lathe like mine. Everywhere the camera needs to be is exactly where you want to have your head. So I chose a relatively easy project that I'd already done but this time I'd film as much lathe action as possible.
There's no narration in the video, so here's a quick summary. You will need: two one-headed coins, some bar stock (both bigger and smaller diameters than the coins), and of course, a lathe.
First we have to build a collet in order to hold a coin firmly without damaging the rim. Cut a piece of aluminium and bore a recess into it just big enough to hold a coin (I just kept checking as it slowly approached the right size). Make sure to tidy up the rim so we can indicate off it later.
Then make relief the cuts with a hacksaw. Four cuts since it's going into a four-jaw chuck.
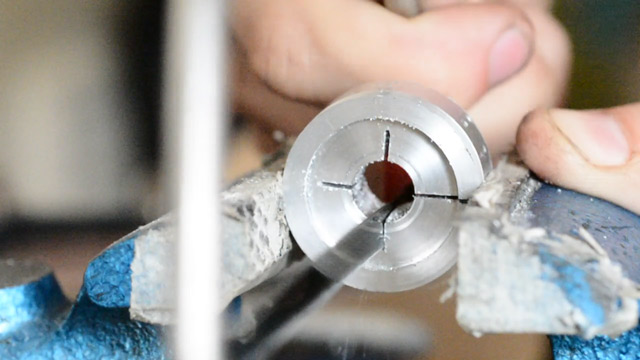
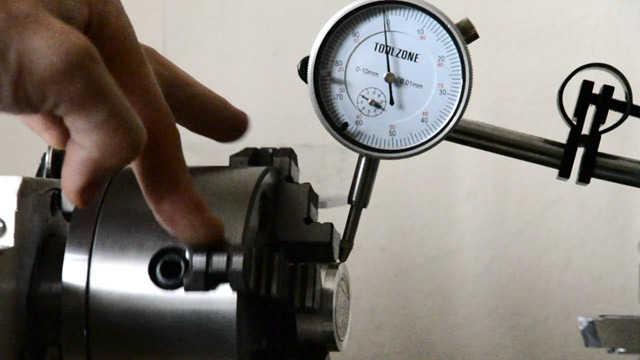
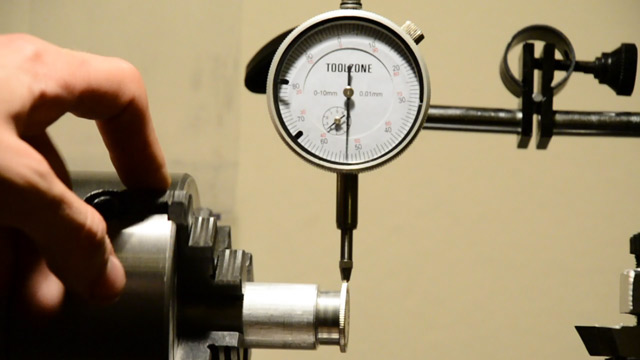
Tighten the chuck on the collet and it will grip the coin. In the video I cut out about half of the time it took to dial it in within 0.01mm.
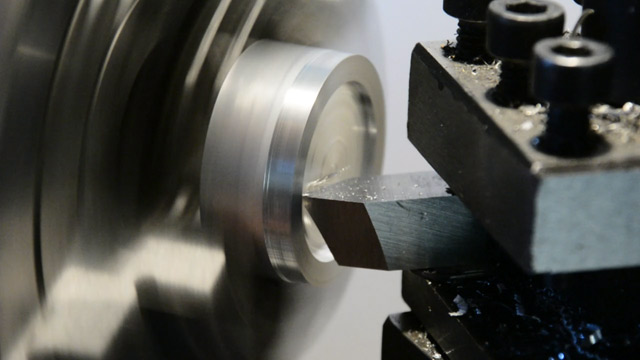
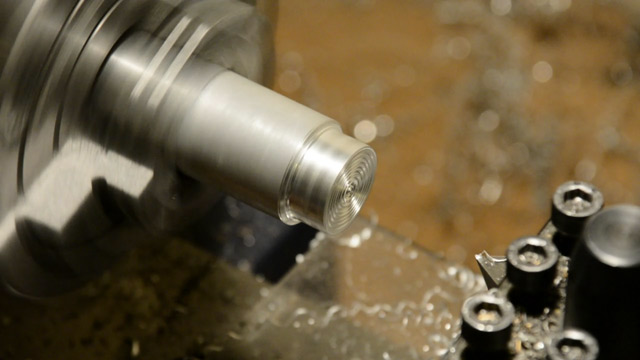
Now the cutting begins! I learnt the first time that it's much better to hollow out the coin to beyond halfway, since it's much easier to pack it with glue than to sand it down after.
Rim intact, tails face hollowed out to just over halfway.
Next up, we repeat all that for the second coin. It's not so critical this time since we'll be removing the rim too. (Or, if you fucked up the first one, here's a chance to do better.)

To shave off the rim, we need yet another way of holding it. This technique is called a wax chuck, and is normally used for oddly-shaped parts which can't otherwise be held. You glue it on with hot wax then melt it off after. Except here we're using superglue.
Just turn a bit of aluminium down to size and then scrape some lines into the face so that the glue has a nice surface to adhere to.
No need to worry about getting it centred when it's glued on, we just indicate off wherever it was glued to.
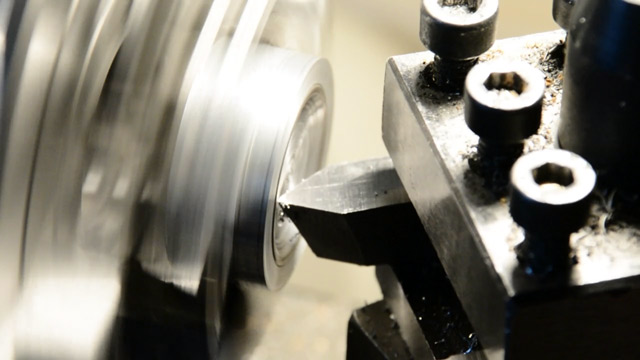
Very slowly, and constantly stopping to check the diameter, we shave away the rim.
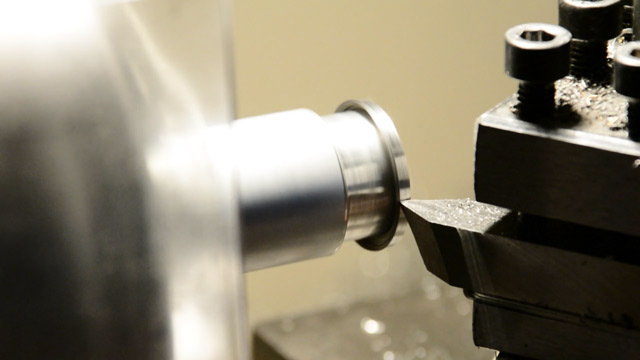
I approached the final diameter using a needle file. Getting the thickness right was mostly a guess. (But a guess based on caliper measurements.)
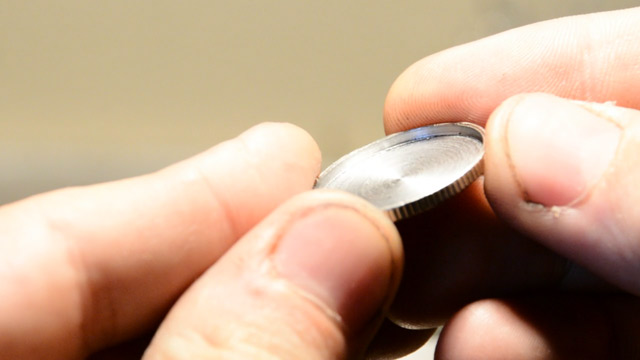
Whadyaknow, it fits!
Some superglue and the task is complete. Now to go out and make bets I cannot possibly lose.
Conclusions: Filming it makes the whole thing take three times as long. Also the editing took forever: mostly I just left the camera running which meant I had far too much footage and it took a bazillion cuts to get it under 15 minutes. I still plan on filming the construction of a steam engine, but boy, it's gonna take a long time.