
| unofficial-fish | Posted: 29 Oct 2025, 09:45 PM |
|---|---|
 Member Posts: 6 Joined: 18-June 24 |
I'm always excited to see a new post from this site in my RSS reader. Something about this new clock revision really elevates the look of the whole thing from "finely-crafted hobbyist project" to "wouldn't look out of place on a store shelf." ------------- |
| [top] | |
| mit | Posted: 30 Oct 2025, 01:56 PM |
 yeah whatever Admin Posts: 687 Joined: 4-May 16 |
I'm delighted to hear the RSS feed is still in use. Yes, I'm really pleased with the look of the acrylic clock, I'm looking at my other precision clocks with disdain now. Also had a thought about the maximum brightness, perhaps the acrylic could be quick-release somehow, which would let you remove it if you need to boost the brightness for high speed stuff. ------------- |
| [top] | |
| Grumpsimus | Posted: 3 Nov 2025, 11:23 AM |
 Member Posts: 5 Joined: 10-July 25 |
I was surprised that the smoked acrylic makes so much difference to the look of the clock, is is obvious from the pictures. It certainly makes it far more like a finished product. The hinge on the Mk IV makes rather a lot work to add this. However, it should much easier to add smoked acrylic to the Mk III, which has a completely flat front. Once the acrylic is cut to size it should be possible to us glue dots to hold it in place. ------------- |
| [top] | |
| mikebuffington | Posted: 17 Dec 2025, 07:40 PM |
 Member Posts: 2 Joined: 17-December 25 |
I had my Mk IV rev D. shipped to my partner's parent's place in the UK, and she brought it back to the States on her recent visit. As got everything out and fired up the soldering iron, I pulled up the website to find the instructions. I saw the smoked acrylic case upgrade had just been added a few days prior. Change of plans! I ordered the hardware and sent the files off to be 3D printed. But I also made some plans for my own upgrades. I didn't like the look of the white Delrin parts and the white tops (and bottoms) of the 7 segment numbers. I looked into black Delrin that I could machine, and realized that 3/16" is just shy of 5mm (the new case instructions needed height modifications anyway... more on that in a bit) and that it should work. I ordered a 6 inch square sheet and the flat head screws from McMaster-Carr. I didn't think it was necessary to get a whole bag of 25mm long screws (especially since the instructions said that 21 would have worked) so I just got 22mm and used that length for all six. Machining the black Delrin wasn't too hard. I have a small Unimat DB200 with most all of the attachments and a homemade DRO. The parts are small enough and the material easy enough to machine that the Unimat could easily handle it. The only attachment I don't have is a rotary table, but I made do with a little clever workaround. For the segments, I trimmed the clear coverings flush and masked off the pins in preparation for spray painting. I didn't take photos, but I grouped them all together to reduce overspray and sprayed the tops and bottoms black. So far they're holding up well and paint isn't flaking or scratching off. I had some issues with tapping the holes in the new 3D printed end caps. The holes don't have enough support, and I broke through two of the holes. Fortunately I had a few extra printed, and went a little more carefully for the others. I don't think the holes need to be as deep as they are, and I think a more generous radius, chamfer, or other buttress support would really improve stability. I was hoping that the 3/16" thick Delrin would be enough difference from 5mm that I wouldn't need to sand down the parts to level them, but the thickness was almost identical to the original white parts. I didn't want to sand, so I measured the depth difference, and ended up machining down the 0.022" (0.6mm) difference fairly quickly. For the small back connection, I machined the material down to 3mm and taped it with my tap. When it came time to laser cut, I went to my local maker space to do the cutting since I don't have a laser cutter. While there, I used their milling machine to do the countersinking. A note to imperialists who are making this—metric flat heads use a 90 degree angle, as opposed to imperial which are 82 degrees. Fortunately I have a 90 degree countersink, so I was set. I used a .121" gauge pin to find the center of each hole, and countersunk down to an accurate and repeatable depth using the mill's depth stop. I'm really happy with how this turned out and lucky that I hadn't already built the clock by the time I saw these updates. 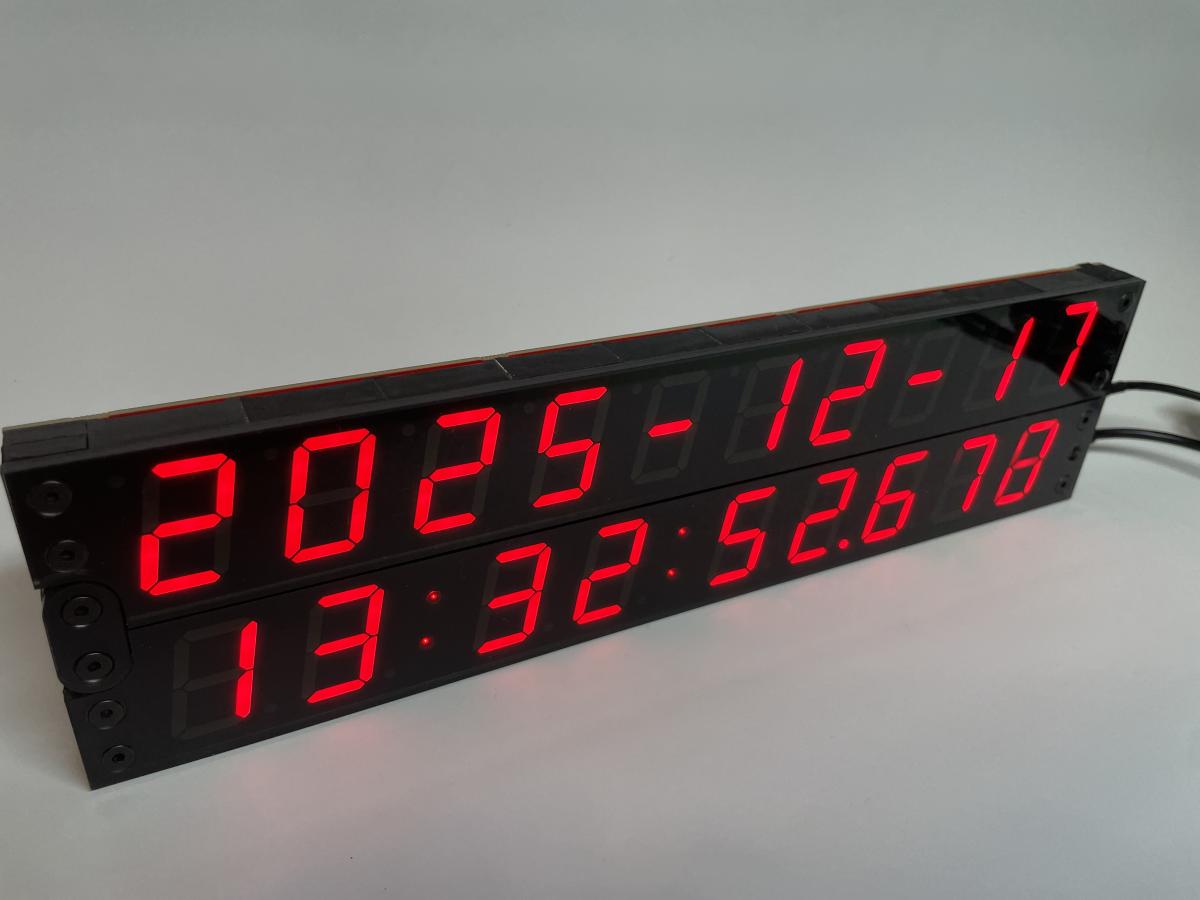  new blanks ready to go. 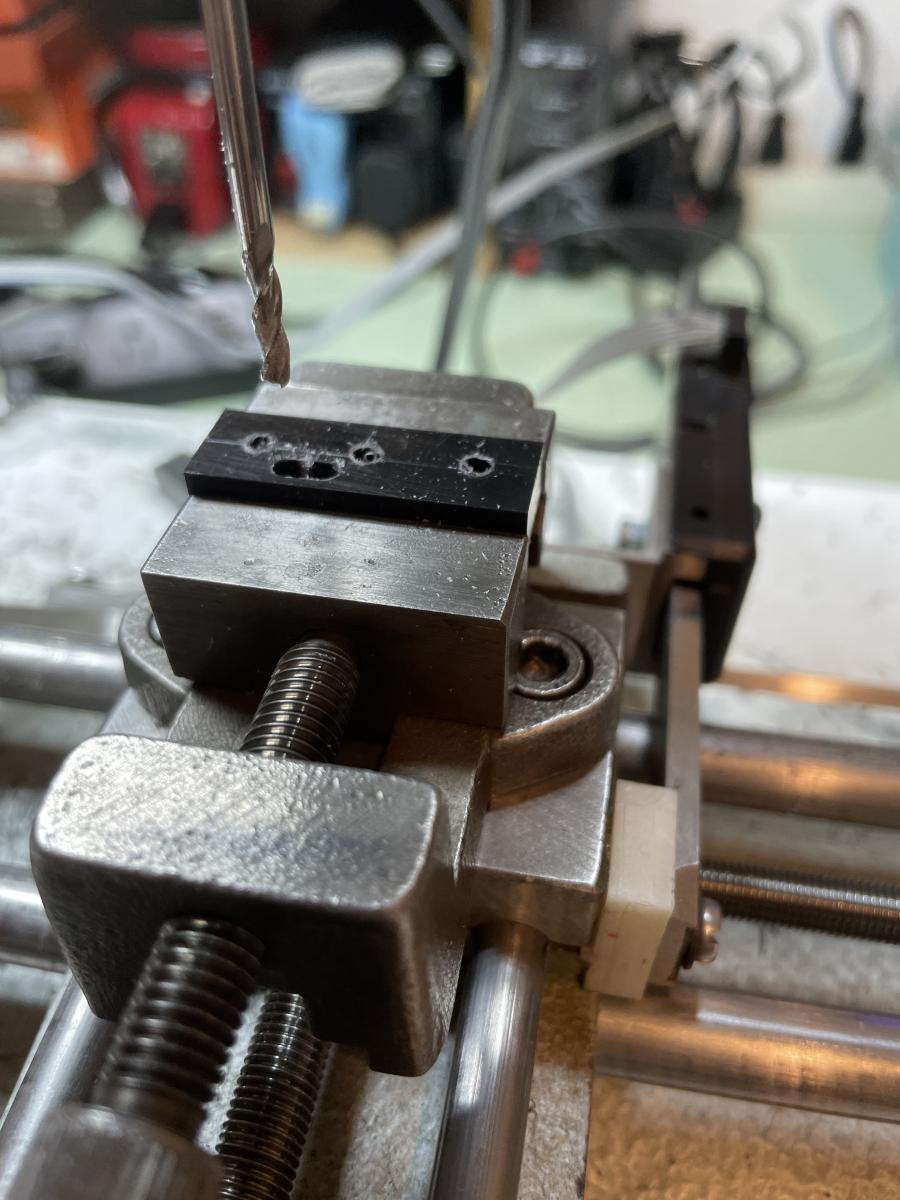 machining holes on my Unimat. 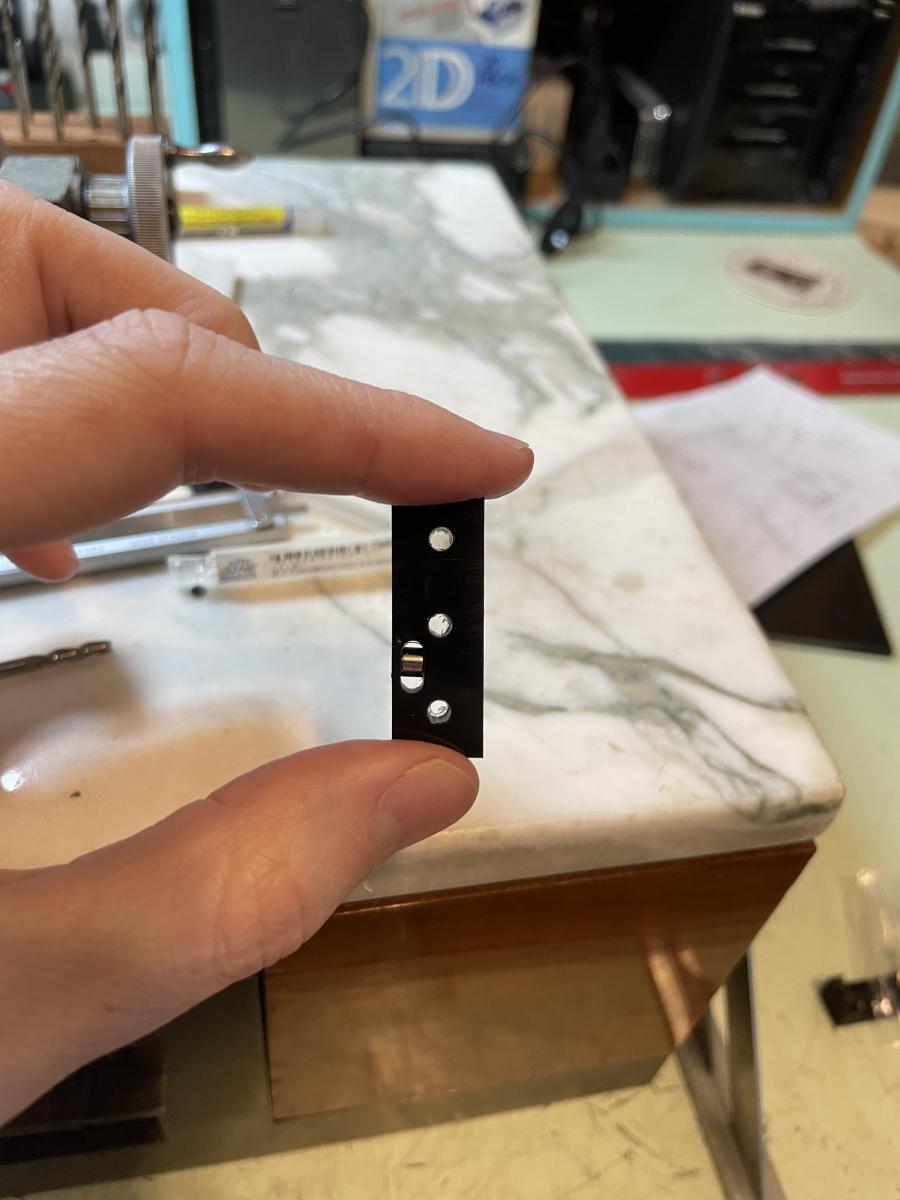 Fitting the magnet. 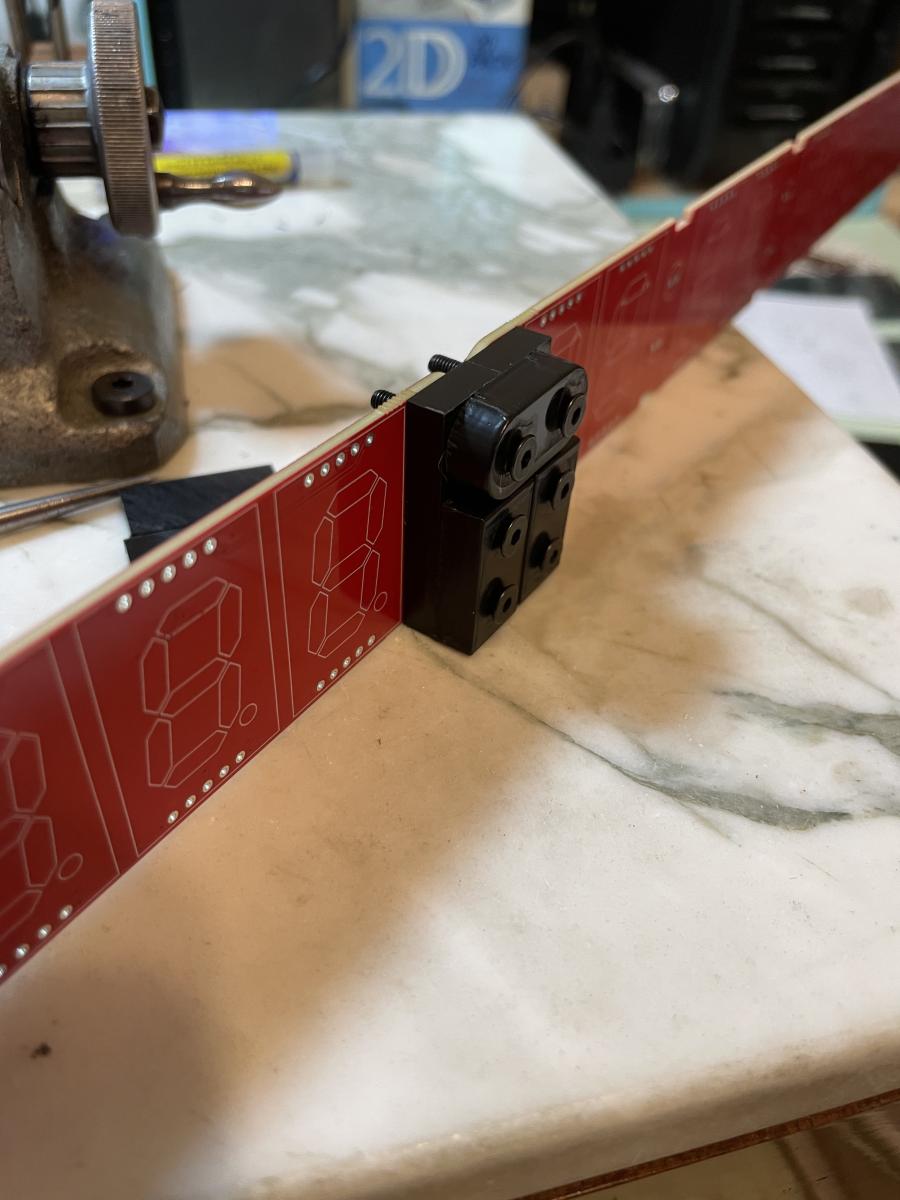 Testing that the parts fit. 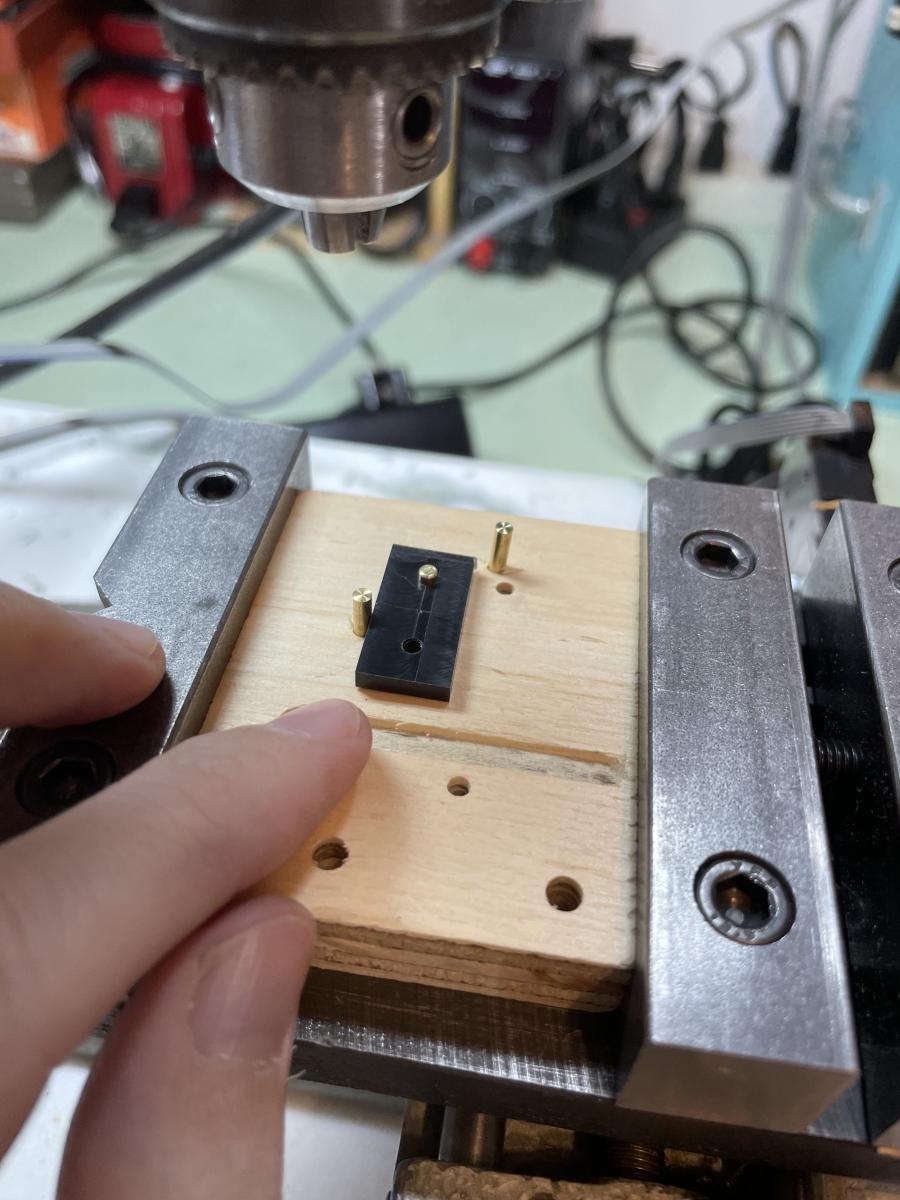 Setup for rounding over the corners. The stops prevented me from going too far. I nibbled a bit away at a time until I got the desired radius. 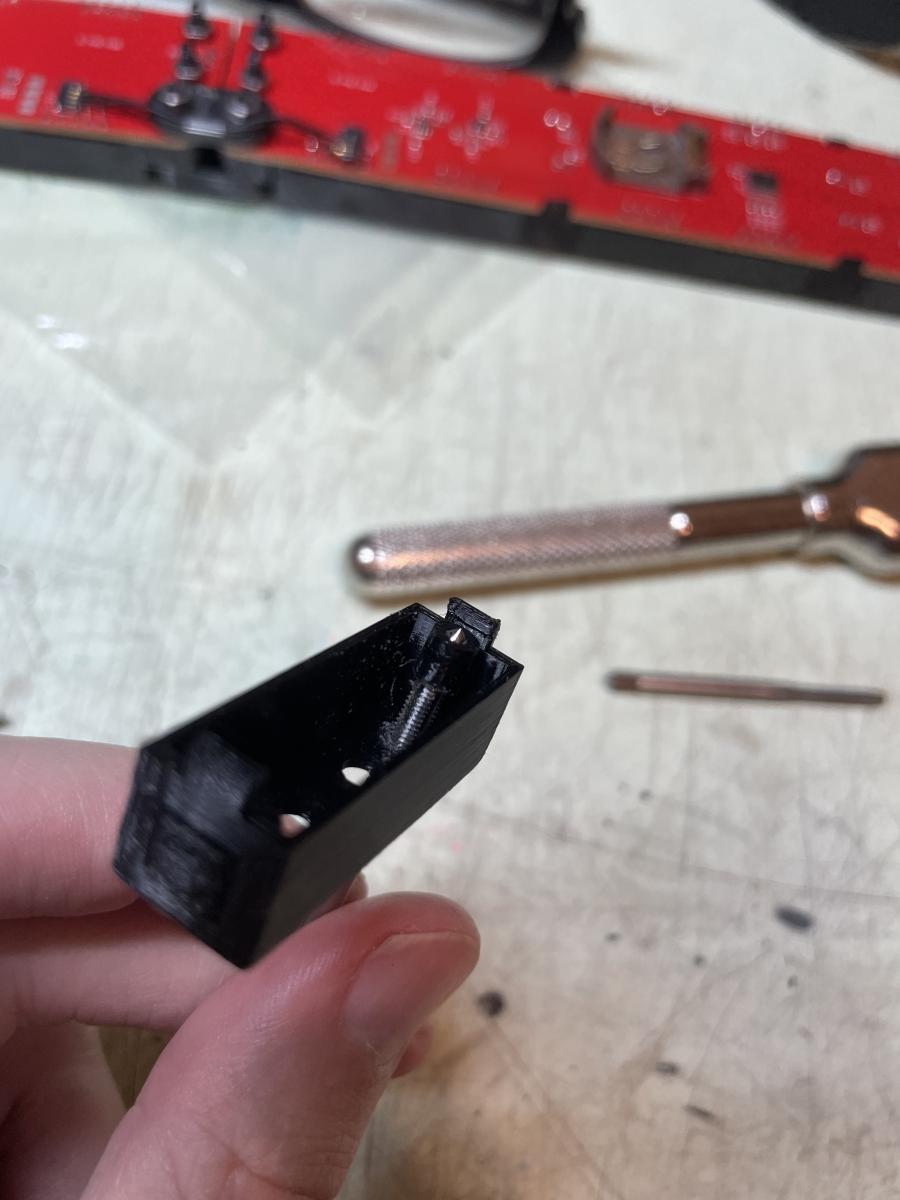 tapped hole fail! 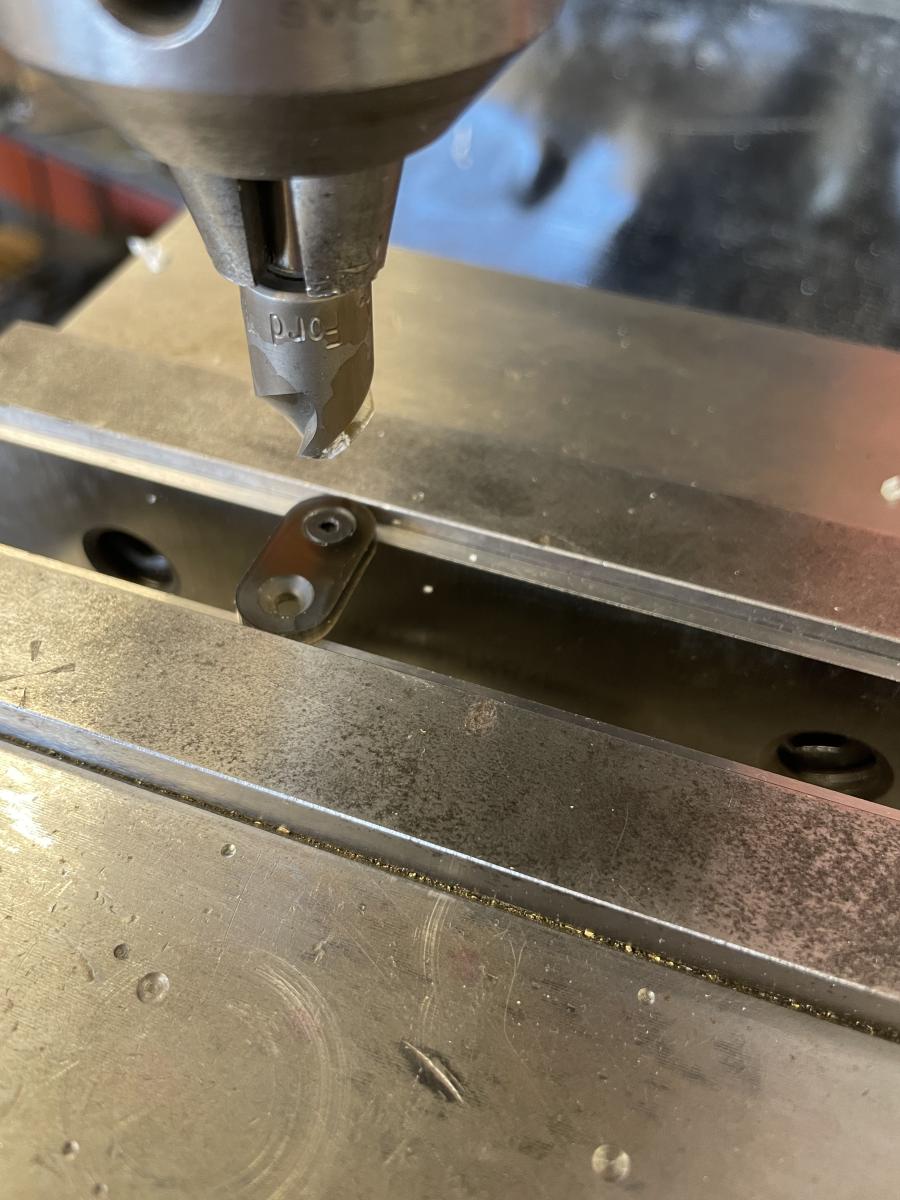 Countersinking the acrylic. 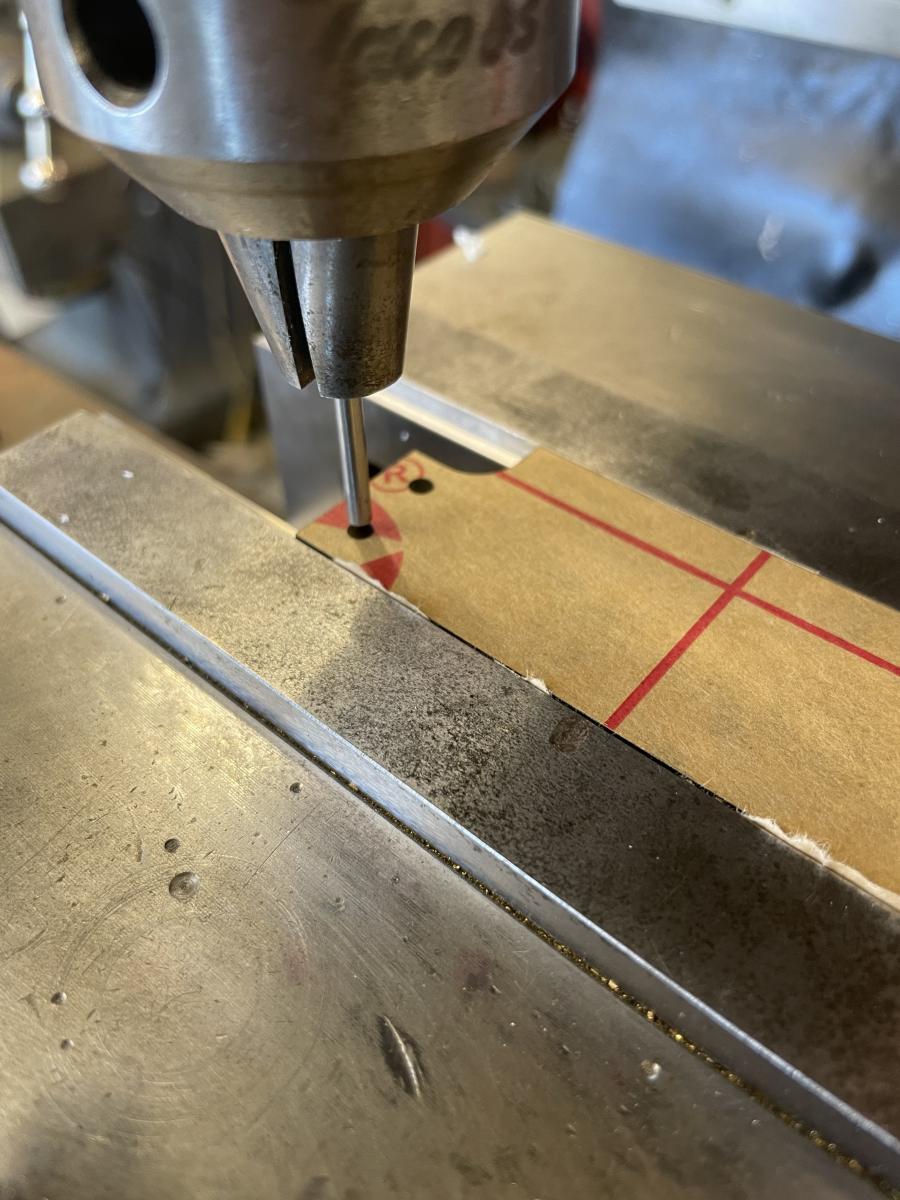 Using a pin to find the center of the hole. 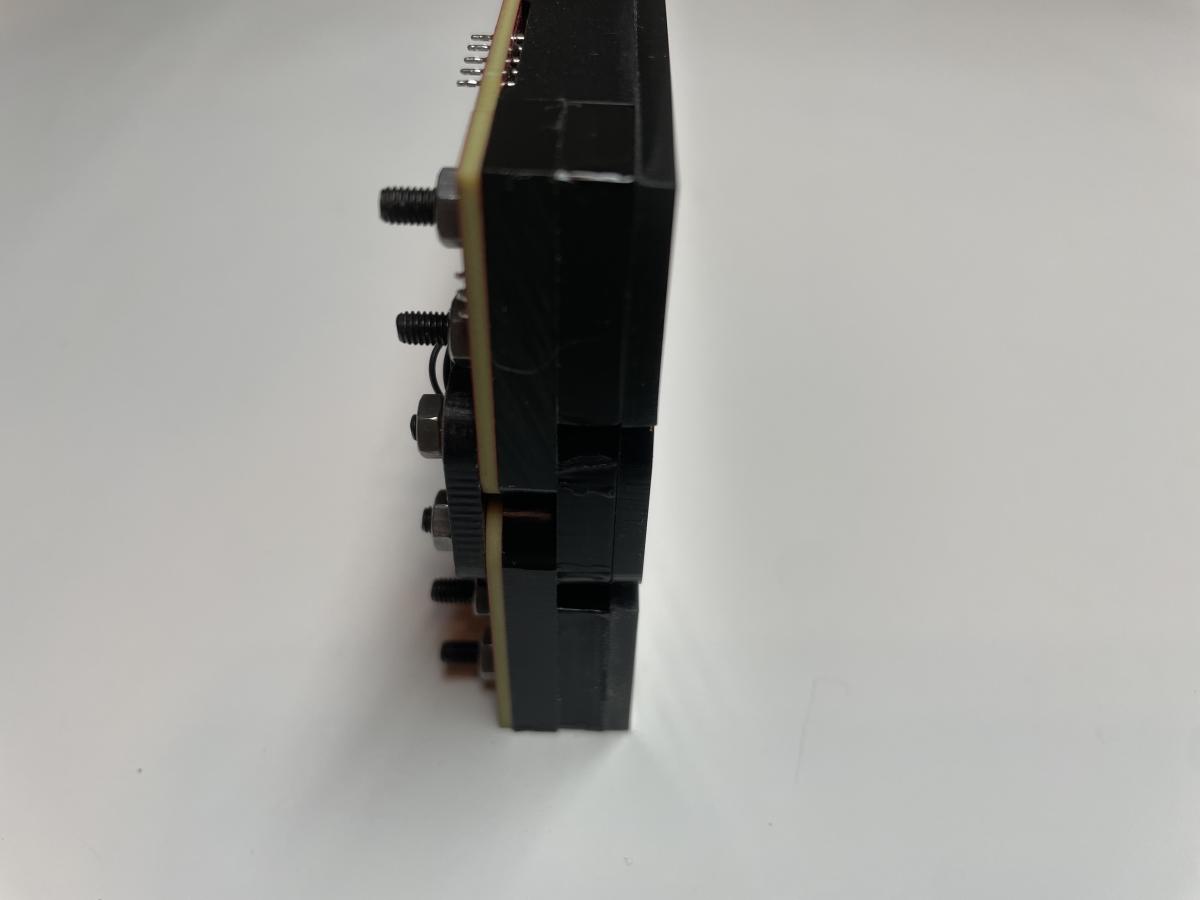 Side view of the hinge. Last edit by mikebuffington at 17 Dec 2025, 09:41 PM ------------- |
| [top] | |
| mit | Posted: 17 Dec 2025, 11:49 PM |
|
yeah whatever Admin Posts: 687 Joined: 4-May 16 |
Beautiful work! Thanks for sharing. I hadn't considered painting the white parts of the digits, that looks great. And the black delrin looks great too, very slick! Delrin usually has terrible tolerances, I've ordered "6mm" and found the sheet can be anywhere from 5.5mm to over 7mm thick when it arrives. It is a wonderful material to work with though. I chose white for the 5mm parts mainly because my local supplier has a limited range in black. Noted about the 3D printed parts, I may go back and alter the design a bit. It may have been ambitious (and unnecessary) making the holes the tap-drill size, often with 3D prints the hole ends up slightly undersized which probably increases the forces when tapping. I have wondered about the viability of machining the delrin parts entirely, instead of two laser-cut layers, just machine the shape out of solid ~11mm thick material. There's probably no benefit though. Also had a thought about making the hinge parts from aluminium, just for additional coolness factor, though we'd need to check it doesn't interfere with the hall sensor. I should probably add a link to the acrylic case page from the instructions page. ------------- |
| [top] | |
| mikebuffington | Posted: 29 Dec 2025, 11:50 PM |
|
Member Posts: 2 Joined: 17-December 25 |
I had a thought for doing something for the back of the clock, but it would require new M3 through holes in the PCB... maybe something to think about for the next iteration. If the short flat head M3 screws at the ends were longer (>22mm) and went all the way through the board like the middle ones, you could sandwich two thin layers (or one thin and one thicker) of acrylic and add them to the back, securing with the machine screws/nuts. The thin layer could be 1 mm and basically serve as a frame for the piece above it, allowing room for the SMD parts, through hole pins, and the USB and antenna ports. I do worry that this layer might be very thin or impossible at places because of the 7-seg pins.... You also might need to move the USB and antenna ports in a bit for new holes in the PCB. The layer above that would be mostly solid, and could be 1 mm or 3 mm, with a hole to be able to remove the battery. If a smoked acrylic color was also used, you'd still be able to see the blinking light on the back. 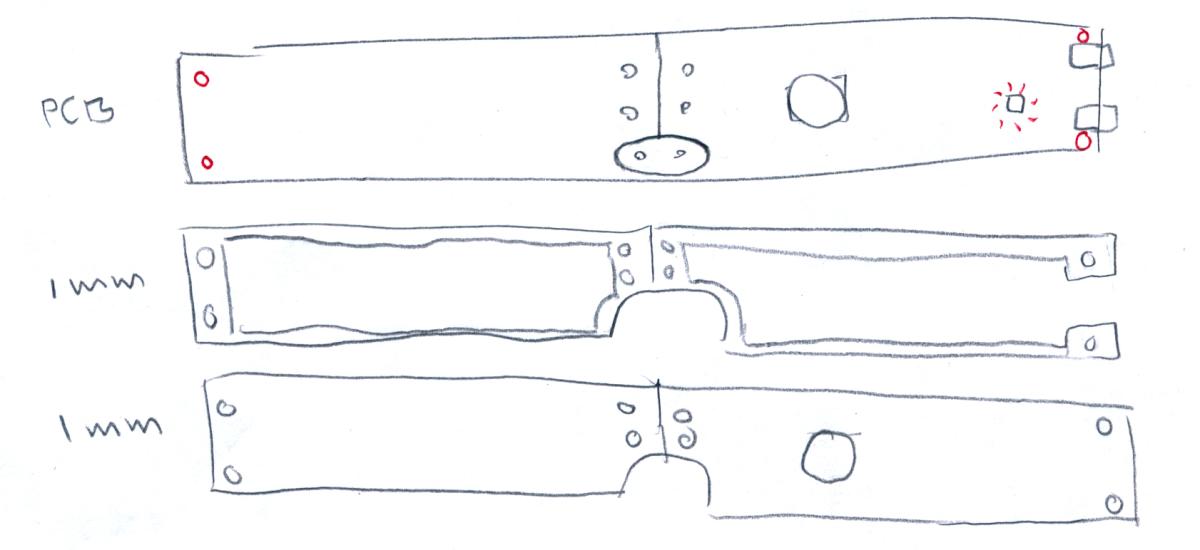 Last edit by mikebuffington at 30 Dec 2025, 01:15 PM ------------- |
| [top] | |
Sign in to post a reply.